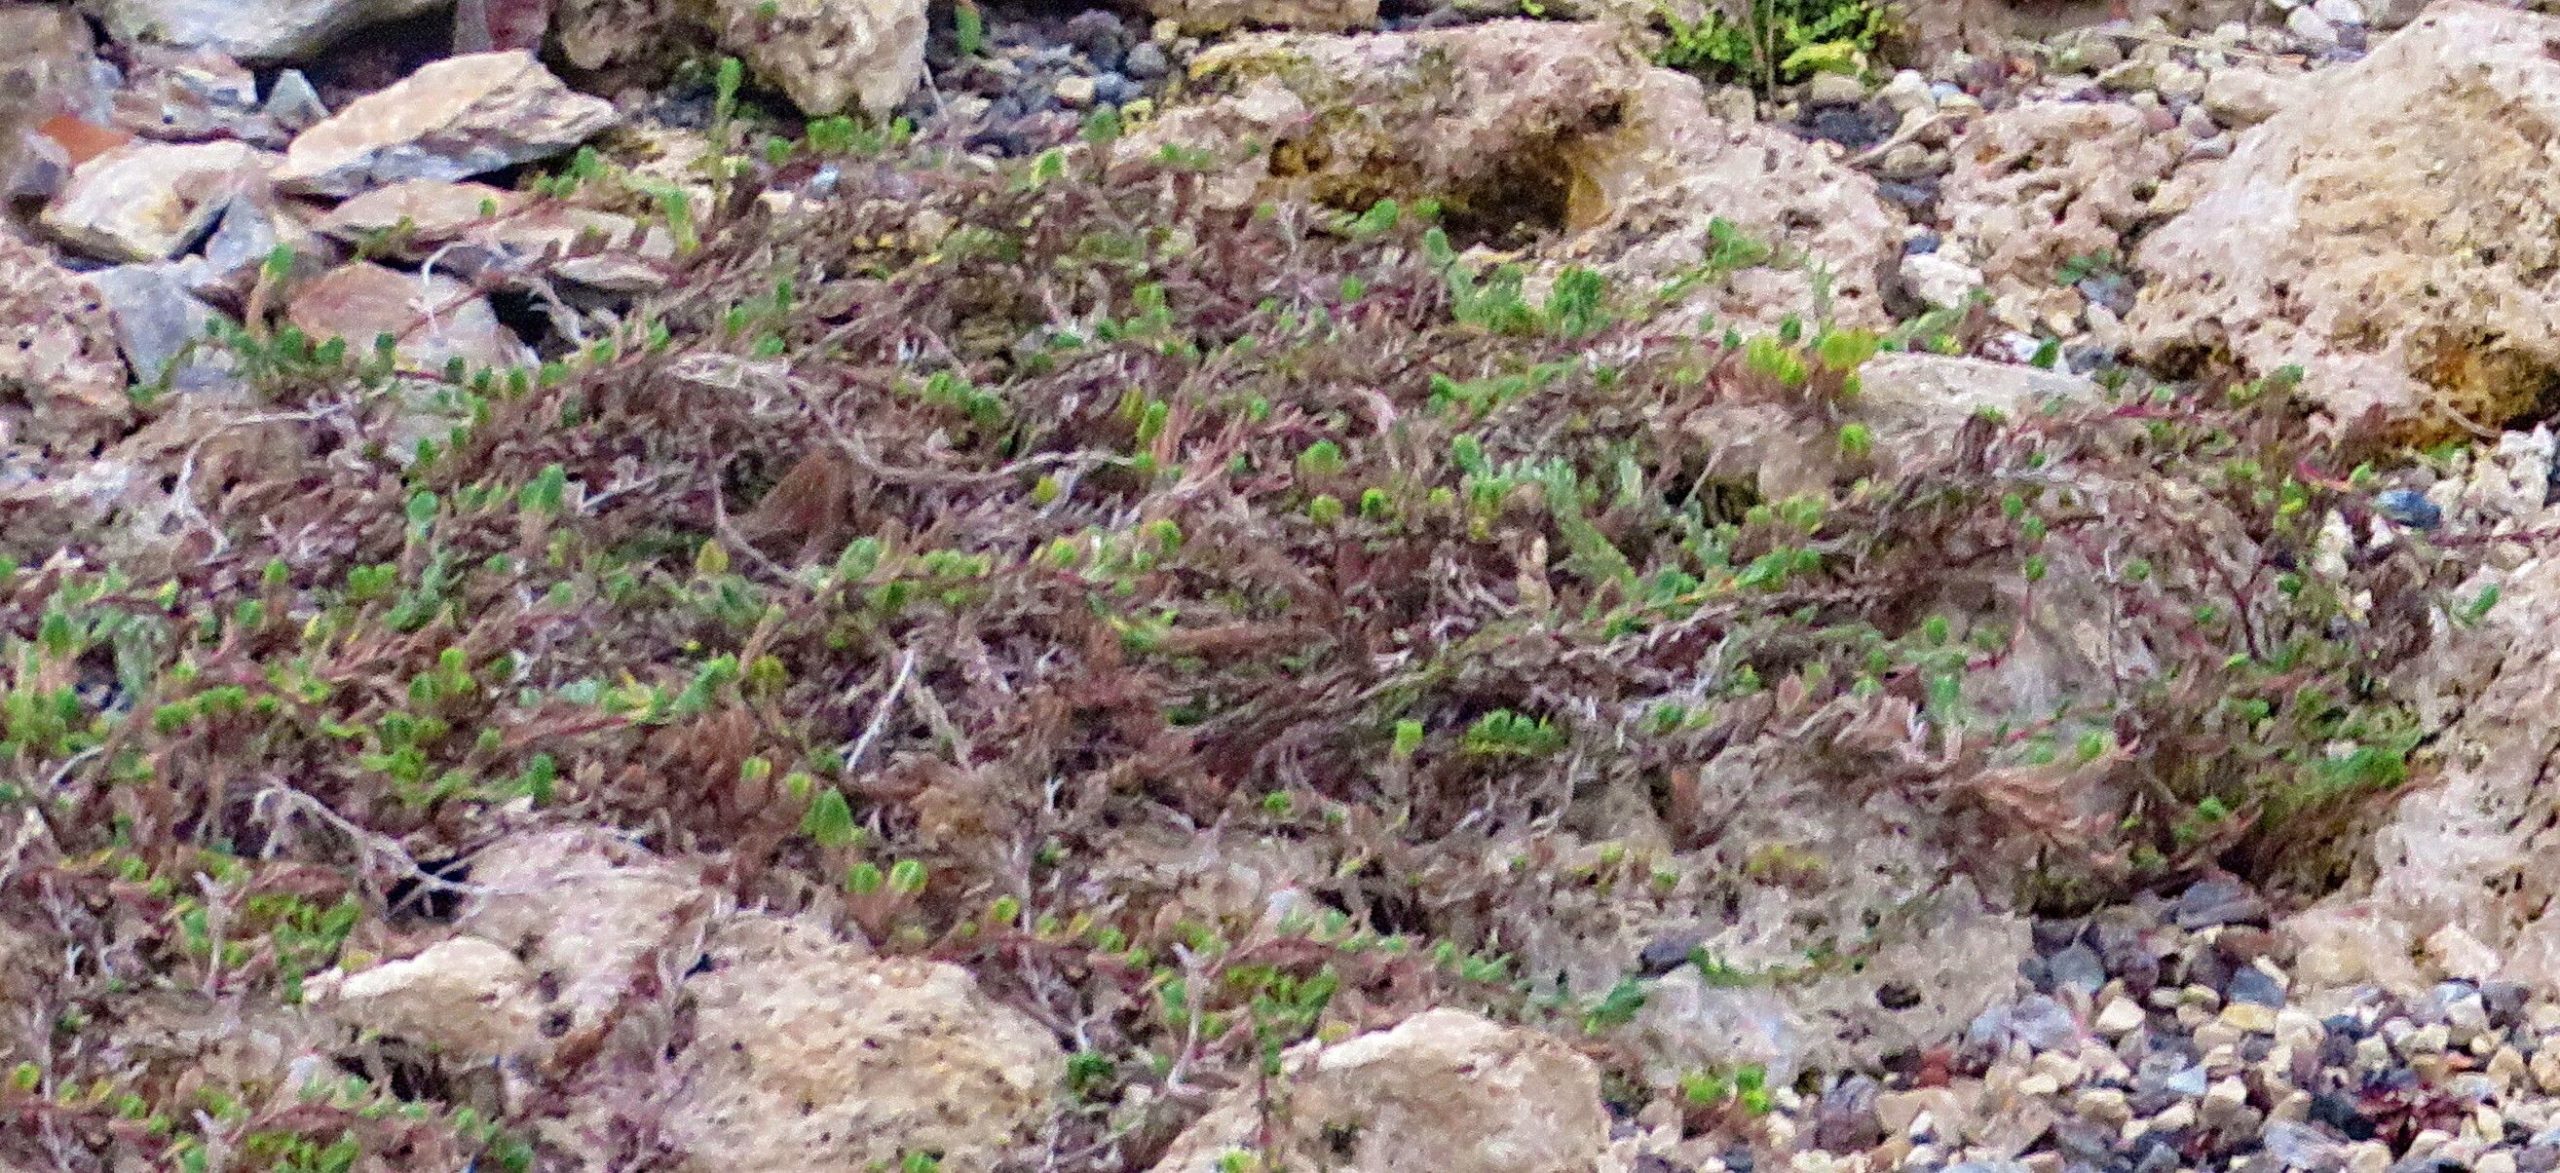
Hello, fellow garden enthusiasts! Today, we’re diving into the wonderful world of propagating Thymus leucotrichus, a delightful thyme variety I’ve had the pleasure of growing for years. If you’re a fan of fragrant herbs and the satisfaction of nurturing new life from an existing plant, this is a project for you. Thymus leucotrichus is known for its beautiful, often silver-tinged foliage and its lovely, sometimes pinkish-purple flowers that attract pollinators. It’s a fantastic addition to herb gardens, rockeries, or even growing in containers.
The good news? Propagating this particular thyme is generally quite manageable, even for those just dipping their toes into the world of plant propagation. It doesn’t usually require fussy conditions, making it a rewarding endeavor that can quickly fill your garden or provide delightful gifts for friends.
The Best Time to Start
I find that the late spring to early summer is truly the sweet spot for propagating Thymus leucotrichus from cuttings. Once the plant has finished its main flush of spring growth and is actively producing new shoots, you’ll get the best results. Aim for stems that are firm but not woody. Waiting until after the plant has bloomed, or collecting cuttings from new growth before it gets too hard, is key.
Supplies You’ll Need
When gathering your supplies, think about creating a comfortable nursery for your new little thyme babies.
- Sharp pruning shears or a sharp knife: Clean cuts are crucial for good rooting.
- Rooting hormone (optional but recommended): This little helper can significantly speed up the rooting process. I prefer a powder form for cuttings.
- A well-draining potting mix: A mix of peat moss, perlite, and a bit of sand works wonderfully. You can also find specific seed starting or propagation mixes.
- Small pots or a seed tray with drainage holes: Choose something small enough to hold a few cuttings comfortably.
- Watering can or mister: Gentle watering is important, especially for newly made cuttings.
- A plastic bag or propagation dome (optional): This helps maintain humidity, which cuttings love.
- Labels: Trust me, you’ll thank yourself later!
- A sunny, but not scorching, location: Or grow lights if you don’t have ideal natural light.
Propagation Methods
For Thymus leucotrichus, I’ve found stem cuttings to be the most reliable and straightforward method.
Stem Cuttings:
- Select your cuttings: Look for healthy, non-flowering shoots that are about 4-6 inches long. Gently snap or cut them cleanly just below a leaf node (the point where a leaf attaches to the stem).
- Prepare the cuttings: Remove the lower leaves from the cutting, leaving just a few at the top. If the cutting has any flowers or flower buds, pinch those off. This energy is better spent on root development.
- Apply rooting hormone (optional): Dip the cut end of the stem into your rooting hormone powder, tapping off any excess.
- Plant the cuttings: Make small holes in your prepared potting mix with your finger or a pencil, and then gently insert the cuttings. Firm the soil gently around the base of each cutting to ensure good contact. Space them an inch or two apart.
- Water gently: Water thoroughly but carefully, ensuring the soil is moist but not waterlogged. A mister is excellent here to avoid disturbing the cuttings.
- Create humidity (optional): If you’re using a plastic bag, tent it loosely over the pot, making sure the leaves don’t touch the plastic. A propagation dome works similarly.
- Find a good spot: Place your pots in a bright location that receives indirect sunlight. Avoid direct sun, which can scorch the delicate cuttings.
The “Secret Sauce” (Pro Tips)
Here are a few things I’ve learned over the years that can really give you an edge.
- The “Barely Wiggle” Test: Don’t yank on your cuttings to see if they’ve rooted! Instead, give them a very, very gentle tug. If there’s a slight resistance, that’s a good sign roots are forming. Patience is a virtue here.
- Bottom Heat is Your Friend: If you’re struggling with rooting or want to speed things up, a heat mat placed under your pots can make a big difference. Thyme roots are happier with a little warmth from below, mimicking the soil temperature in its natural, sunny environment.
- Don’t Drown Your Dreams: Overwatering is the quickest way to invite rot, especially with cuttings. Your soil should always be moist but not soggy. If you see water pooling, your drainage isn’t adequate, or you’re watering too much.
Aftercare & Troubleshooting
Once you see new leaf growth appearing on your cuttings, it’s a strong indicator that roots are developing. Continue to keep the soil consistently moist and provide that bright, indirect light. After a few weeks, you can start to acclimate them to slightly drier conditions and eventually to their permanent home.
The most common issue you’ll face is rot. If a cutting turns black and mushy, it’s succumbed to fungal infection. This almost always points to overwatering or poor air circulation. Remove any affected cuttings immediately to prevent it from spreading. Yellowing leaves without new growth could indicate insufficient light or nutrient deficiency, but with young cuttings, it’s more often about the stage of rooting.
A Encouraging Closing
Propagating thyme is such a rewarding experience. Don’t be disheartened if not every cutting takes; it’s all part of the learning process! Be patient, observe your little plants closely, and celebrate each new sprout. Before you know it, you’ll have a whole garden of fragrant Thymus leucotrichus to enjoy. Happy gardening!
Resource:
https://identify.plantnet.org/k-world-flora/species/Thymus%20leucotrichus%20Halácsy/data