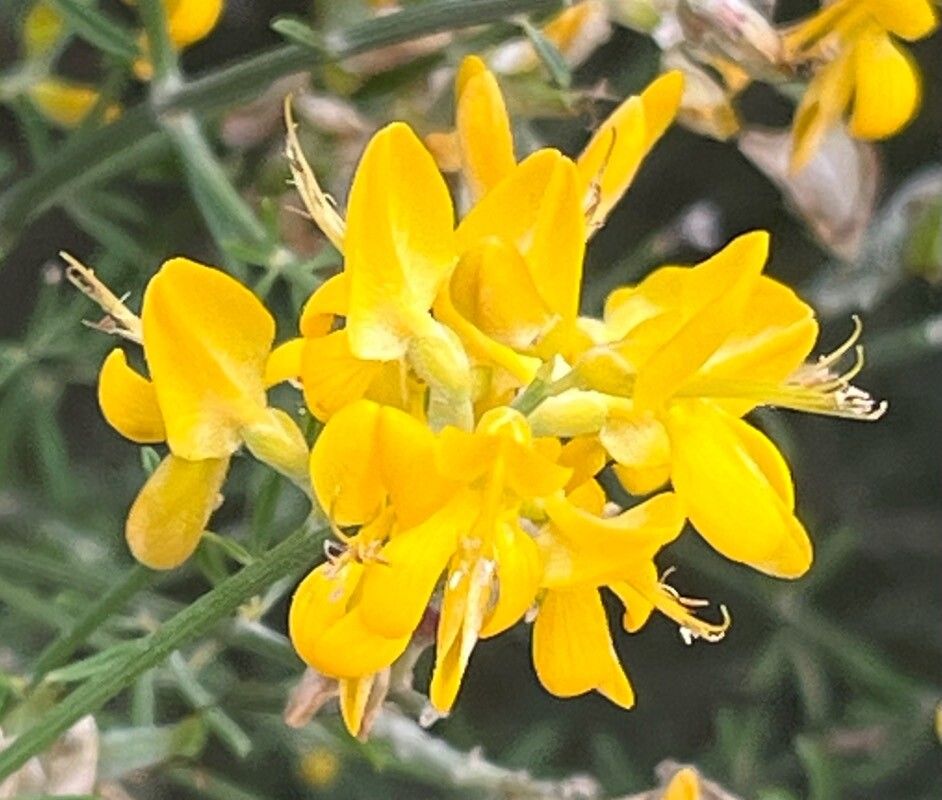
Hello, fellow garden enthusiasts! I’m so excited to talk to you today about a plant that truly brightens up any space: Genista dorycnifolia, or as it’s sometimes known, the broom. Its delicate, pea-like flowers and lovely, often silver-green foliage bring a touch of sunshine, even on cloudy days. And the best part? It’s remarkably rewarding to multiply! If you’re new to propagation, you might find Genista dorycnifolia a bit of a delightful challenge. It’s not one of the absolute easiest, but with a little care and attention, you’ll be well on your way to success. Watching a tiny cutting transform into a new plant is just pure magic.
The Best Time to Start
For Genista dorycnifolia, the sweet spot for propagation is definitely late spring to early summer. This is when the plant is in a period of active growth, but before the stems become too woody. You’re looking for young, flexible side shoots. Think of them as the energetic teens of the plant world – full of potential!
Supplies You’ll Need
To give your cuttings the best start, gather these essentials:
- Sharp, clean pruning shears or a sharp knife: For making clean cuts.
- Small pots or seedling trays: With drainage holes, of course!
- Rooting hormone powder or gel: This really gives your cuttings a boost.
- Well-draining potting mix: A good blend is equal parts perlite and peat moss, or a seed starting mix. Avoid heavy garden soil.
- Plastic bags or a propagator lid: To create a humid environment.
- Watering can with a fine rose: For gentle watering.
Propagation Methods: Stem Cuttings
This is hands-down my favorite way to propagate brooms, and Genista dorycnifolia responds beautifully to it.
- Take Your Cuttings: Head to your healthy Genista dorycnifolia plant on a bright morning, after the dew has dried. Look for young, non-flowering side shoots that are about 3-4 inches long. Using your clean shears, make a cut just below a leaf node (where a leaf attaches to the stem).
- Prepare the Cuttings: Gently strip off the lower leaves from the cutting, leaving just a few at the top. This helps prevent rot and encourages rooting. If the leaves are quite large, you can even cut them in half.
- Apply Rooting Hormone: Dip the cut end of the stem into your rooting hormone, ensuring it’s coated. Tap off any excess.
- Pot Them Up: Fill your small pots with your prepared potting mix. Make a small hole in the center of each pot with a pencil or your finger.
- Plant Your Cuttings: Insert the base of each cutting into the hole, making sure the rooting hormone stays on the cut end. Firm the soil gently around the stem.
- Create Humidity: Water lightly, then cover each pot with a plastic bag, securing it with a rubber band, or place the pots inside a propagator with a lid. This creates a mini greenhouse!
- Place Them: Find a bright spot with indirect light. Avoid direct sun, which can scorch your tender cuttings.
The “Secret Sauce” (Pro Tips)
Here are a few tricks I’ve picked up over the years that can make a real difference:
First, when you’re watering your cuttings, aim to keep the soil consistently moist but never soggy. Soggy soil is the express lane to rot. A good trick is to water from the bottom by placing the pots in a tray of water for about 15-20 minutes, allowing the soil to soak up what it needs.
Second, and this is crucial for many plants, including brooms, is bottom heat. If you have a heat mat, placing your propagator or pots on it can significantly speed up root formation. It mimics the warmth of spring soil and encourages those roots to get going.
Aftercare & Troubleshooting
Once your cuttings are potted, check them regularly. You’ll want to mist them occasionally if the leaves look dry inside the bag. After about 4-6 weeks, you can gently tug on a cutting. If you feel any resistance, that’s a good sign roots are forming!
Be on the lookout for wilting. This can mean it needs more water, or it could be a sign of rot if the stem feels soft and mushy. If you see signs of rot, it’s best to discard that cutting and try again, ensuring your potting mix is well-draining and not overwatered.
Once your new plants have developed a good root system and you see new leafy growth, it’s time to gradually acclimatize them to normal conditions. Remove the plastic bag for a few hours each day, increasing the time until they are fully used to open air. Then, you can transplant them into slightly larger pots.
Don’t get discouraged if not every cutting takes. Propagation is a bit of an art and a science. Be patient with yourself and your little green charges. The joy of nurturing a new plant from a tiny piece of its parent is truly immense. Happy propagating!
Resource:
https://identify.plantnet.org/k-world-flora/species/Genista%20dorycnifolia%20Font%20Quer/data