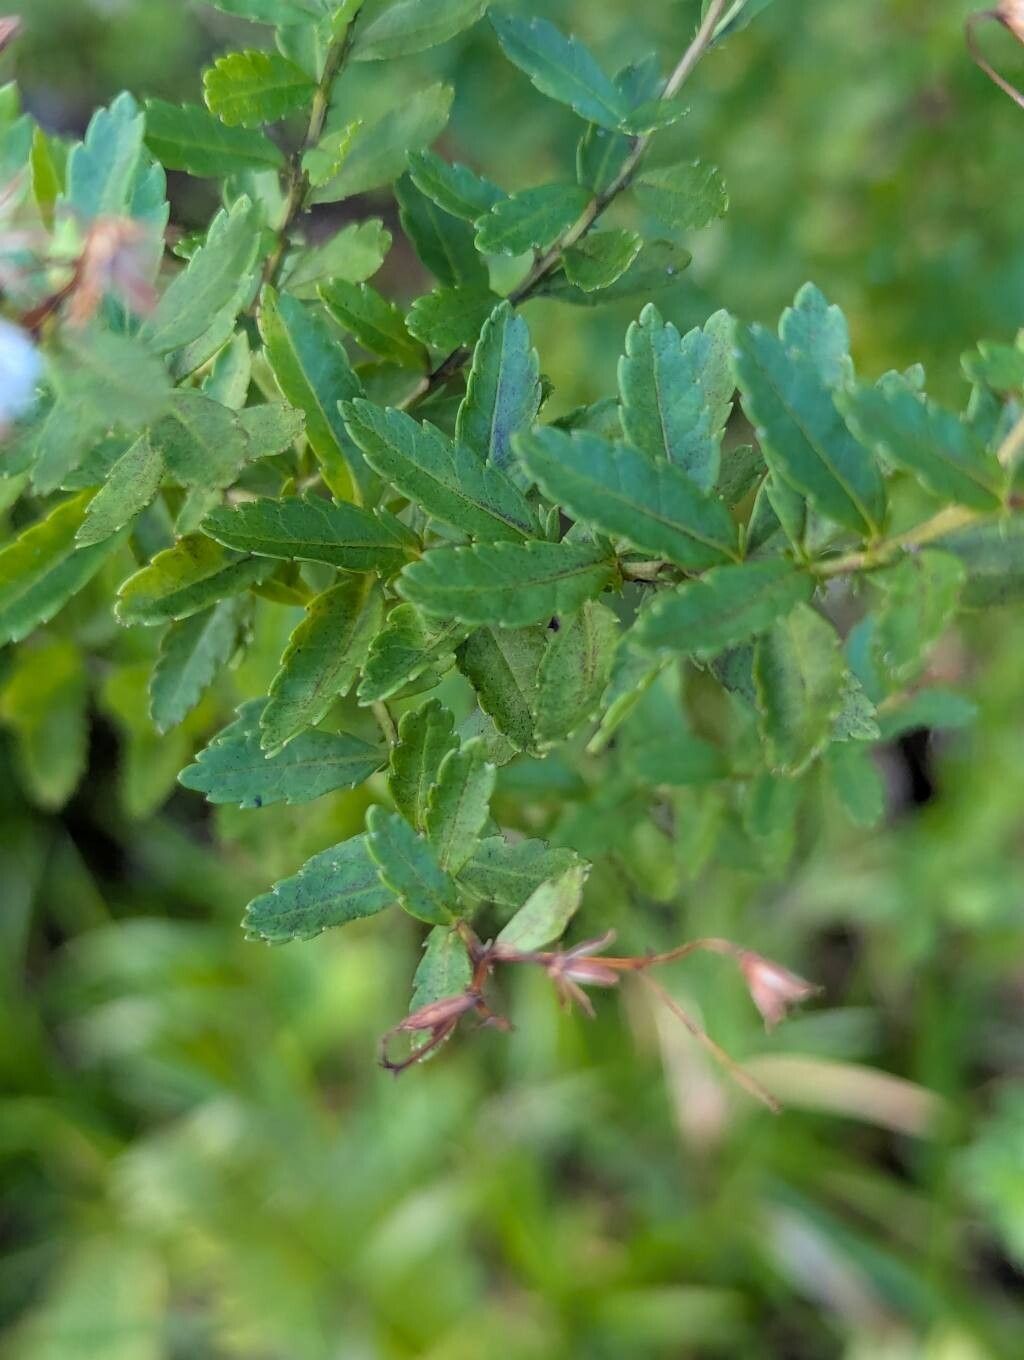
Hey, garden friends! It’s your seasoned plant pal here, ready to spill the beans on a real charmer: Hubertia ambavilla. This beauty, with its striking foliage and often fragrant blooms, is such a joy to have around. And let me tell you, propagating it yourself? It’s incredibly satisfying. You get more of these gorgeous plants for free, and it’s a fantastic way to get a deeper understanding of how life really gets going in the garden.
Now, for the honest truth: Hubertia ambavilla can be a little bit fussy for absolute beginners. It’s not a push-over like a pothos, but with a bit of attention and a willingness to learn, I promise you, you can absolutely succeed. Think of it as a rewarding challenge!
The Best Time to Start
When it comes to getting the best results with Hubertia ambavilla, spring and early summer are your golden ticket. This is when the plant is actively growing, putting out fresh, vigorous shoots. These young, pliable stems have the most energy and are most receptive to forming roots. Trying to propagate when the plant is dormant or stressed is like asking someone to run a marathon without any training – it’s just not going to end well!
Supplies You’ll Need
Alright, let’s get our toolkit ready. Having the right gear makes all the difference.
- Sharp Pruning Shears or a Knife: Clean cuts are crucial for preventing disease.
- Rooting Hormone: This is a lifesaver for encouraging strong root development. I like to use a powder variety.
- Well-Draining Potting Mix: A good seed-starting mix or a blend of potting soil with perlite or sand works wonders. You want it to breathe!
- Small Pots or Seedling Trays: Clean containers are a must.
- Plastic Bags or Dome Covers: To create a humid microclimate.
- Watering Can with a Fine Rose: For gentle watering.
- Labels: Because trust me, you will forget which is which!
Propagation Methods
Let’s dive into how we get these new babies growing. For Hubertia ambavilla, stem cuttings are generally the most reliable method.
Stem Cuttings:
- Select Your Cuttings: Look for healthy, non-flowering stems that are about 4-6 inches long. Pinch or cut them just below a leaf node (that little bump where a leaf grows from the stem).
- Prepare the Cuttings: Gently remove the lower leaves, leaving 2-3 at the top. This prevents them from rotting in the soil and allows the plant to focus its energy on root production.
- Apply Rooting Hormone: Dip the cut end of the stem into your rooting hormone, tapping off any excess. This really gives your cutting a head start.
- Plant the Cuttings: Fill your small pots with the well-draining potting mix. Make a small hole in the center with your finger or a pencil.
- Insert and Firm: Gently insert the cutting into the hole, ensuring the leaf nodes where you removed leaves are below the soil line. Firm the soil gently around the stem to hold it upright and ensure good contact.
- Water and Cover: Water the soil lightly to settle it. Then, cover the pot with a plastic bag or place it under a clear dome lid. This creates a humid environment, which is vital for cuttings to root.
The “Secret Sauce” – Pro Tips
Here are a couple of little tricks I’ve learned over the years that really give you an edge:
- Don’t Overwater! This is probably the biggest pitfall with cuttings. The goal is moist, not soggy. Soggy soil is a fast track to rot. Water only when the top layer of soil feels dry to the touch.
- Bottom Heat is Your Friend: If you have a heat mat designed for seedlings, placing your pots on it can significantly speed up root development. It mimics the warmth of spring that encourages growth. Aim for a consistent temperature of around 70-75°F (21-24°C).
Aftercare & Troubleshooting
Once your cuttings are planted, the waiting game begins! Keep them in a bright, indirect light location. Avoid direct sun, which can scorch those tender new leaves.
Roots usually start to appear within 3-6 weeks. You can gently tug on a cutting (very gently!) to feel for resistance. If you feel a tug, roots are forming!
Signs of trouble include:
- Rotting: If the stem turns mushy and black at the base, it’s likely rot. This is usually due to overwatering or poor drainage. Sadly, a rotten cutting can’t usually be saved.
- Wilting that doesn’t improve: While some initial wilting is normal, persistent wilting could mean the cutting isn’t developing roots or is too dry.
If you see roots forming, you can gradually remove the plastic cover or dome over a few days to acclimate the new plant to drier air. Once it looks robust and is actively growing new leaves, it’s ready to be transplanted into a slightly larger pot.
A Little Patience Goes a Long Way
Propagating Hubertia ambavilla is a journey, not a race. There will be times when you have to try again, and that’s perfectly okay. Every gardener has experienced cuttings that didn’t make it. The key is to learn from it, adjust your approach, and keep planting. Enjoy the process, celebrate every little root you find, and soon you’ll have your own little troop of these wonderful plants to call your own! Happy gardening!
Resource:
https://identify.plantnet.org/k-world-flora/species/Hubertia%20ambavilla%20Bory/data