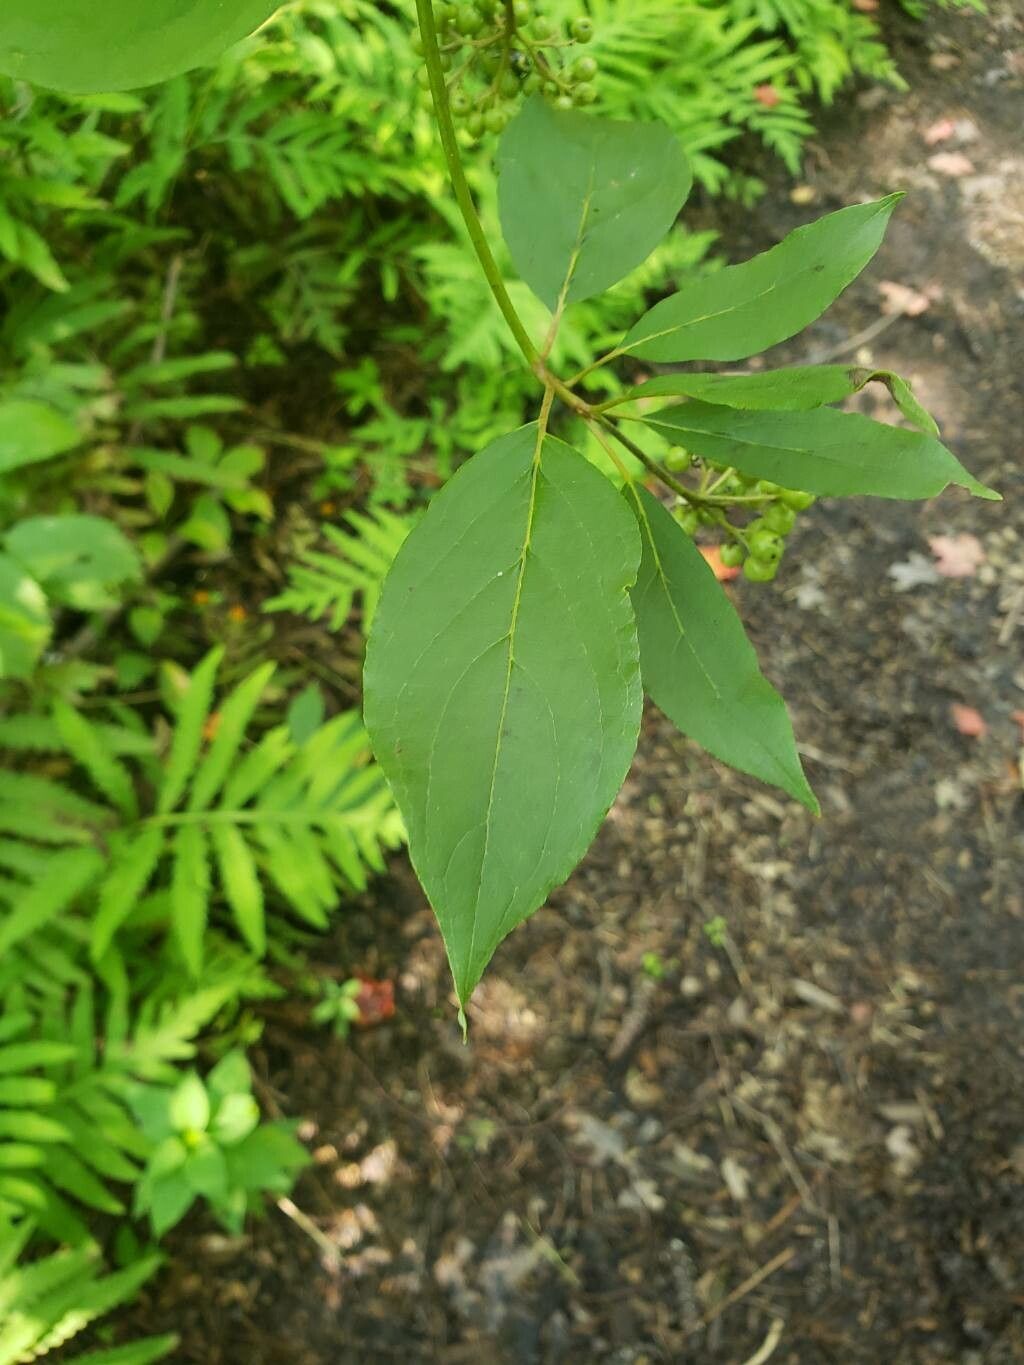
Oh, Cornus amomum, or silky dogwood! What a delightful shrub to have gracing your garden. I’ve always loved its graceful arching branches, its beautiful white flowers in spring that give way to stunning blue berries in late summer, and its fabulous fall color. Plus, those berries are a real treat for the birds! Propagating this beauty is a fantastic way to spread its charm throughout your landscape or share it with fellow plant enthusiasts. And I’m happy to tell you, it’s quite beginner-friendly, which is always a win in my book.
The Best Time to Start
For the absolute best success with Cornus amomum, I find that late spring to early summer, after the new growth has started to firm up a bit, is the prime time. You’re looking for semi-hardwood cuttings – stems that are flexible but not as floppy as brand new shoots. You can also have success with softwood cuttings earlier in the spring, but they can be a bit more delicate to handle.
Supplies You’ll Need
Here’s what I always have on hand when I’m ready to get my hands dirty:
- Sharp, clean pruning shears or a sharp knife: Crucial for making clean cuts without damaging the stems.
- Rooting hormone (powder or liquid): This helps give your cuttings that extra boost to form roots. I usually favor a powder for ease.
- A well-draining potting mix: A 50/50 blend of peat moss or coco coir and perlite or horticultural sand works wonders. You want good aeration!
- Small pots or trays with drainage holes: Recycled yogurt containers with holes poked in the bottom can even work in a pinch!
- A clear plastic bag or a propagator lid: This creates that essential humid environment.
- Watering can or spray bottle: For gentle watering.
- Labels and a waterproof marker: To keep track of what you’ve planted and when!
Propagation Methods
Let’s get down to business! My favorite and most reliable method for Cornus amomum is stem cuttings.
- Take Your Cuttings: Head out to your silky dogwood when the conditions are right. Select healthy, non-flowering stems from the current season’s growth. You want pieces that are about 4-8 inches long. Look for a stem that’s a little firm, not bright green and bendy.
- Prepare the Cuttings: At home, grab your clean shears. Remove the leaves from the bottom two-thirds of the cutting. You can snip off any flower buds too, as they divert energy away from root formation. If your cuttings are larger, you can even cut the remaining leaves in half crosswise. This reduces water loss while still allowing for photosynthesis.
- Dip in Rooting Hormone: Moisten the bottom inch of each cutting and then dip it into your rooting hormone. Tap off any excess.
- Planting: Fill your pots with your prepared potting mix. Make a hole in the center of the mix with a pencil or your finger. Gently insert the end of the cutting into the hole. Firm the soil gently around the base of the cutting to ensure good contact. You can usually fit 2-3 cuttings per small pot, spaced a couple of inches apart.
- Water and Cover: Water the soil thoroughly but gently. Then, cover the pots with a clear plastic bag or propagator lid. This is key to maintaining humidity. Make sure the leaves aren’t touching the plastic if possible.
The “Secret Sauce”
Here are a few little tricks I’ve picked up over the years that really make a difference:
- Bottom Heat is Your Friend: If you have a heat mat designed for propagation, placing your pots on it can significantly speed up root development. The warmth encourages cell activity in the cutting.
- Don’t Drown Them! While humidity is vital, soggy soil is the enemy. It can lead to rot before roots even have a chance to form. Your potting mix should be moist but not waterlogged. Check it regularly.
- The “Wiggle Test”: After a few weeks, you can gently tug on a cutting. If you feel a bit of resistance, it’s a good sign that roots are forming!
Aftercare & Troubleshooting
Once you see those roots developing, it’s time to transition them. Keep them in their humid environment for another week or two, gradually increasing ventilation by opening the bag or lid for longer periods each day.
When your cuttings have a decent root system (you might even see them peeking out the drainage holes!), it’s time to transplant them into their own individual pots with a good quality potting mix. Keep them in a bright, indirect light spot and continue to water regularly, allowing the soil to dry out slightly between waterings.
The most common issue you might encounter is rot. If you see your cuttings turning mushy or black, it’s likely due to too much moisture. In this case, you might need to discard them and start fresh with a well-draining mix and a lighter hand with the watering can. Sometimes, cuttings just don’t take; it happens to all of us! Don’t get discouraged.
A Little Encouragement
Propagating plants is a journey, and each cutting is a little experiment. Be patient with your silky dogwoods, give them a bit of TLC, and enjoy the process of watching them grow. There’s such a deep satisfaction in nurturing a new plant from a tiny cutting! Happy propagating!
Resource:
https://identify.plantnet.org/k-world-flora/species/Cornus%20amomum%20Mill./data