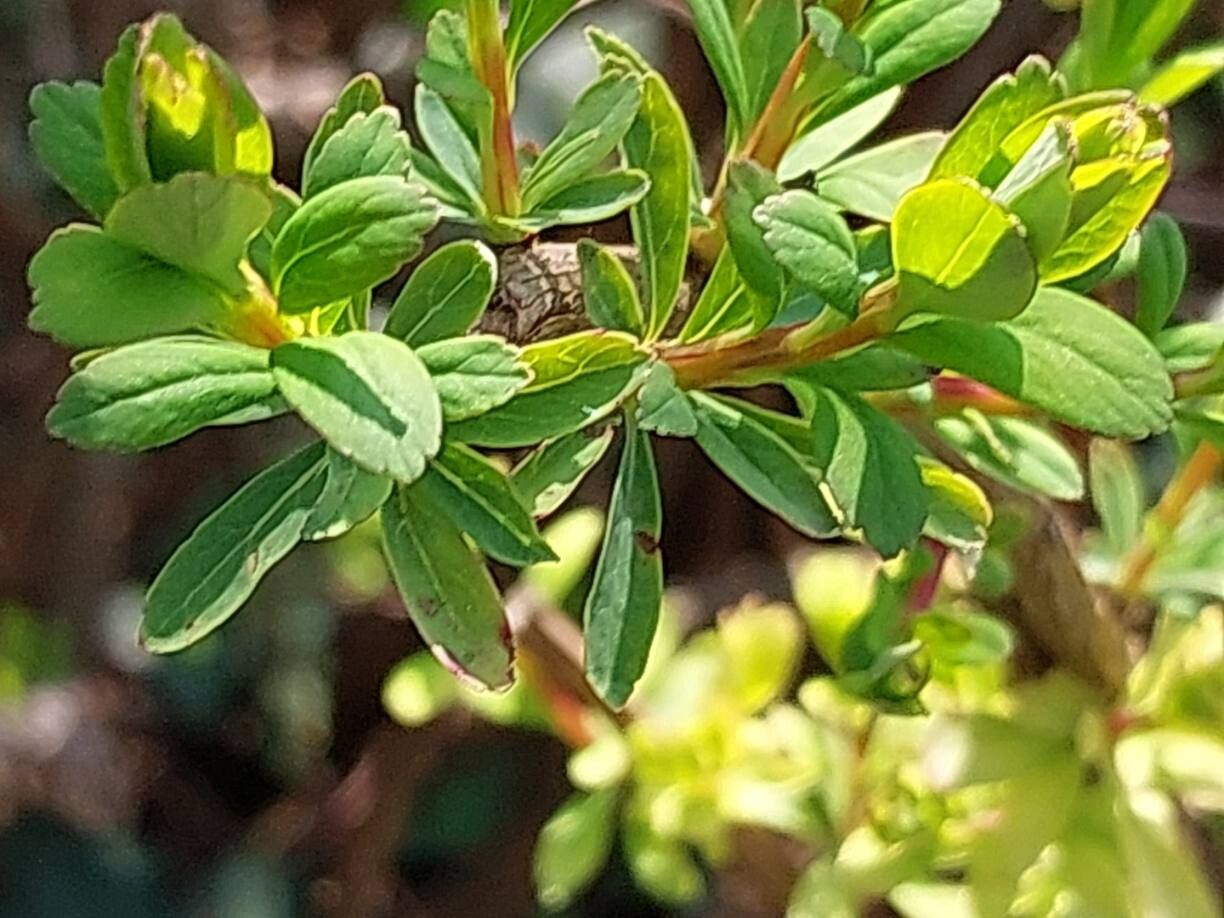
Hello fellow nature lovers! I’m so thrilled to talk to you today about a plant that holds a special place in my heart: Thymelaea virgata. If you’re drawn to plants with a delicate charm and a subtle, sweet fragrance, then this beauty is for you. Its wispy branches adorned with tiny, often fragrant flowers bring a touch of understated elegance to any garden. And the best part? Propagating it yourself is incredibly rewarding. While it might not be the absolute easiest plant for a complete beginner, with a little patience and the right approach, you’ll be well on your way to success. Think of it as a delightful challenge that pays off beautifully!
The Best Time to Start
When it comes to getting new Thymelaea virgata plants going, I’ve found that late spring to early summer is your golden window. This is when the plant is actively growing, and you’ll be able to take cuttings from softwood or semi-hardwood growth. The new shoots will be flexible but have started to firm up a bit, which gives them the best chance of rooting. Trying to propagate too early in the spring or later in the fall can be a bit more of a gamble.
Supplies You’ll Need
Before we dive in, let’s gather our tools. Having everything ready makes the process so much smoother:
- Sharp, clean pruning shears or a craft knife: For taking precise cuttings.
- Rooting hormone (powder or gel): This is really helpful for Thymelaea virgata, giving those cuttings a good head start.
- Small pots or trays: With good drainage holes, of course!
- A well-draining potting mix: I like to use a 50/50 blend of seed-starting mix and perlite or coarse sand. This prevents waterlogging, which is critical.
- A clear plastic bag or propagator lid: To create a humid environment.
- Water: For misting.
- Labels or plant markers: To keep track of your little ones!
Propagation Methods
Let’s get our hands dirty! For Thymelaea virgata, I find stem cuttings are the most reliable and rewarding method.
Stem Cuttings:
- Select your cuttings: Look for healthy, non-flowering side shoots that are about 4-6 inches long. You want them to be pliable but not completely floppy. Gently bend a stem tip; if it snaps cleanly, it’s usually good to go.
- Make the cut: Using your sharp shears or knife, make a clean cut just below a leaf node (where a leaf attaches to the stem). This is where the rooting magic happens.
- Prepare the cutting: Gently remove the lower leaves from the cutting, leaving just a few at the very top. This prevents them from rotting in the soil. If you have very large leaves, you can even consider cutting them in half to reduce water loss.
- Apply rooting hormone: Dip the cut end of the stem into your rooting hormone, tapping off any excess. This step really boosts your success rate.
- Plant your cuttings: Fill your pots with your prepared well-draining mix. Make a small hole with a pencil or your finger and insert the cuttings, ensuring the rooting hormone-coated end is in the soil. Gently firm the soil around the base of each cutting.
- Create humidity: Water the soil gently until it’s evenly moist but not soggy. Then, cover the pots with a clear plastic bag or place them in a propagator with a lid. This traps moisture and mimics the humid environment your cuttings need.
The “Secret Sauce” (Pro Tips)
Here are a couple of tricks I’ve learned over the years that can make a big difference:
- Don’t let the leaves touch the water (if you were to try water prop): While I recommend soil propagation, if you were to experiment with water, always ensure the leaves stay above the water line. Any submerged foliage will simply rot and do more harm than good. For soil cuttings, this translates to making sure no leaves are touching the soil surface from a neighboring cutting that might be too close.
- Bottom heat is your friend: If you have a heat mat for propagation, using it will significantly speed up root development. Thymelaea virgata loves a bit of warmth from below, which encourages cell growth and rooting.
Aftercare & Troubleshooting
Once your cuttings are planted and tucked in their humid little homes, the waiting game begins. Keep the potting mix consistently moist but not waterlogged. You can lightly mist the cuttings every few days if the soil seems to be drying out, especially if you don’t have a propagator lid.
You’re looking for signs of new growth – tiny leaves unfurling at the top or perhaps a gentle tug revealing resistance (meaning roots are forming). This can take anywhere from 4 to 8 weeks, sometimes longer. Be patient!
The most common issue you might encounter is rot. If a cutting turns black and mushy, it’s unfortunately a lost cause. This is usually due to too much moisture, poor drainage, or lack of air circulation. Ensure your mix is airy and your pots have drainage. If you see mold, gently remove the affected cutting and improve ventilation.
A Encouraging Closing
Propagating Thymelaea virgata is a wonderful way to expand your collection and share its beauty with friends. Don’t be discouraged if your first attempts aren’t perfect. Gardening is a journey of learning and observation. Enjoy the process, celebrate the small victories, and soon you’ll have a small forest of these delightful plants to call your own! Happy gardening!
Resource:
https://identify.plantnet.org/k-world-flora/species/Thymelaea%20virgata%20(Desf.)%20Endl./data