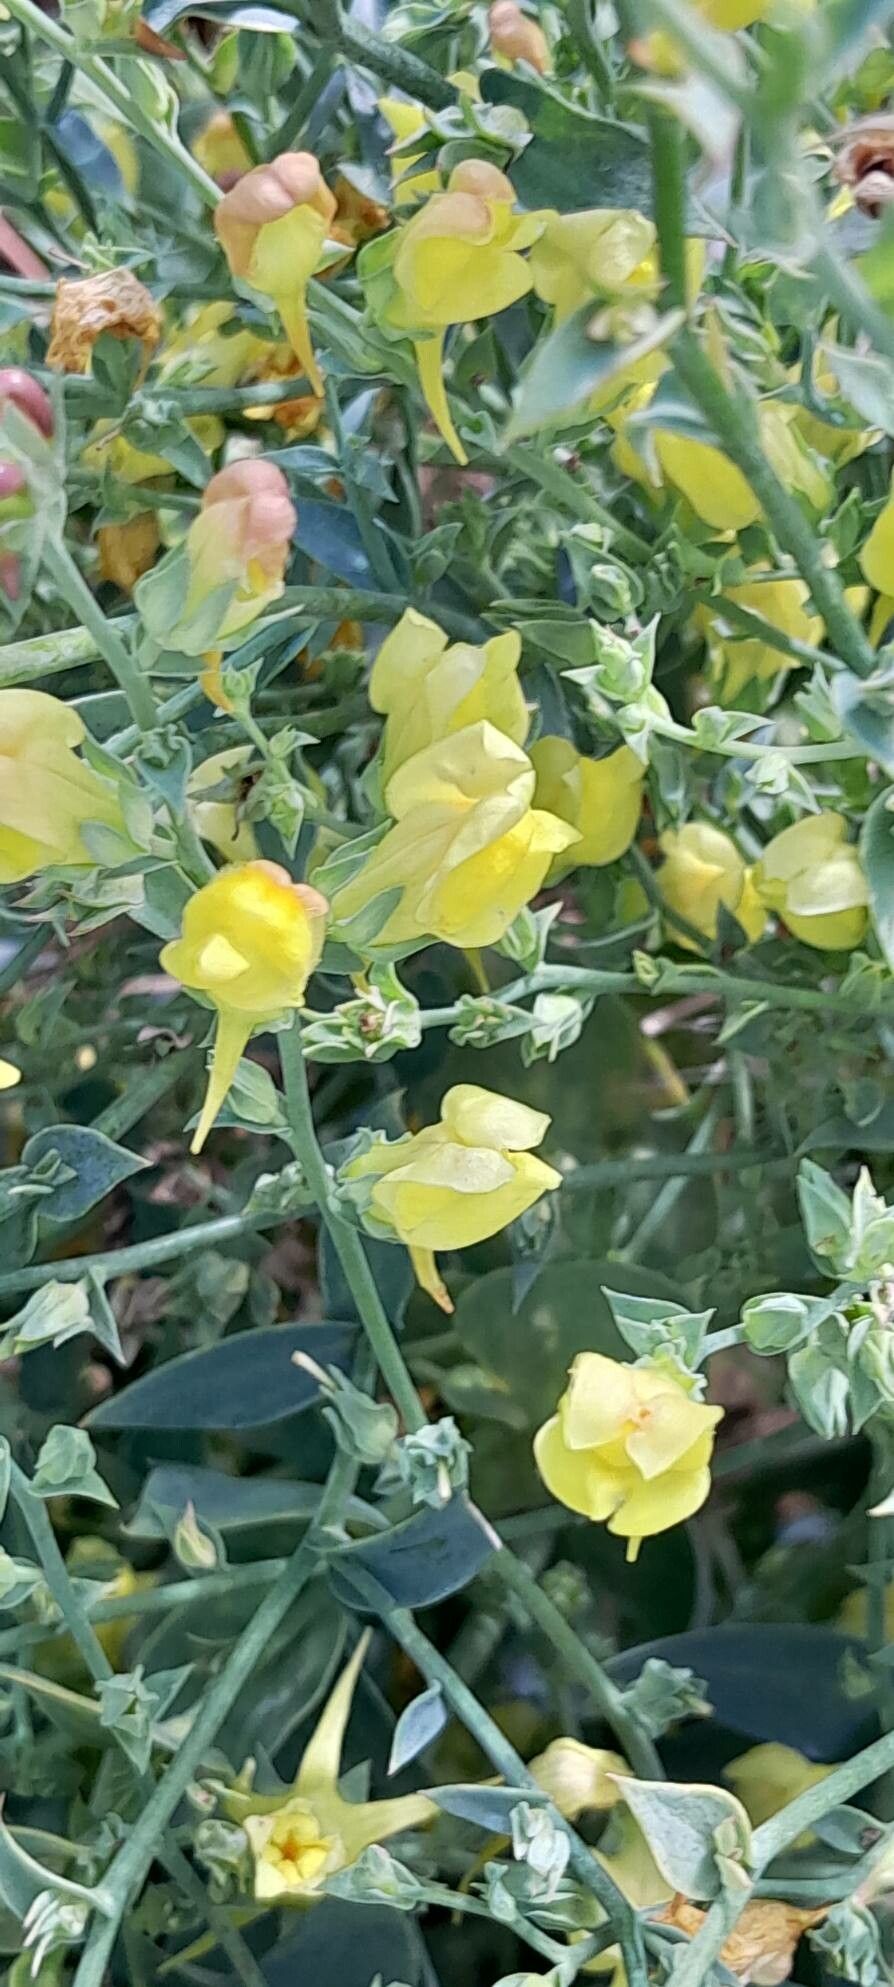
Ah, Linaria dalmatica! You know, those cheerful little yellow snapdragons that seem to burst with sunshine in the garden? If you’ve got a patch of this beauty, or are eyeing one at a local nursery, you’re in for a treat. Propagating them is a wonderful way to expand that burst of joy, or to share it with friends. For those of you just starting out, I’d say Linaria dalmatica is a lovely plant to get your propagation fingers a bit muddy with. It’s quite forgiving, which is always a good sign when you’re learning.
The Best Time to Start
My favorite time to get propagating Linaria dalmatica is definitely in late spring or early summer. The plant is in full swing then, putting out lots of fresh, healthy growth. This active growth period means the stems are more receptive to rooting. You can also try in early fall, if you’re lucky enough to have a milder climate, but spring is generally your best bet for robust new plants.
Supplies You’ll Need
Gathering your tools beforehand makes the whole process so much smoother. Here’s what I usually have on hand:
- Sharp pruning shears or a clean knife: For making nice, clean cuts.
- Rooting hormone (powder or gel): Not essential every time, but it gives cuttings a great boost.
- A good quality potting mix: I prefer a mix that drains well, something like a seed-starting mix or a blend of perlite and peat moss.
- Small pots or trays: With drainage holes, of course!
- Watering can or spray bottle: For gentle watering.
- Plastic bags or a propagation dome: To create a humid environment.
- Optional: Bottom heat mat: This can really speed things up!
Propagation Methods
Linaria dalmatica is pretty adaptable, and I’ve had success with a couple of methods.
Stem Cuttings: My Go-To
This is generally the most reliable way to get new plants.
- Select healthy stems: Look for young, non-flowering shoots that are about 4-6 inches long. They should be flexible but not leggy.
- Make the cut: Using your sharp shears, make a clean cut just below a leaf node (that little bump where a leaf grows from the stem). This is where the magic happens for root development.
- Prepare the cutting: Gently remove the lower leaves, leaving just a few at the top. If the remaining leaves are quite large, you can even trim them in half to reduce water loss.
- Dip in rooting hormone: If you’re using it, dip the cut end into the rooting hormone, tapping off any excess.
- Plant them up: Fill your small pots with your prepared potting mix. Make a small hole in the center with your finger or a pencil and gently insert the cutting. Firm the soil around it.
- Water well: Water thoroughly but gently. You want the soil moist, but not waterlogged.
- Create humidity: Cover the pot with a clear plastic bag, or place it under a propagation dome. Make sure the leaves don’t touch the plastic if possible, as this can encourage rot.
Division: For Established Plants
If you have a mature Linaria dalmatica plant that’s gotten a bit too big for its britches, you can try dividing it.
- Dig it up carefully: In spring or fall, when the soil is moist, gently dig up the entire plant. Try to disturb the roots as little as possible.
- Inspect the root ball: You’ll usually see several distinct crowns or sections.
- Separate the clumps: Use your hands or a clean trowel to gently pull or cut the root ball apart into smaller sections. Make sure each section has some roots and at least one growing point (a bud or shoot).
- Replant immediately: Plant each new division into its own spot in the garden or into pots filled with good soil. Water them in well.
The “Secret Sauce” (Pro Tips)
Here are a few little tricks I’ve picked up over the years that can make a difference:
- Don’t be afraid of the soil temperature! If you have a bottom heat mat, place your pots on it. Even a slightly warmer soil temperature encourages roots to form much faster. It’s like a cozy little incubator for your cuttings.
- Air circulation is key. While it’s important to create humidity, don’t seal those plastic bags completely. I often poke a few small holes in the bag before I leave them, or lift the lid of the dome for a few minutes each day to let fresh air in. This helps prevent fungal diseases.
- Be patient with the hormone. If you’re using rooting hormone, resist the urge to keep dipping. One good dip is all it needs. Too much can sometimes actually hinder rooting.
Aftercare & Troubleshooting
Once your cuttings have roots – and you’ll know this when you see new growth or feel a gentle tug when you lightly pull on a stem – it’s time to give them a bit more attention.
Gradually introduce them to normal room humidity by opening the plastic bag or dome a little more each day over a week. Once they’re fully acclimated, you can water them as you would any other young plant. Keep the soil consistently moist but not soggy.
What if things go wrong? The most common issue is rot. If your cuttings start to turn mushy and black, it’s usually a sign of too much moisture and not enough air circulation. In this case, sadly, they’re probably lost. If you see a little bit of tip browning on leaves, that’s often just a sign of them adjusting to the lower humidity. Don’t panic!
A Encouraging Closing
Gardening is all about patience and observation, isn’t it? Propagating Linaria dalmatica is a rewarding journey, and even if you lose a few along the way, you’ll learn from each experience. Enjoy the process, celebrate those tiny new roots, and soon you’ll have a garden brimming with sunshine! Happy planting!
Resource:
https://identify.plantnet.org/k-world-flora/species/Linaria%20dalmatica%20(L.)%20Mill./data