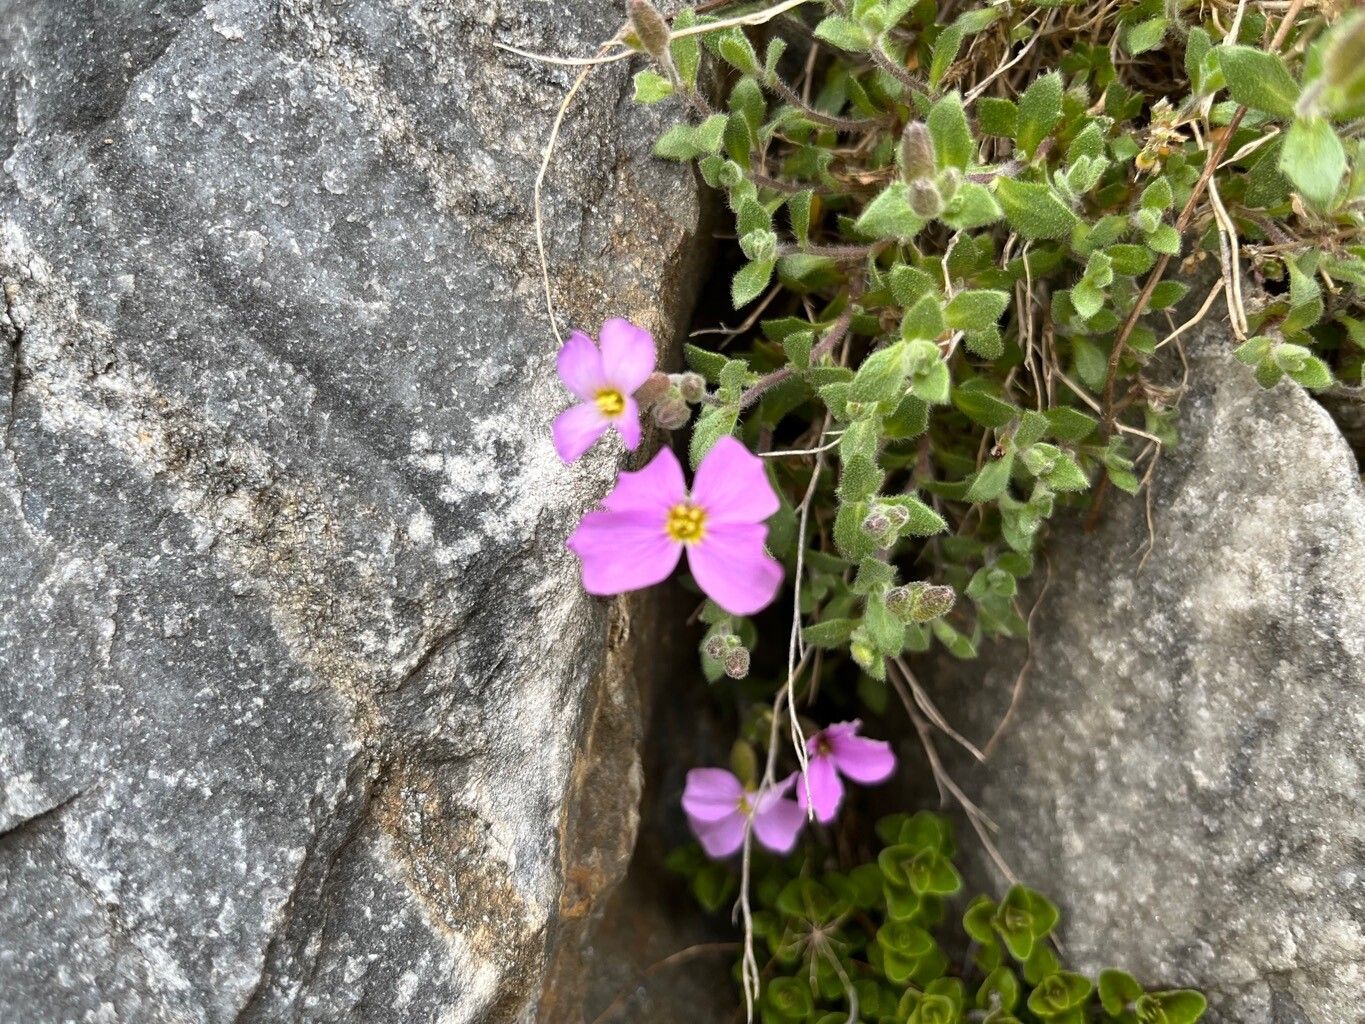
Oh, my dear fellow plant enthusiast, let’s talk about Aubrieta olympica! If you’re looking for a cascade of gorgeous purple or pink blooms to spill over your rockeries or drape down the sides of a pot, you’ve found your gal. Aubrieta, often called “Rock Cress,” is just an absolute joy to have in the garden, forming a dense mat of evergreen foliage that’s a welcome splash of green even when it’s not in flower. And the best part? Propagating it is surprisingly straightforward, making it a fantastic project for even the newest of green thumbs. You’ll feel such a thrill watching those tiny cuttings transform into flourishing new plants!
The Best Time to Start
For Aubrieta olympica, my favorite time to get propagating is right after it finishes flowering in late spring or early summer. This is when the plant is actively growing and has plenty of energy to put into developing new roots. You can also take cuttings in early autumn, but I find the success rate is a bit higher with those spring cuttings.
Supplies You’ll Need
Before we get our hands dirty, let’s gather our little toolkit:
- Sharp pruning shears or a clean, sharp knife: For making neat cuts.
- A good quality seed-starting mix or a blend of peat moss and perlite (50/50): This provides excellent drainage, which is crucial.
- Rooting hormone (optional, but helpful): A simple powder or gel can give your cuttings a little boost.
- Small pots or trays: Thoroughly cleaned, of course!
- A watering can or spray bottle: For gentle watering.
- Clear plastic bags or a propagation dome: To create a humid environment.
Propagation Methods
I find stem cuttings to be the most reliable and rewarding way to multiply your Aubrieta. Here’s how I do it:
- Select your stems: Look for healthy, non-flowering shoots that are about 3-4 inches long. They should be pliable but not floppy. Give them a gentle tug – if they snap easily, they’re usually too old.
- Make the cut: Using your sharp shears or knife, take a clean cutting just below a leaf node. A leaf node is where a leaf attaches to the stem. This is where the magic of root formation happens!
- Prepare the cutting: Gently strip off the lower leaves from the bottom inch or so of the cutting. This prevents them from rotting when they’re in the soil or water. If your cutting is particularly long, you can also pinch off the very tip to encourage branching.
- Dip in rooting hormone (optional): If you’re using rooting hormone, dip the cut end of the stem into the powder or gel. Tap off any excess.
- Plant the cuttings: Fill your small pots with your prepared soil mix. Make a small hole in the center with your finger or a pencil. Carefully insert the cut end of the Aubrieta cutting into the hole, making sure at least one leaf node is below the soil surface. Gently firm the soil around the cutting.
- Water gently: Water the soil thoroughly but gently. You want it to be moist, not waterlogged.
- Create humidity: The key here is to keep those cuttings humid. Pop the pots into clear plastic bags, sealing them loosely, or place them under a propagation dome. Make sure the leaves don’t touch the plastic if you can help it, as this can encourage rot.
The “Secret Sauce” (Pro Tips)
Now, for a couple of things I’ve learned over the years that really make a difference:
- The “Snip and Dip” Rule: When you take your cuttings, if you have a moment, dip the cut end directly into water immediately. This helps prevent air from getting into the stem, which can hinder root development. Then, you can proceed with the rooting hormone and planting.
- Bottom Heat is Your Friend: If you have a heated propagator or can place your pots on a gentle heat mat, this can significantly speed up the rooting process. Aubrieta likes a bit of warmth to get its roots going. Don’t make it too hot, though – just a nice, cosy temperature.
Aftercare & Troubleshooting
Once your cuttings are planted and tucked into their humid haven, the waiting game begins! Keep the soil consistently moist but never soggy. You might want to open the plastic bag or dome for a few minutes each day to allow for some air circulation and prevent fungal issues.
You’ll know your cuttings have taken when you see new growth appearing, or when you gently tug on the cutting and feel a bit of resistance. This usually takes anywhere from 3 to 6 weeks, sometimes a little longer.
The most common sign of trouble is rot. If you notice your cuttings turning mushy or black, it’s usually a sign of too much moisture and not enough air. Unfortunately, these can’t be saved, so it’s best to discard them and try again. Ensure your soil drains well!
A Encouraging Closing
Watching those little Aubrieta cuttings develop roots and grow into their own plants is such a rewarding experience. Be patient with them, give them a little love, and don’t be discouraged if not every single one takes. Gardening is all about learning and experimenting. Enjoy the process, and soon you’ll have a whole new carpet of beautiful Aubrieta to share! Happy propagating!
Resource:
https://identify.plantnet.org/k-world-flora/species/Aubrieta%20olympica%20Boiss./data