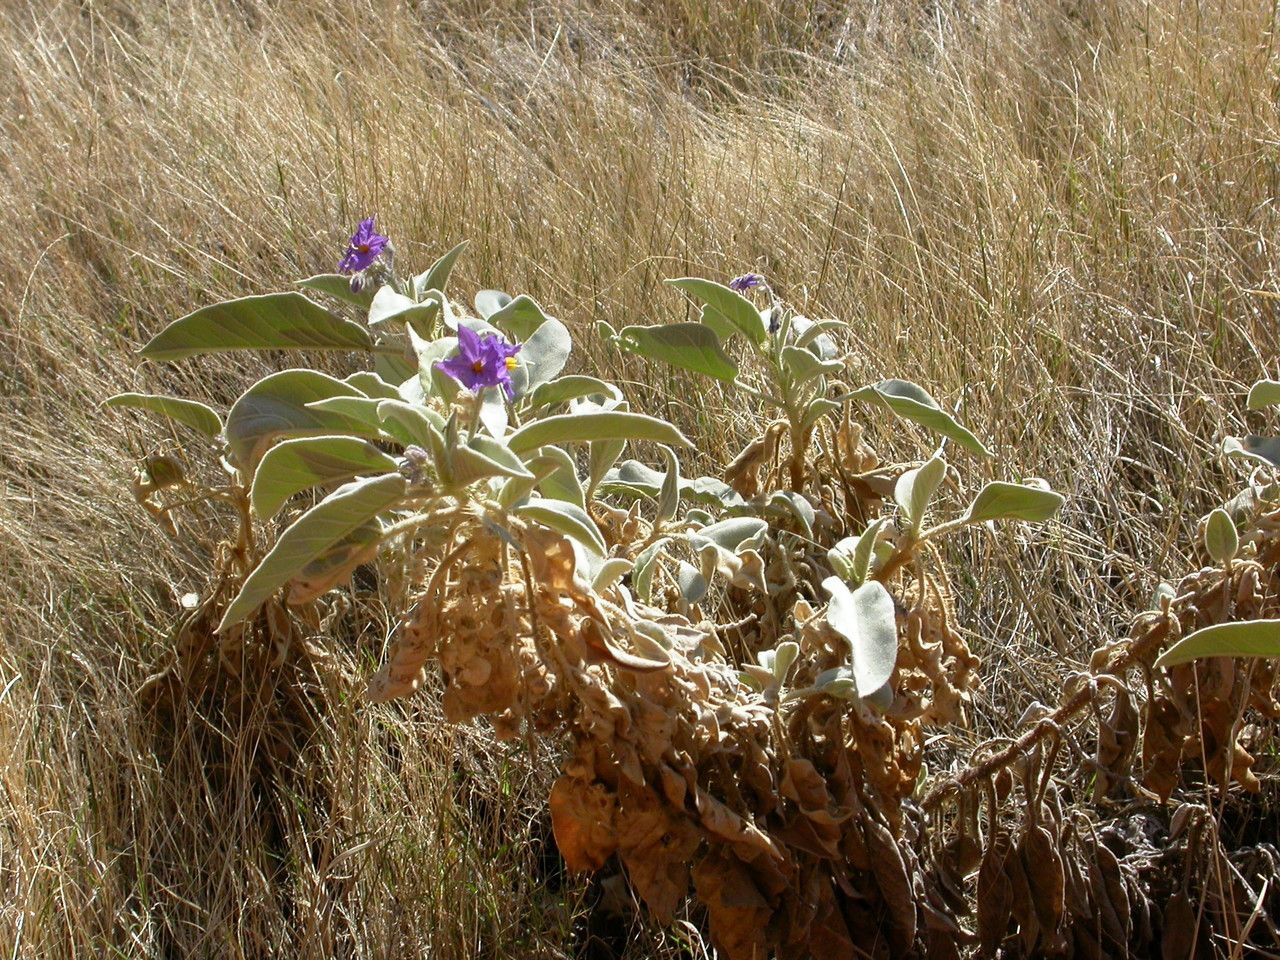
Oh, hello there! So, you’ve got your eye on Solanum centrale, haven’t you? That’s wonderful! This beautiful native Australian plant, with its cheerful berries and often sprawling charm, really does bring a unique touch to any garden. I’ve spent countless hours coaxing new life from it, and let me tell you, sharing that magic is one of the most rewarding parts of gardening for me. While it’s not quite as straightforward as sticking a begonia cutting in water, propagating Solanum centrale is absolutely achievable, even for those of you who are just setting out on your green-thumb journey. With a little know-how and a dash of patience, you’ll be well on your way to a little Solanum army.
The Best Time to Start
For the highest success rate, I always recommend taking cuttings during the active growing season. This generally means late spring through to early autumn. The plant is full of vigor during these warmer months, meaning it’s more likely to produce healthy, quick-rooting cuttings. Avoid taking them during the heat of summer if your climate is particularly harsh, or during winter when growth slows right down. Aim for a time when the plant is putting on new shoots, but before it’s putting all its energy into flowering or fruiting.
Supplies You’ll Need
Gathering your tools before you begin makes the whole process smoother. Here’s what I typically have on hand:
- Sharp pruning shears or a clean, sharp knife: For making clean cuts.
- A rooting hormone powder or gel: This is highly recommended for Solanum centrale as it can sometimes be a bit slow to root.
- Propagating mix: A well-draining blend is crucial. I usually use a 50/50 mix of perlite and peat moss, or coco coir. Some growers like to add a bit of very fine bark.
- Small pots or seed trays: Clean ones, of course.
- A clear plastic bag or propagation dome: To create a humid environment.
- Watering can with a fine rose: For gentle watering.
- Labels and a marker: To keep track of your cuttings!
Propagation Methods
While a few methods work, I find that taking stem cuttings is generally the most reliable and productive way to propagate Solanum centrale.
Stem Cuttings:
- Select your parent plant: Choose a healthy, mature Solanum centrale. Look for stems that have new, leafy growth but are not woody.
- Take the cuttings: Using your clean pruners or knife, cut sections of stem about 10-15 cm long. Make your cut just below a leaf node (where the leaf meets the stem). This is where the magic happens for root formation.
- Prepare the cuttings: Gently remove the lower leaves from the cutting, leaving just two or three at the top. This prevents them from rotting in the soil and reduces moisture loss. You can also cut larger leaves in half to further reduce transpiration.
- Apply rooting hormone: Dip the cut end of each stem into your rooting hormone powder or gel. Tap off any excess.
- Pot the cuttings: Fill your small pots or trays with the propagating mix. Make a pilot hole with a pencil or your finger. Insert the treated end of the cutting into the hole, making sure the node where you removed the leaves is buried. Gently firm the soil around the stem.
- Water gently: Water the soil thoroughly but gently. You want it moist, not waterlogged.
- Create humidity: Place the pots into a clear plastic bag or cover with a propagation dome. This will trap moisture and create a mini-greenhouse effect. Place in a warm, bright location out of direct, harsh sunlight.
The “Secret Sauce” (Pro Tips)
Over the years, I’ve picked up a few things that really give Solanum centrale cuttings a helping hand.
- Bottom heat is a game-changer. If you have a heat mat for seedlings, place your pots on it. This consistent warmth encourages root development from below, significantly increasing your success rate.
- Don’t overcrowd your cuttings. Give them a bit of breathing room in the pot. Too many cuttings crammed together can lead to disease and poor air circulation, which isn’t ideal.
- Mist regularly, but avoid soggy leaves. While humidity is key, letting water sit on leaves for extended periods can encourage fungal issues. A light misting a couple of times a day, especially if you’re not using a dome, can help keep the leaves turgid.
Aftercare & Troubleshooting
Once your cuttings are potted, keep them consistently moist and housed in that humid environment. You’ll know they’re starting to take hold when you see new leaf growth appearing at the top of the stem. This usually takes anywhere from 4 to 8 weeks, sometimes longer.
The most common issue you might face is rot. If a cutting turns black and mushy or just wilts dramatically without any sign of rooting, it’s likely rotted. This is usually caused by too much moisture and poor air circulation, or not using a well-draining mix. If you see this happening, remove the affected cutting immediately to prevent it from spreading. Another sign of failure is if the cutting simply shrivels up and dies without growing. This might mean your environment is too dry, or the cutting wasn’t viable from the start.
Once roots have clearly formed (you can gently check by giving the cutting a very light tug – if there’s resistance, they’re rooting!), you can gradually acclimate your new plants to normal humidity by opening the plastic bag or dome a little each day. When they seem sturdy and are growing well, they are ready to be transplanted into their own small pots with a good potting mix.
A Encouraging Closing
See? It’s truly a process of nurturing and observation. Don’t be discouraged if you have a few that don’t make it. Gardening is all about trial and error, and each attempt teaches you something new. Keep experimenting, be patient with your little Solanums, and enjoy the wonder of growing something beautiful from a tiny piece of a parent plant. Happy propagating!
Resource:
https://identify.plantnet.org/k-world-flora/species/Solanum%20centrale%20J.M.Black/data