Hello there, fellow plant lovers!
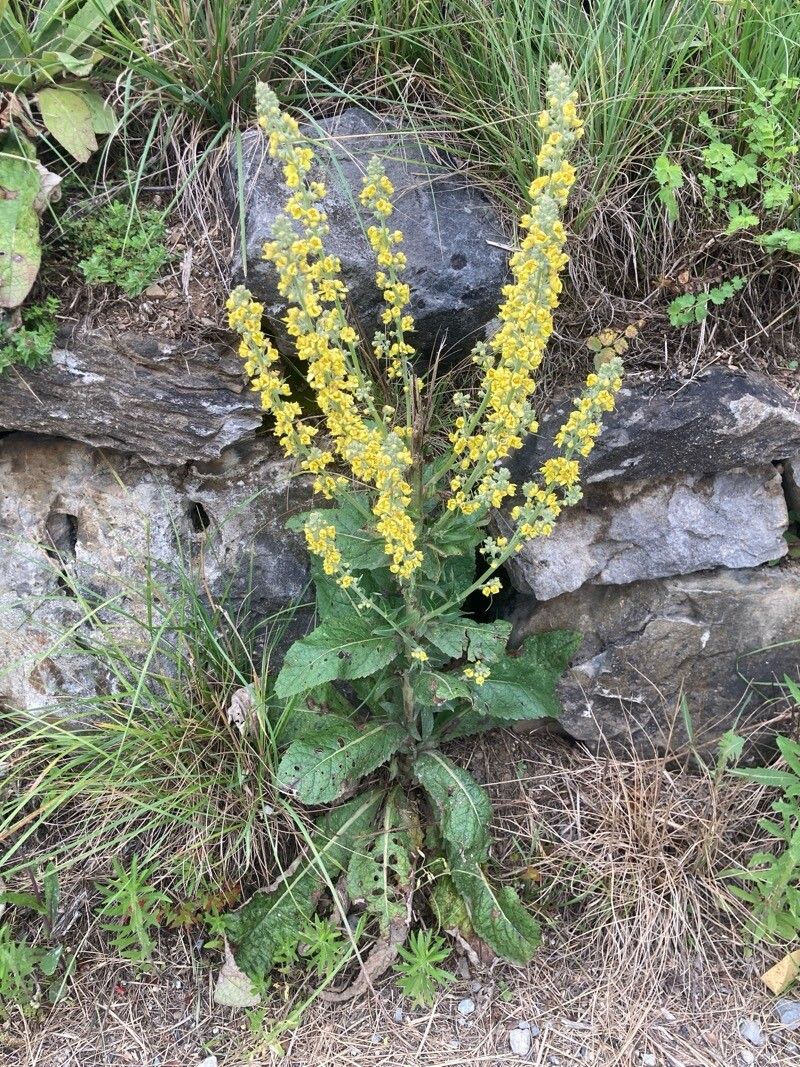
If you’ve ever admired those tall, elegant spires of Verbascum lychnitis, with their delicate white or pale yellow flowers dancing in the breeze, you’re not alone. These beauties add such a wonderful vertical accent to any garden, and trust me, propagating them yourself is incredibly rewarding. It’s a real thrill to watch a tiny cutting or a carefully divided piece transform into its own magnificent specimen. For beginners, I’d say Verbascum lychnitis falls into the “moderately easy” category. It’s not quite as foolproof as some succulents, but with a little attention, you’ll be well on your way to success.
The Best Time to Start
For the highest success rate, late spring or early summer is your sweet spot. This is when the plant is actively growing and has plenty of energy to put into developing new roots. You’ll want to work with healthy, non-flowering stems if you’re taking cuttings. If you’re thinking about division, wait until the plant is dormant in early spring or just after it finishes blooming in late summer/early fall.
Supplies You’ll Need
Before we dive in, let’s gather our tools. Having everything ready makes the process so much smoother!
- Sharp pruning shears or a clean knife: For taking cuttings and dividing roots.
- Small pots or trays: With drainage holes, of course!
- Well-draining potting mix: I like a blend of peat moss, perlite, and a bit of compost. You can also buy specific seed-starting or cutting mixes.
- Rooting hormone powder or gel (optional but recommended): This really gives your cuttings a helping hand.
- Watering can with a fine rose or spray bottle: Gentle watering is key.
- Plastic bags or a propagator lid: To create a humid environment.
- Labels and a marker: So you don’t forget what you’ve planted where!
Propagation Methods
Let’s get our hands dirty with the best ways to multiply your Verbascum.
Stem Cuttings
This is my go-to method for Verbascum.
- Select your parent plant: Choose a healthy, mature Verbascum that’s not currently flowering.
- Take cuttings: Using your clean shears, cut sections of stem that are 4-6 inches long. Make the cut just below a leaf node – that’s the little bump where a leaf attaches to the stem.
- Prepare the cuttings: Gently remove the lower leaves, leaving just a couple at the very top. This prevents them from rotting in the soil. If you’re using rooting hormone, dip the cut end into it now.
- Plant the cuttings: Fill your small pots with your well-draining mix. Make a small hole with a pencil or your finger and insert the cutting, ensuring the leaf nodes are buried. Gently firm the soil around it.
- Create humidity: Water the soil lightly. Then, cover the pots with a plastic bag, securing it with a rubber band, or place them in a propagator. You can also use a clear plastic lid. Make sure the leaves don’t touch the plastic.
Division
This method is best for established, clump-forming plants.
- Excavate the plant: In early spring or late fall, carefully dig up your Verbascum plant. Try to get as much of the root ball as possible.
- Identify sections: Gently shake off excess soil. You’ll see the crown of the plant, where the roots meet the stems. Look for natural divisions where you can see distinct root systems and several stems emerging from one area.
- Separate the divisions: Using your hands or a clean knife, carefully split the clump into smaller sections. Each division should have a healthy portion of roots and at least one or two stems. Remove any dead or damaged foliage.
- Replant immediately: Dig new holes in your garden or replant in pots filled with good soil. Ensure the top of the root ball is level with the soil surface. Water them in well.
The “Secret Sauce” (Pro Tips)
Here are a couple of little tricks I’ve picked up over the years that can make a big difference.
- Bottom heat is your friend: For cuttings, placing your pots on a heated propagator mat can significantly speed up root development. It mimics the warmth of spring soil and encourages those roots to form much faster.
- The importance of air circulation: While humidity is crucial for cuttings, don’t let them sit in stagnant, damp air for too long. Ventilate your propagator or lift the plastic bag daily for a few minutes to prevent fungal issues. It’s a delicate balance!
Aftercare & Troubleshooting
Once those little roots start to form – you’ll know when you see new growth or feel a gentle tug when you lightly pull on the cutting – it’s time to transition them.
- Acclimatize gradually: Slowly remove the plastic covering over a week or so, allowing the new plant to adjust to lower humidity.
- Watering: Water when the top inch of soil feels dry. Avoid letting them sit in soggy soil, as this is a sure way to invite root rot – a common enemy.
- Sunlight: Place newly rooted cuttings in a bright spot, but out of direct, scorching sun until they are well-established.
If your cuttings look limp and refuse to perk up, or if you see mold growing, it’s often a sign of too much moisture and not enough air. Don’t be discouraged if a few don’t make it. It’s all part of the learning process!
A Little Encouragement
Propagating Verbascum lychnitis is a wonderfully satisfying endeavor. Be patient, give them the right conditions, and enjoy the journey of growing new life. Happy gardening!
Resource:
https://identify.plantnet.org/k-world-flora/species/Verbascum%20lychnitis%20L./data