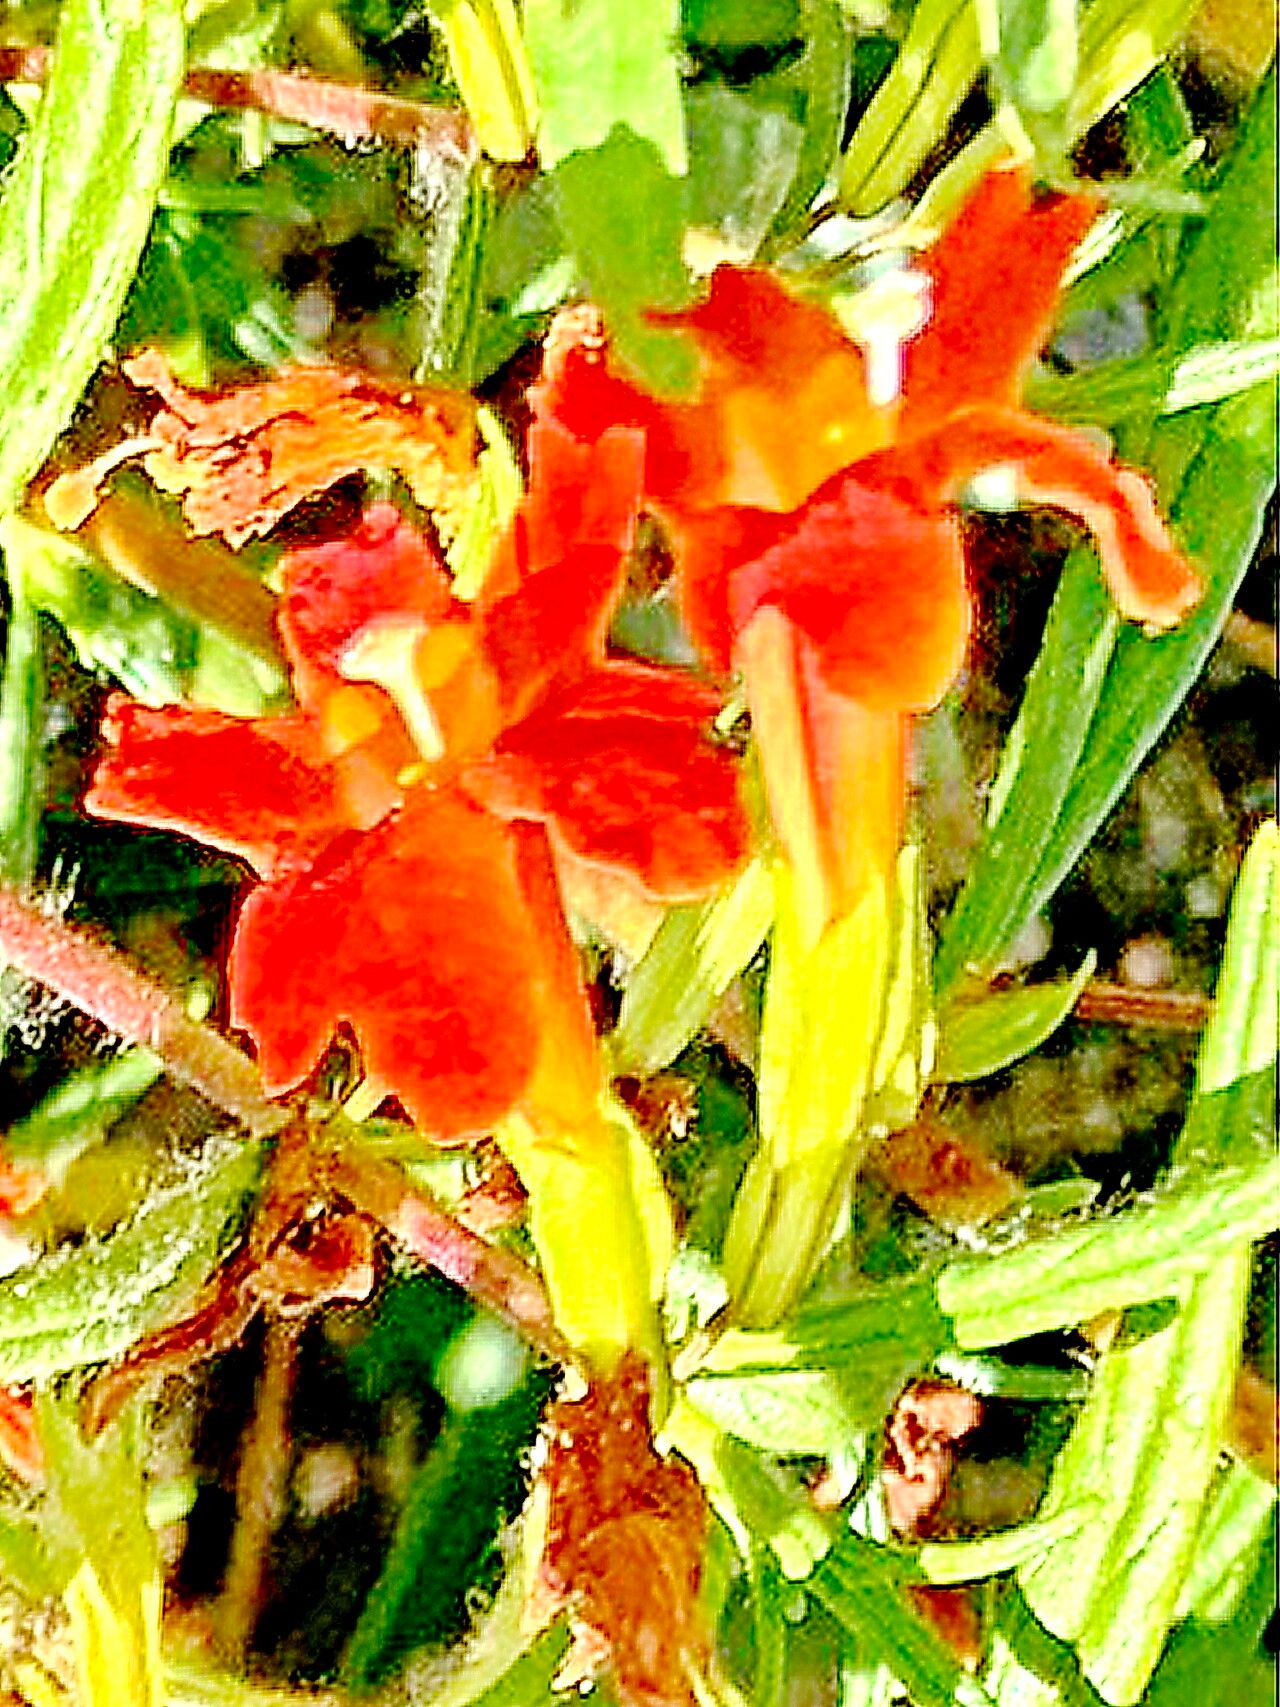
Hello there, fellow garden enthusiasts! It’s so wonderful to connect with you today. We’re going to talk about a truly special California native: Diplacus puniceus, also known as sticky monkeyflower. You know, those vibrant bursts of orange, sometimes even red or pink, that seem to glow against our sunny hillsides? They’re just delightful, aren’t they? And the best part? Propagating them is surprisingly straightforward, even for those of you just dipping your toes into the world of plant propagation. It’s a truly rewarding experience to nurture a new life from a tiny cutting.
The Best Time to Start
For Diplacus puniceus, spring offers the sweet spot. As the plant starts its vigorous growth after the rainy season, you’ll find the stems are plump and full of life, making them prime candidates for taking cuttings. Look for new, but not overly soft, growth. Think of it like harvesting the best produce – you want it at its peak!
Supplies You’ll Need
Ready to get your hands dirty? Here’s a little list of what you’ll want to have on hand:
- Sharp Pruning Shears or a Sharp Knife: Cleanliness is key here to prevent disease.
- Rooting Hormone (Optional but Recommended): A simple powder or gel can give your cuttings an extra boost.
- Well-Draining Potting Mix: A good blend for succulents or natives works beautifully. I often use a mix of equal parts perlite and peat moss, or even a commercial cactus mix.
- Small Pots or Trays: Clean containers are a must.
- Plastic Bags or a Clear Dome: To create a humid environment for your cuttings.
- Watering Can with a Fine Rose: Gentle watering is essential.
Propagation Methods
The most reliable way to multiply your sticky monkeyflowers is through stem cuttings. It’s quite simple, really.
- Take Your Cuttings: In the spring, select healthy, non-flowering stems. Using your clean shears or knife, make a cut just below a leaf node (where a leaf attaches to the stem). You’re aiming for cuttings that are about 4-6 inches long. Remove the lower leaves, leaving just a few at the top.
- Prepare for Rooting: If you’re using rooting hormone, dip the cut end of the stem into it. Gently tap off any excess.
- Plant Your Cuttings: Fill your small pots or trays with your well-draining potting mix. Make a small hole in the center of the soil with your finger or a pencil. Insert the bottom end of the cutting into the hole, ensuring the leaf nodes that were below the soil line are covered. Gently firm the soil around the cutting.
- Water Gently: Water the soil thoroughly, but avoid waterlogging it. The soil should be moist, not soggy.
- Create Humidity: This is where the plastic bag or dome comes in. Cover the pot loosely with a plastic bag, creating a mini greenhouse effect. Make sure the leaves don’t touch the plastic if possible. If you’re using a tray with multiple cuttings, a clear dome works wonders.
The “Secret Sauce” (Pro Tips)
I’ve learned a few things over the years that can really make a difference.
- Cleanliness is Paramount: I can’t stress this enough! Always use sterilized tools and clean pots. A little isopropyl alcohol on your shears goes a long way in preventing fungal infections.
- Bottom Heat is Your Friend: If you have a heat mat, placing your pots on it can significantly speed up root development. It mimics the warmth of spring soil and encourages those roots to get growing.
- Don’t Overwater Early On: While humidity is good, soggy soil is the enemy of cuttings. Let the very top of the soil dry out slightly between waterings. It encourages the plant to seek moisture, thereby developing roots.
Aftercare & Troubleshooting
Once your cuttings are nestled in their humid little homes, keep them in a bright spot, but avoid direct, harsh sunlight which can scorch them. Be patient! It can take several weeks before you see new growth, which is a good sign that roots are forming. You can gently tug on a cutting to feel for resistance; that’s your indicator of roots!
The most common issue you might encounter is rot. This usually happens if the soil stays too wet. If you notice mushy stems or them turning black and falling over, it’s a sign of rot. Sadly, there’s not much you can do at that point, so it’s best to discard the affected cuttings and start again, paying closer attention to watering and drainage.
A Encouraging Closing
So there you have it! Propagating your own Diplacus puniceus is a truly rewarding endeavor. Don’t be discouraged if your first few attempts aren’t perfect. Gardening is a journey of learning and observation. Be patient, enjoy the process of nurturing these little bits of life, and soon you’ll have even more of those cheerful monkeyflowers gracing your garden. Happy growing!
Resource:
https://identify.plantnet.org/k-world-flora/species/Diplacus%20puniceus%20Nutt./data