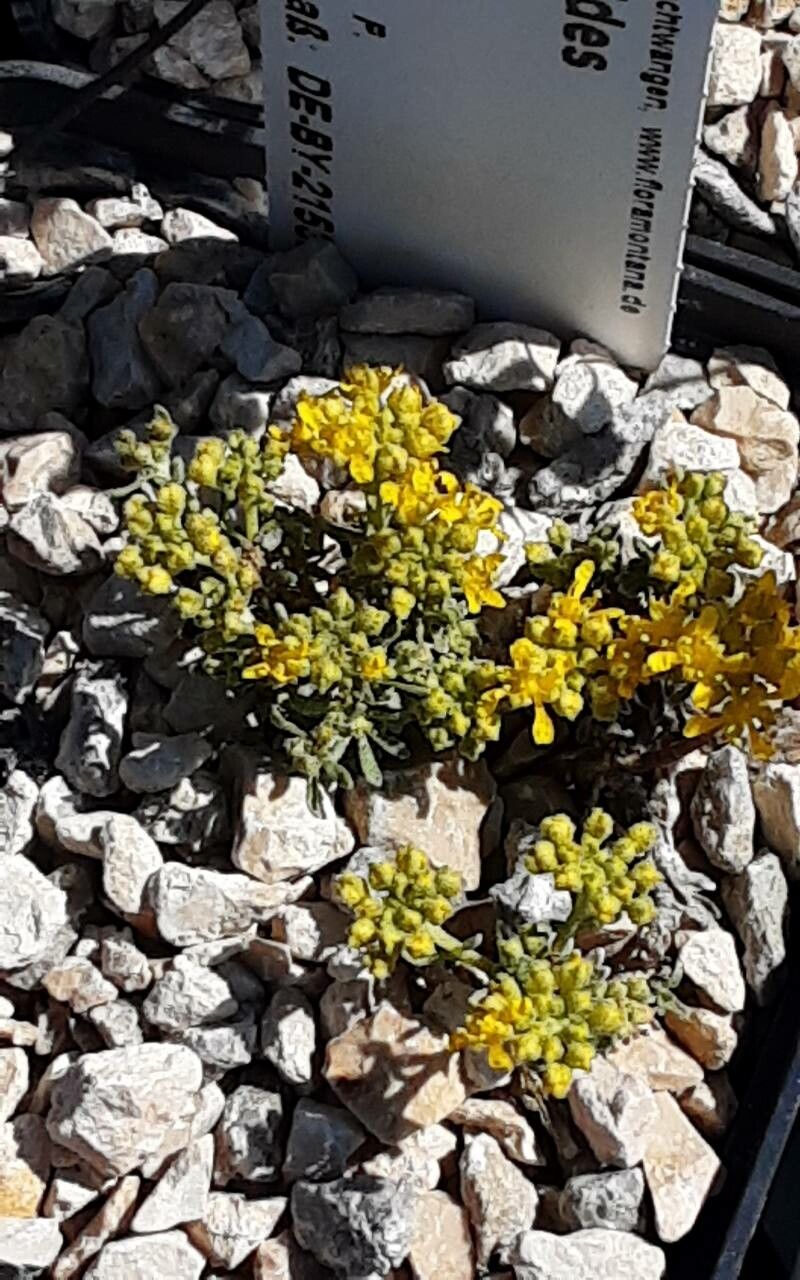
Hello fellow garden enthusiasts! Today, we’re diving into the delightful world of Alyssum aizoides, a plant that truly brings sunshine to any space. Its tiny, honey-scented flowers cascade like a sweet, golden waterfall, creating a carpet of cheerful color that’s simply irresistible. I’ve been growing and sharing this little gem for years, and let me tell you, propagating it is incredibly rewarding. It’s also wonderfully beginner-friendly, which is always a bonus, right? You’ll be amazed at how easy it is to multiply this beauty.
The Best Time to Start
For the best success, I find that late spring to early summer is your golden ticket. This is when Alyssum aizoides is actively growing and full of life. Taking cuttings during this period means they have ample energy to focus on rooting rather than trying to survive a harsh season. You’re essentially catching them at their peak!
Supplies You’ll Need
Here’s what you’ll want to gather before you get started:
- Sharp pruning shears or a clean craft knife: For making neat cuts.
- A well-draining potting mix: I love a mix of perlite, peat moss, and a bit of sand for my cuttings. Or a good quality seed starting mix works wonders too.
- Small pots or seed trays: Clean ones, please!
- Rooting hormone (optional but helpful): A powder or gel form will do.
- A watering can with a fine rose attachment or a spray bottle: Gentle watering is key!
- A clear plastic bag or a propagator lid: To create a humid environment.
- Labels and a marker: To keep track of what’s what.
Propagation Methods
I primarily use two methods for Alyssum aizoides, and both are quite effective:
Stem Cuttings
This is my go-to for a reason – it’s super reliable!
- Select healthy stems: Look for non-flowering, actively growing shoots from your mature plant. They should be about 3-4 inches long.
- Make the cut: Using your sharp pruning shears or knife, make a clean cut just below a leaf node (where a leaf joins the stem). This is where the magic happens for root formation.
- Prepare the cutting: Gently remove the lower leaves, leaving just a few at the top. If your cutting is long, you can even snip off half of those top leaves to reduce water loss.
- Dip in rooting hormone (optional): If you’re using rooting hormone, dip the cut end into it. Just a light coating is needed.
- Plant the cutting: Fill your pots or trays with your well-draining potting mix. Make a small hole with a pencil or your finger and gently insert the cutting, ensuring the leaf nodes are below the soil surface.
- Water gently: Water thoroughly but gently, so as not to disturb the cuttings.
- Create humidity: Cover the pot or tray with a clear plastic bag or propagator lid. This creates a mini greenhouse effect, keeping the cuttings moist and happy. Place it in a bright spot out of direct, scorching sun.
Division
This method is fantastic if your Alyssum aizoides plant has become a bit leggy and you want to give it a fresh start or simply more plants.
- Gently dig up the plant: In spring or early summer, carefully dig around the base of the plant. Try to disturb the roots as little as possible.
- Separate the clumps: Gently shake off excess soil and look for natural divisions in the root ball. You can often tease apart sections with your hands. If it’s a bit stubborn, a clean trowel or knife can help. Aim for sections that have both roots and shoots.
- Replant immediately: Plant the divided sections into their new homes – either back into the garden or into pots filled with your good potting mix.
- Water well: Water them in thoroughly and keep the soil consistently moist for the first few weeks as they re-establish.
The “Secret Sauce” (Pro Tips)
Here are a couple of things I’ve learned over the years that really make a difference:
- Don’t let the leaves touch the water: This is crucial for stem cuttings. If the leaves are submerged in water (either from over-watering the soil or in water propagation), they’re far more prone to rotting before they can root. Keep those leaves up and out of the wet!
- Bottom heat is a game-changer: If you can, placing your pots on a heated propagator mat can significantly speed up root development. It mimics the warmth of spring and gives those roots the energy they need to kickstart their growth.
Aftercare & Troubleshooting
Once your cuttings have started to show sign of life – think new tiny leaves and a general perkiness – you’re almost there!
- Acclimatize them: Gradually introduce them to less humid conditions by opening the plastic bag or propagator lid a little each day over a week. This prevents shock. Water them keeping the soil consistently moist but never soggy.
- Look for roots: You can often tell they’ve rooted when you gently tug on a cutting and feel resistance. You can also peek into the drainage holes of the pot.
- Transplant: Once they have a good root system, you can transplant them into larger pots or their permanent garden spots. Give them a bit of diluted liquid feed once they’re settled.
The most common issue you might encounter is rot. This usually happens from overwatering or poor drainage. If you see your cuttings wilting, turning black and mushy, that’s a clear sign of rot. The best prevention is good drainage and avoiding overwatering. Sometimes, despite our best efforts, not every cutting will make it, and that’s perfectly okay! It’s part of the gardening learning curve.
So there you have it! Propagating Alyssum aizoides is a simple joy, a way to share its sunny disposition and multiply that beautiful fragrance. Be patient with your little plant babies, enjoy the process, and soon you’ll have a garden overflowing with golden blooms. Happy gardening!
Resource:
https://identify.plantnet.org/k-world-flora/species/Alyssum%20aizoides%20Boiss./data