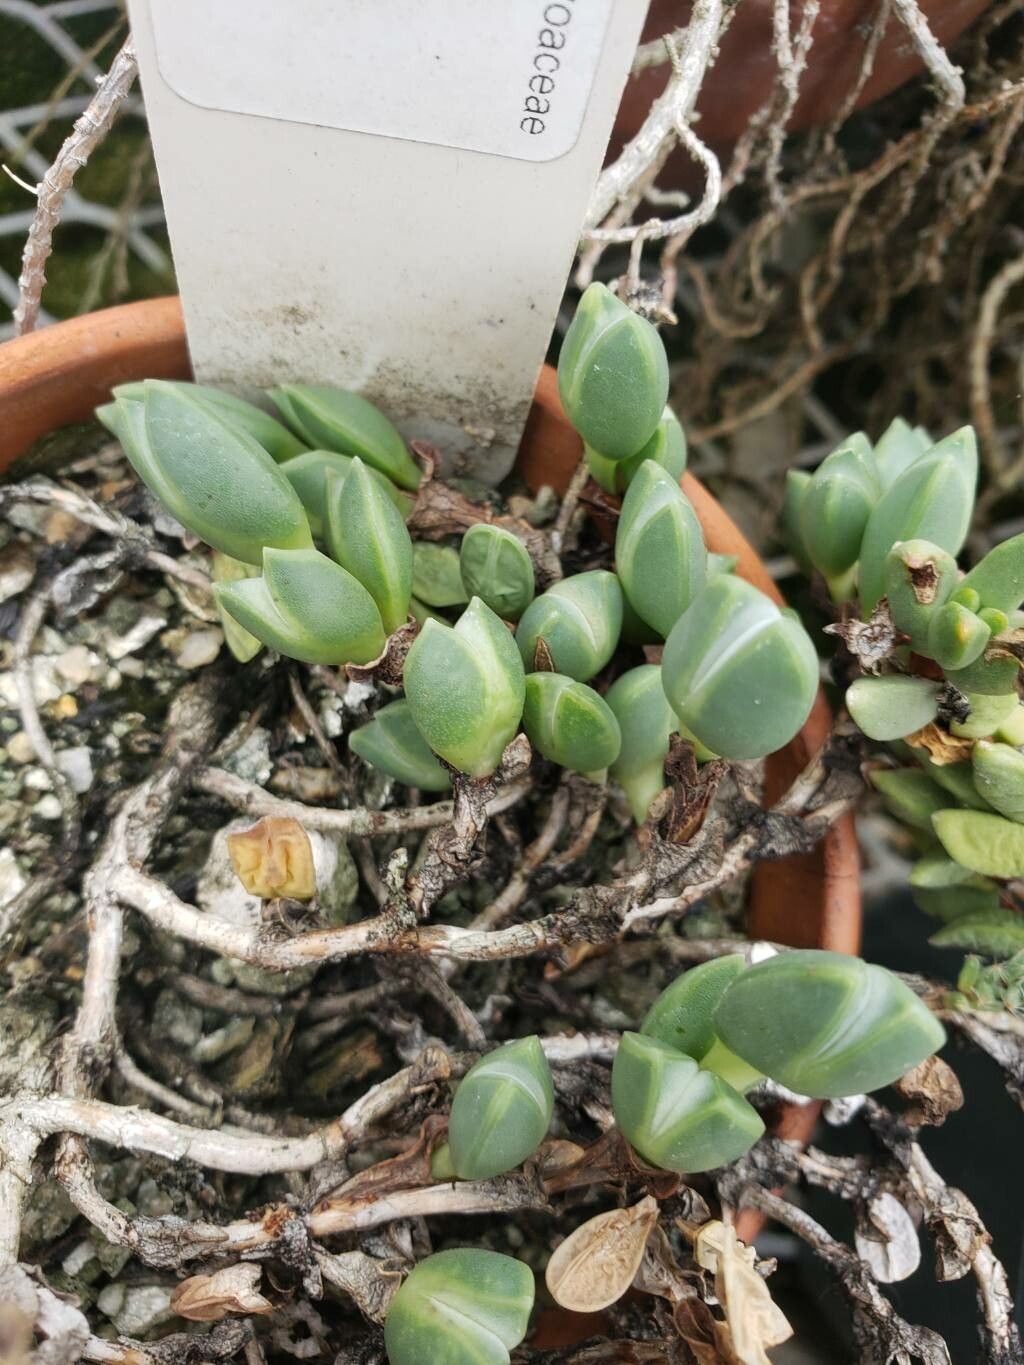
Oh, hello there! Let’s talk about Braunsia geminata. I’ve always found this little succulent so charming. Its unique, almost jewel-like foliage has a way of bringing a touch of the unexpected to any succulent collection. And the best part? It’s quite rewarding to multiply it, giving you more of those lovely clusters to share or fill in those bare spots in your pots. Now, for beginners, I’d say Braunsia geminata is a moderately easy plant to propagate. It’s not tricky, but a little attention to detail goes a long way.
The Best Time to Start
When it comes to getting new little Braunsia geminata plants going, I’ve found the late spring and early summer to be absolutely prime time. This is when the plant is actively growing, buzzing with energy, and has the best reserves to bounce back after taking cuttings. You’re essentially working with nature’s peak performance season, which naturally leads to higher success rates.
Supplies You’ll Need
Here’s what you’ll want to have on hand for our propagation adventure:
- Sharp, clean pruning shears or a sharp knife: This is crucial for making clean cuts that heal well.
- Well-draining potting mix: I like a blend of regular potting soil with a generous amount of perlite or pumice. Cactus and succulent mixes work beautifully too.
- Small pots or trays: Whatever you’ll be planting your cuttings into.
- Rooting hormone (optional but helpful): Especially for stem cuttings, this can give them a little boost. I usually opt for a powder.
- Watering can or spray bottle: For gentle watering.
- Patience! This is the most important tool of all.
Propagation Methods
Let’s get our hands dirty! For Braunsia geminata, I find that stem cuttings are usually the most successful and straightforward method.
Stem Cuttings:
- Select a healthy stem: Look for a mature, healthy stem on your Braunsia geminata. You want one that isn’t too sappy or too woody.
- Make the cut: Using your sharp shears or knife, make a clean cut about 2-4 inches down the stem. Try to get a piece that has at least a few sets of leaves.
- Allow to callus: This is a super important step! Place the cut stem in a dry, airy spot away from direct sunlight for a few days (2-5 days is usually perfect). You’ll see the cut end dry out and form a protective scab. This prevents rot when you plant it.
- Apply rooting hormone (optional): If you’re using rooting hormone, dip the callused end into the powder, tapping off any excess.
- Plant the cutting: Gently push the callused end of the stem into your prepared well-draining soil. Make sure at least one leaf node (where the leaves attach to the stem) is below the soil surface.
- Water sparingly: Give the soil a light watering. You want it moist, not soggy. Too much water at this stage is the enemy!
Water Propagation (Alternative, but be mindful):
While I primarily use soil for this one, you can try water propagation.
- Prepare the cutting: Follow steps 1 and 2 above, but skip the callusing step for water propagation.
- Place in water: Put the cut end of the stem in a jar or glass of water. Crucially, ensure no leaves are submerged in the water. They will rot quickly.
- Change water regularly: Change the water every few days to keep it fresh.
- Wait for roots: You should see small roots forming after a few weeks.
- Plant in soil: Once the roots are about an inch long, carefully transfer the cutting to well-draining potting soil, treating it like a fresh cutting.
The “Secret Sauce”
Here are a couple of tricks I’ve picked up over the years that really help:
- Don’t over-water fresh cuttings! I can’t stress this enough. It’s the most common mistake. The plant has no roots yet and will readily rot if the soil stays waterlogged. Let the soil dry out a bit between waterings.
- Bottom heat can be a game-changer, especially in cooler conditions. If you have a propagation mat or can place your pots on top of something gently warm (like near a router, though be careful not to overheat!), it really encourages root development. It mimics spring conditions nicely.
Aftercare & Troubleshooting
Once you see signs of new growth or feel a bit of resistance when you gently tug on the cutting – that’s a good sign roots have formed!
- Continue with light watering: Keep the soil lightly moist for a few weeks. As the plant establishes, you can gradually let the soil dry out more between waterings, just like your mature succulent.
- Gradually introduce to light: Start by placing your new cuttings in bright, indirect sunlight. Once they have a good root system, you can slowly acclimate them to brighter conditions.
- Watch for rot: The biggest enemy is rot. If the cutting turns mushy, black, or smells foul, it’s likely succumbing to rot. Try to remove it immediately. This is often due to overwatering or insufficient callusing.
- What if nothing happens? Sometimes, a cutting just won’t take. Don’t get discouraged! It’s a natural part of the process. Try again with a fresh cutting and perhaps adjust your timing or watering.
A Encouraging Closing
Propagating plants is such a wonderful way to connect with nature and expand your green family. For Braunsia geminata, a little patience and following these steps will reward you with more of these delightful succulents. Enjoy the process, celebrate every new root, and before you know it, you’ll have a little forest of your own! Happy propagating!
Resource:
https://identify.plantnet.org/k-world-flora/species/Braunsia%20geminata%20(Haw.)%20L.Bolus/data