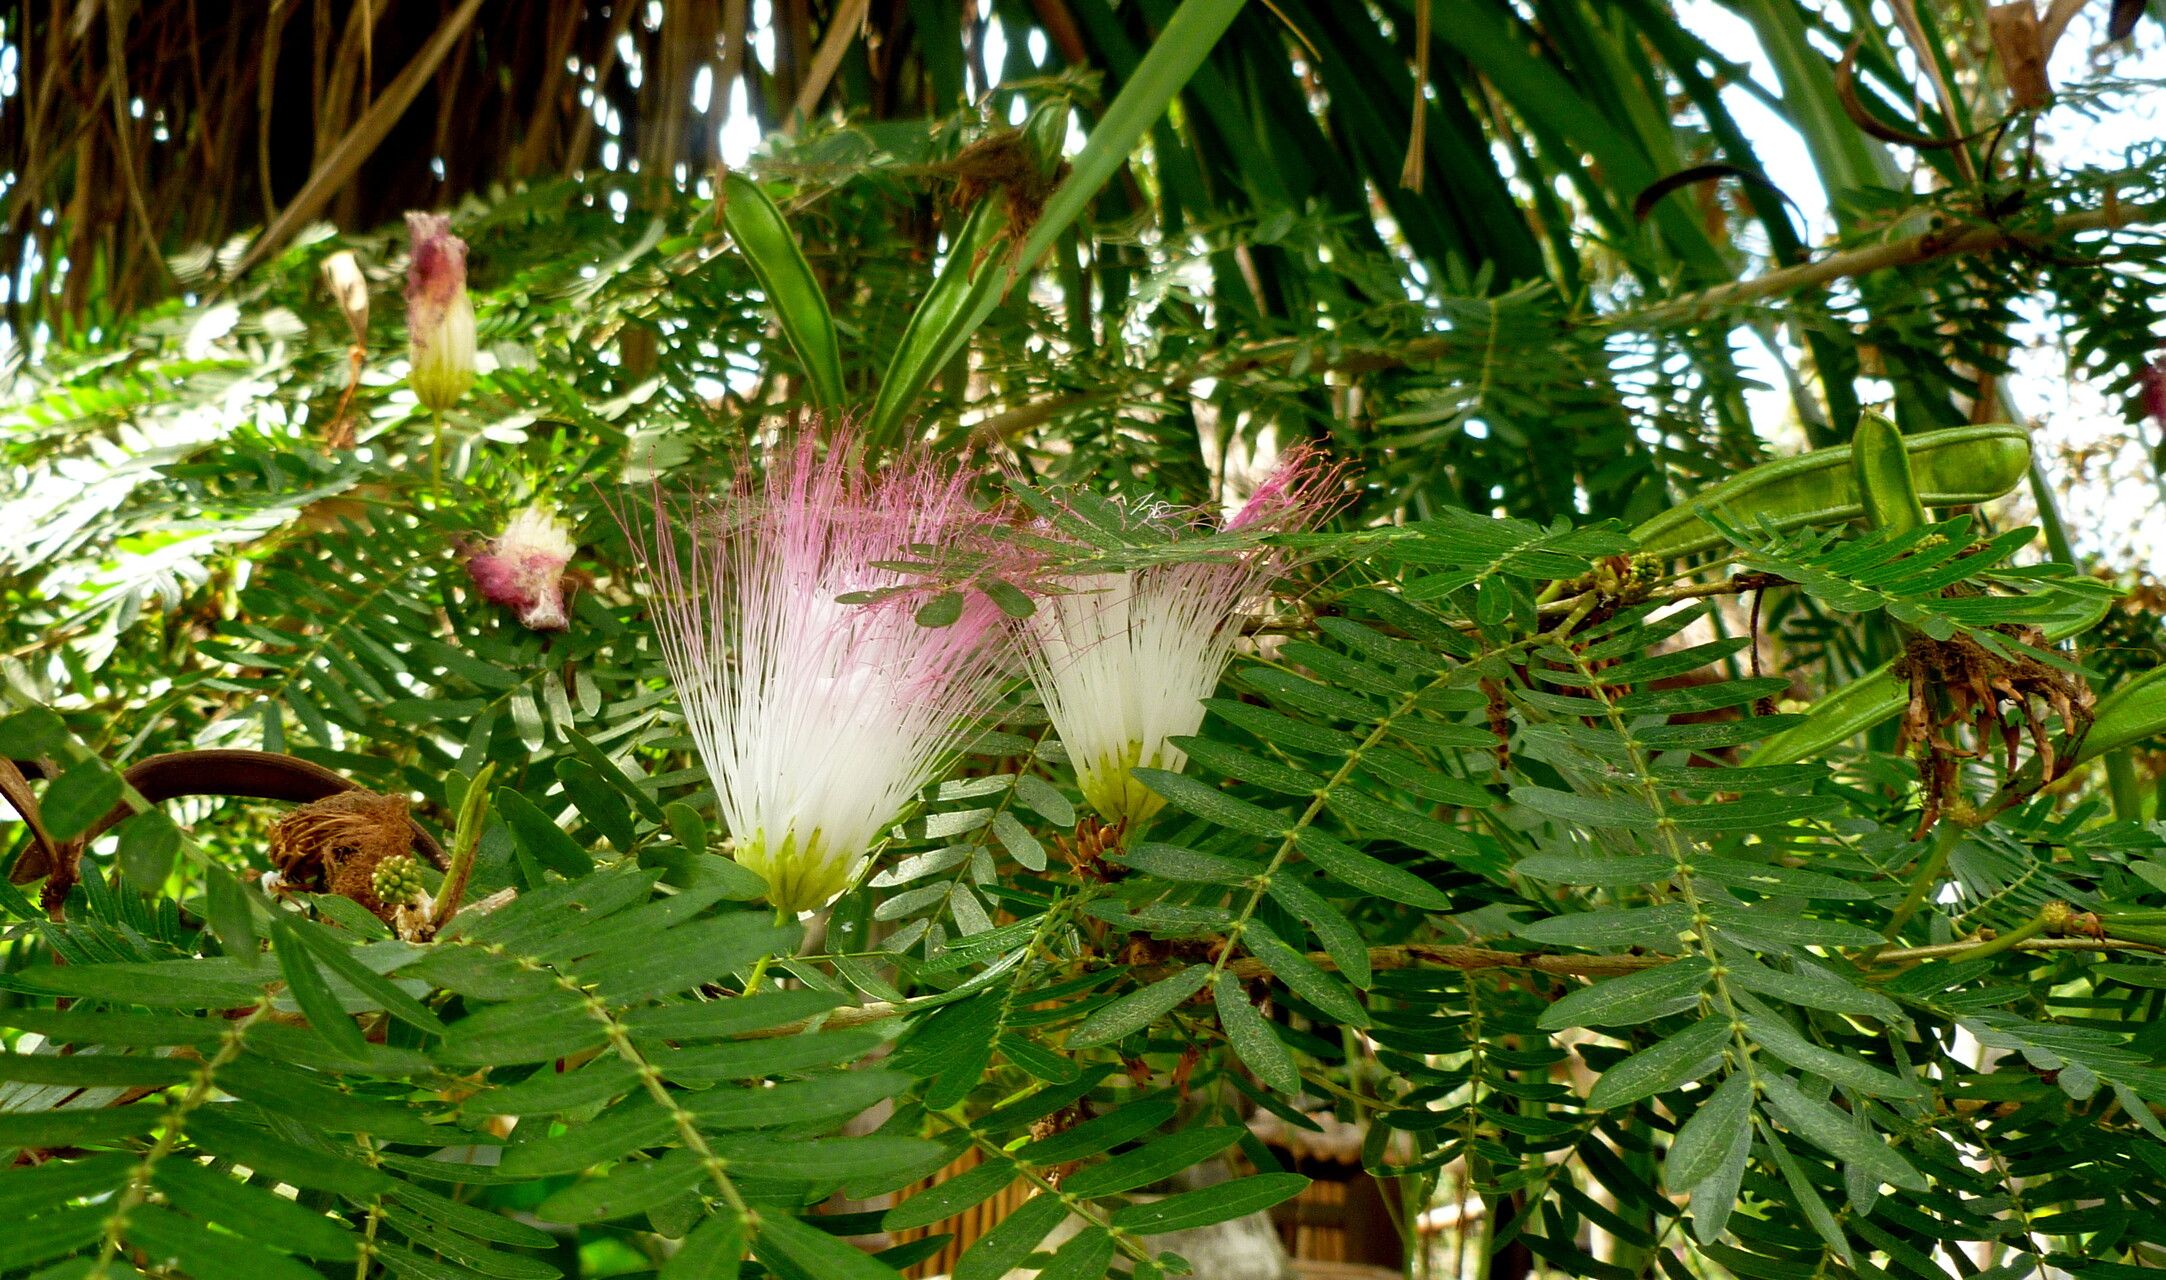
Oh, Calliandra surinamensis! What a treat you are to have in the garden. Those fluffy, pink powder puff flowers are just pure joy, aren’t they? They seem to bloom non-stop, bringing a bit of the tropics right into our backyards. And the best part? You can easily multiply that joy yourself!
Propagating these beauties is wonderfully rewarding. Watching a tiny cutting transform into a healthy new plant is one of gardening’s little miracles. For beginners, I’d say Calliandra surinamensis is a *moderately easy plant to propagate. It’s not quite as foolproof as a common coleus, but with a little attention, you’ll be successful.
The Best Time to Start
When is the absolute prime time to get your propagation on? I always aim for late spring to early summer. This is when the plant is actively growing, producing plenty of fresh, pliable new shoots. Spring growth is vigorous, and the longer warm days give your cuttings the best chance to establish themselves before things cool down. You can also try in early autumn, but you’ll want to make sure there’s enough time for root development before winter sets in.
Supplies You’ll Need
Let’s get our toolkit ready! You won’t need a whole lot, just a few essentials:
- Sharp Pruning Shears or a Knife: For clean cuts that heal well.
- Rooting Hormone: A powder or gel. This isn’t strictly necessary for Calliandra, but it definitely gives your cuttings a helpful boost.
- A Well-Draining Potting Mix: I love a blend of peat moss, perlite, and a little bit of sand. You can also use a good quality seedling mix.
- Small Pots or Trays: About 4-inch pots are usually perfect. Make sure they have drainage holes!
- Clear Plastic Bags or a Propagator Lid: To create a humid environment.
- Watering Can or Spray Bottle: For gentle watering.
- Optional: A Heat Mat: Not essential, but it can speed things up considerably.
Propagation Methods
There are a few ways to go about this, but my favorite and usually most successful method for Calliandra surinamensis is stem cuttings.
Stem Cuttings:
- Select Your Cuttings: Look for healthy, non-flowering shoots from your established plant. You want stems that are semi-hardwood, meaning they’re not brand new and soft, but also not old and woody. They should snap easily but have a little resistance. Aim for cuttings that are 4-6 inches long.
- Make the Cut: Using your clean, sharp shears or knife, take a cutting just below a leaf node (where a leaf attaches to the stem). A clean cut is crucial for preventing disease and encouraging rooting.
- Prepare the Cutting: Gently remove the leaves from the bottom half of the cutting. You can leave a couple of leaves at the top to help with photosynthesis, but you don’t want too many, as they’ll lose moisture. If the remaining leaves are large, I often tip them in half to reduce water loss.
- Dip in Rooting Hormone: Dip the cut end of the stem into your rooting hormone, tapping off any excess.
- Plant Your Cuttings: Fill your small pots with your well-draining potting mix. Make a small hole in the center of the soil with your finger or a pencil. Insert the treated end of the cutting into the hole, making sure it’s firm. Gently firm the soil around the base of the cutting.
- Water Gently: Water the soil thoroughly but gently. You don’t want to dislodge the cutting.
- Create a Humid Environment: This is key. Place a clear plastic bag over the pot, securing it around the rim with a rubber band or tape. Or, use a propagator lid. This traps moisture, creating the perfect humid microclimate. Make sure the plastic bag doesn’t touch the leaves.
- Place in Bright, Indirect Light: Find a spot that gets bright, indirect light. Avoid direct sun, which can scorch the delicate cuttings.
The “Secret Sauce” (Pro Tips)
Now, for a couple of little tricks I’ve learned over the years:
- Bottom Heat is Your Friend: If you can, place your pots on a gentle heat mat. It mimics the warmth of the soil in spring and can significantly speed up root formation. Just a subtle warmth is needed, not hot!
- Don’t Drown Them! While humidity is vital, you absolutely do not want the soil to be waterlogged. Allow the top inch of soil to dry out slightly between waterings. Overwatering is the quickest way to rot your cuttings. Check the soil moisture regularly.
Aftercare & Troubleshooting
Once you start seeing tentative signs of new growth, that’s a great indicator that your cuttings are rooting. You can very gently tug on a cutting – if there’s resistance, you’ve got roots!
- Acclimatize Slowly: Once you see good root development, gradually start airing out the plastic bag over a few days. This helps the new plants adapt to your home’s humidity levels.
- Continue Watering: Keep the soil consistently moist, but not soggy.
- Signs of Failure: The most common issue is rot. If your cuttings turn black and mushy, or if you find mold on the soil surface, it’s usually a sign of too much moisture or poor air circulation. If you see this, remove the affected cuttings immediately and try to improve your watering habits and air flow. Yellowing leaves can sometimes mean they need a little more light, or sometimes they’re just shedding older leaves as they put energy into rooting.
A Encouraging Closing
Propagating plants is a journey, and Calliandra surinamensis will teach you a lot. Don’t get discouraged if your first attempt isn’t a roaring success. Every cutting is a lesson learned. Be patient, observe your little plants, and enjoy the incredibly rewarding process of bringing more of those beautiful powder puffs into your garden. Happy growing!
Resource:
https://identify.plantnet.org/k-world-flora/species/Calliandra%20surinamensis%20Benth./data