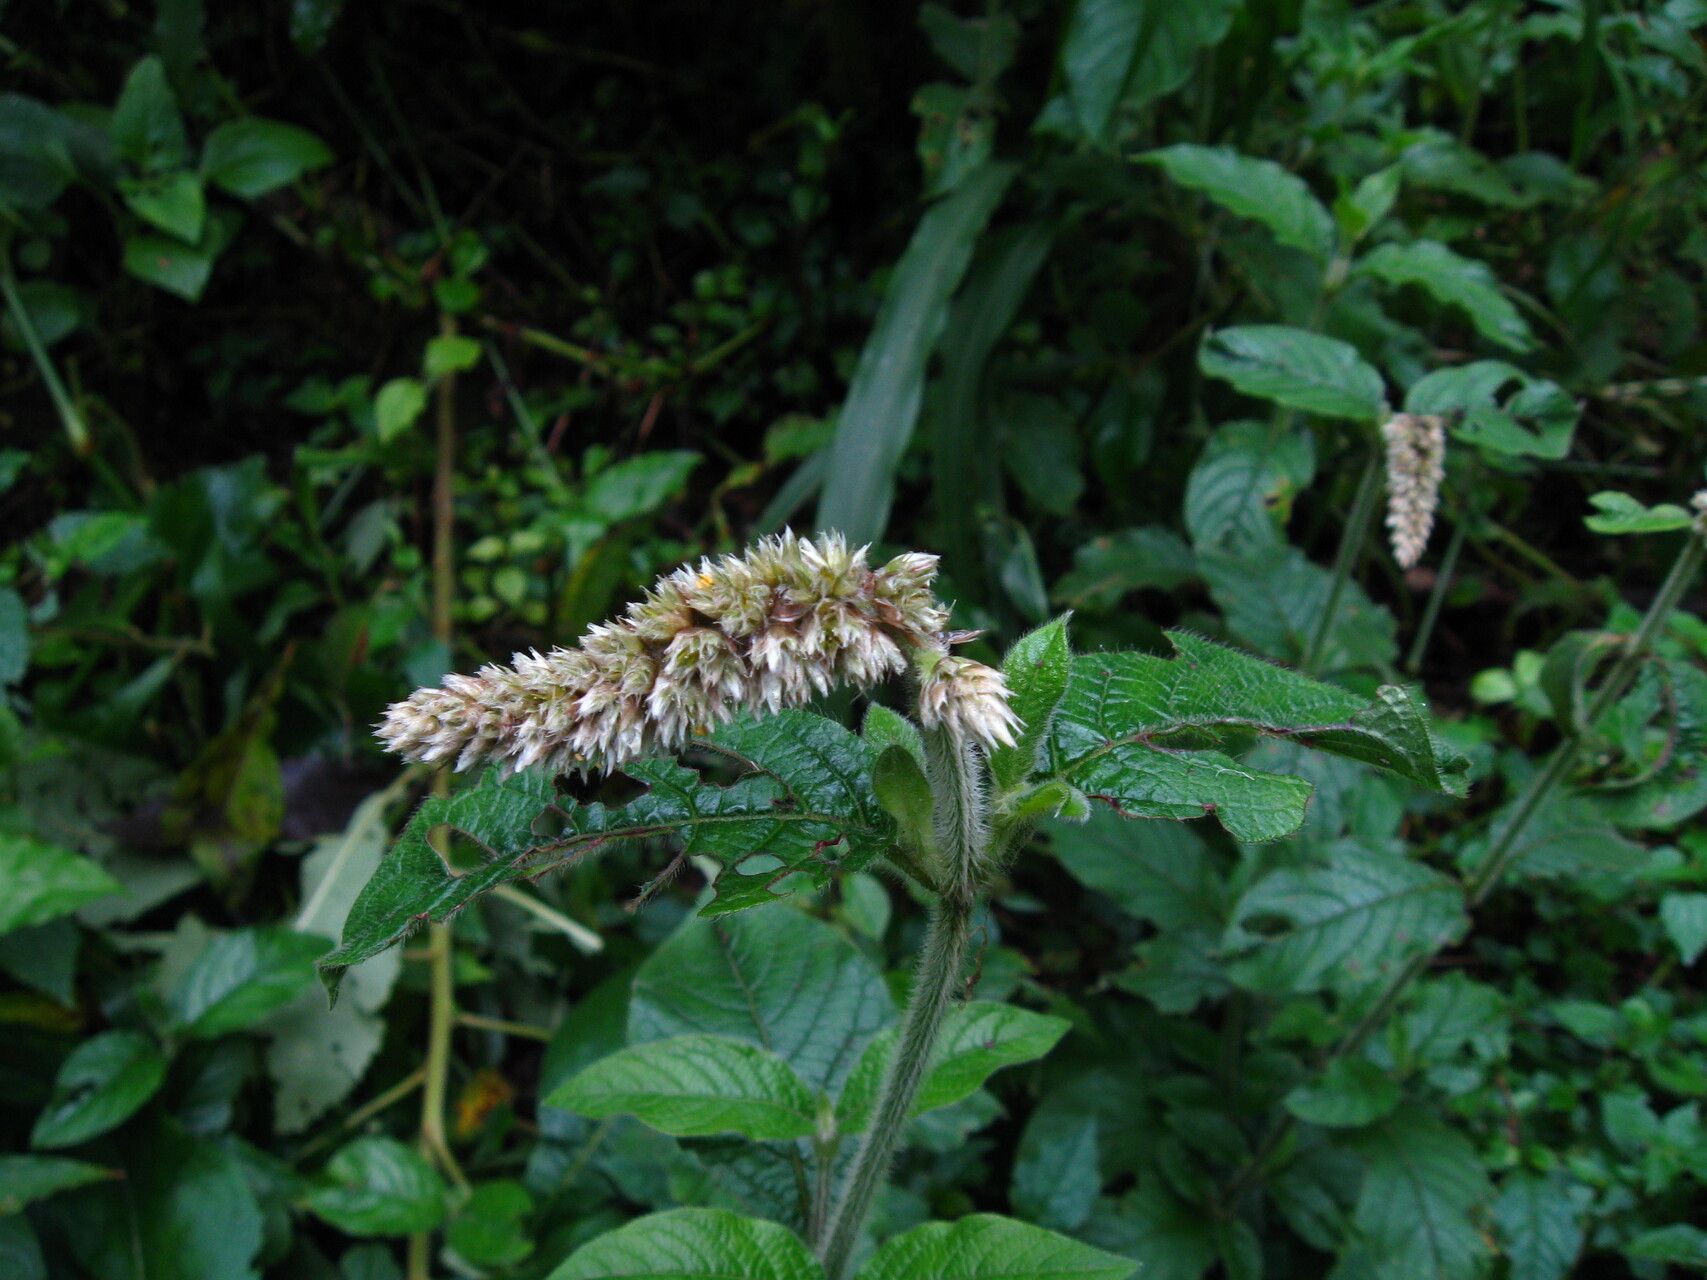
Oh, hello there! Pull up a chair and let’s chat about Cyathula cylindrica. I’ve been growing these beauties for years, and honestly, they’ve got such a unique charm, haven’t they? That architectural, architectural appeal combined with their often surprising pops of color just makes a garden sing. And the best part? They’re surprisingly rewarding to propagate. If you’re looking to fill in those garden gaps or just want more of these gorgeous plants, you’re in the right place. Honestly, for beginners, I’d say they’re moderately easy. With a little attention, you’ll be well on your way.
The Best Time to Start
My favorite time to get propagating Cyathula cylindrica is in late spring to early summer. This is when the plant is in full swing, actively growing and brimming with energy. You’ll find it’s much easier to get cuttings to root when the temperatures are warming up and the days are getting longer. Trying to propagate in the dead of winter can be a bit of a struggle.
Supplies You’ll Need
Before we get our hands dirty, let’s gather our tools. It’s always good to be prepared!
- Sharp pruning shears or a clean knife: For making clean cuts.
- Well-draining potting mix: A blend of peat moss, perlite, and a little bit of compost is ideal. Or, you can buy a special cactus and succulent mix.
- Small pots or trays: With drainage holes, of course!
- Rooting hormone (optional but recommended): This can give your cuttings a little boost.
- Clear plastic bag or propagator: To create a humid environment.
- Spray bottle: For misting.
Propagation Methods
Cyathula cylindrica is pretty versatile, but I’ve found two methods to be the most reliable for me.
Stem Cuttings: My Go-To
This is usually the easiest and most successful way for me.
- Select healthy stems: Look for non-flowering stems that are at least 4-6 inches long. You want them to be firm and green, not woody.
- Make the cut: Using your clean shears or knife, make a clean cut just below a leaf node. This is where new roots are most likely to form.
- Remove lower leaves: Gently pull off the bottom two or three sets of leaves. This prevents them from rotting in the soil.
- Dip in rooting hormone (optional): If you’re using it, dip the cut end of the stem into the rooting hormone powder. Tap off any excess.
- Plant the cuttings: Fill your small pots with your prepared potting mix. Make a small hole in the center and insert the cut end of the stem, firming the soil gently around it. You can plant several cuttings in one pot, as long as they don’t touch each other.
- Water and cover: Water the soil gently until it’s moist but not soggy. Then, cover the pot with a clear plastic bag or place it in a propagator. This helps maintain humidity, which is crucial for rooting.
Water Propagation: A Visual Treat
This method is fun because you can actually see the roots develop!
- Take cuttings: Follow steps 1-3 from the stem cutting method.
- Place in water: Find a clean jar or glass and fill it with room-temperature water.
- Submerge the cut end: Place the cutting in the water, ensuring that the cut end is submerged. Crucially, make sure no leaves are touching the water. Leaves left in the water will rot and can kill your cutting.
- Find a bright spot: Place the jar in a bright location, but out of direct sunlight.
- Change water regularly: Change the water every few days, or whenever it starts to look cloudy.
The “Secret Sauce” (Pro Tips)
Here are a couple of little tricks that have made a big difference in my propagation journey.
- Bottom Heat is Your Friend: If you have a seedling heat mat, using it to provide gentle bottom heat can significantly speed up the rooting process for stem cuttings. It mimics the warm soil of summer and encourages those roots to get going.
- Forget About the Foliage (Initially): When using water propagation, resist the urge to let those lower leaves dip into the water. They are the enemy of a healthy rooting process and can quickly turn into a slimy mess, sabotaging your efforts. Keep ’em dry!
Aftercare & Troubleshooting
Once you see tiny roots emerging, or if your cuttings have developed a good root system (you can gently tug on a stem cutting to feel for resistance), it’s time for a little extra care.
- For stem cuttings: Gradually acclimate your new plants to normal humidity by opening the plastic bag or propagator a little each day over a week. Water when the top inch of soil feels dry.
- For water cuttings: Once the roots are about an inch long, you can carefully transplant them into pots with your well-draining potting mix. Water them in gently.
- Keep an eye out for rot: The most common sign of failure is mushy, blackened stems or leaves. This is usually a sign of overwatering or poor drainage. If you see this, try to remove the affected parts immediately and adjust your watering schedule. If the whole cutting has gone, don’t despair! Just try again.
A Gentle Closing
Propagating plants is a journey, and sometimes things don’t work out perfectly the first time. That’s okay! Be patient with your little cuttings. Watch them closely, provide them with the right conditions, and celebrate every little success. The joy of seeing a new plant thrive from a simple cutting is truly special. Happy propagating!
Resource:
https://identify.plantnet.org/k-world-flora/species/Cyathula%20cylindrica%20Moq./data