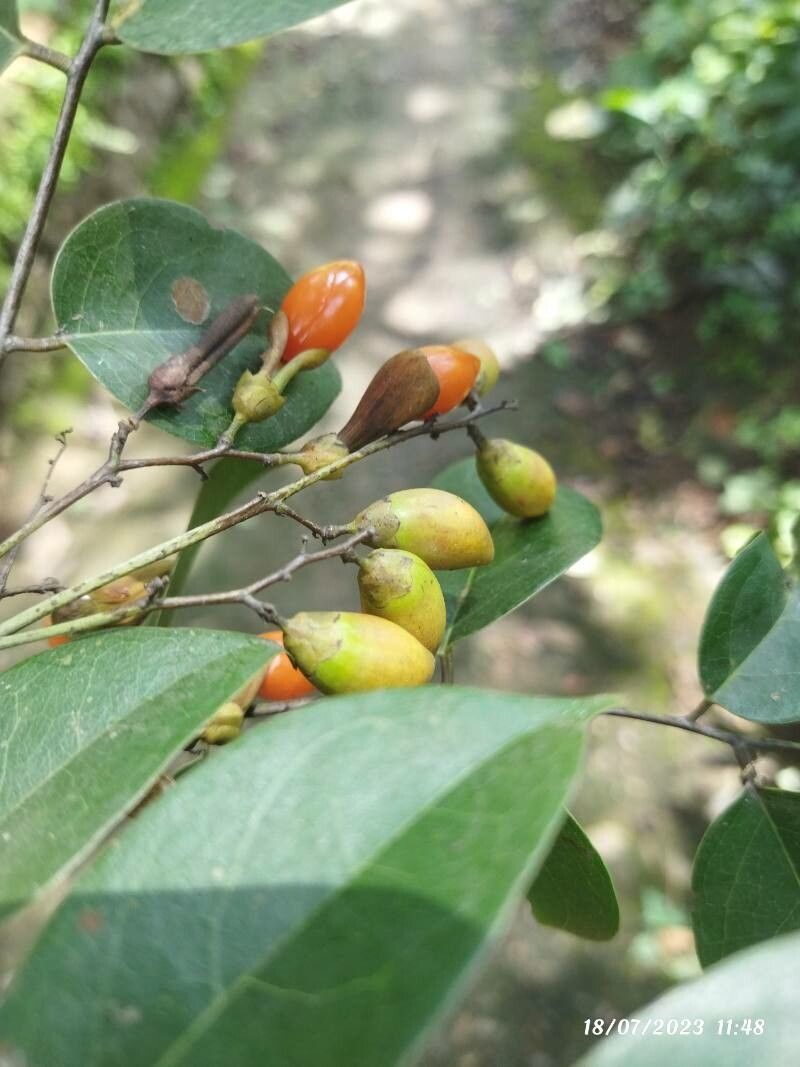
Hey there, fellow plant lovers! It’s so wonderful to have you join me for a chat about one of my absolute favorites: Rourea surinamensis. You might know it by its common name, the “Pink Starflower,” and oh, what a beauty it is. Its delicate, star-shaped pink blooms are simply enchanting, and the way they cascade is pure magic in the garden. Growing them from seed can be a bit of a gamble, but propagating them yourself? That’s where the real joy lies. And honestly, while it might seem a touch intimidating at first, I find Rourea surinamensis to be a surprisingly rewarding plant to propagate, even for those of you who are just dipping your toes into the world of plant midwifery.
The Best Time to Start
The sweet spot for propagating Rourea surinamensis is really during its most vigorous growth phase. Think late spring through early summer. This is when the plant has plenty of energy and is actively producing new shoots that are perfect for taking cuttings. You’ll want to select stems that are somewhat mature – not brand new, flappy growth, but also not old, woody material. A stem that’s firm but still has a bit of flexibility is your target.
Supplies You’ll Need
Gathering your tools ahead of time makes the whole process so much smoother. Here’s what I typically have on hand:
- Sharp Pruning Shears or a Craft Knife: Cleanliness is key; dull tools can crush stems.
- Potting Mix: A well-draining, gritty mix is essential. I usually use a blend of coarse perlite, peat moss or coco coir, and a bit of coarse sand. Some gardeners even swear by a mix of perlite and vermiculite for excellent aeration.
- Small Pots or Seedling Trays: Clean containers are a must to prevent disease. Four-inch pots are usually a good size for a few cuttings.
- Rooting Hormone (Optional but Recommended): A powdered or gel rooting hormone can give your cuttings a significant boost in establishing roots.
- Plastic Bag or Humidity Dome: To create a humid environment for your cuttings.
- Watering Can with a Fine Rose: For gentle watering.
- Dibber or Pencil: To make planting holes.
Propagation Methods
For Rourea surinamensis, stem cuttings are hands-down my favorite and most successful method. It’s straightforward and gives you a great chance at success.
Taking Stem Cuttings:
- Select the Right Stem: As we discussed, look for healthy, non-flowering stems that are about pencil-thick and 6-8 inches long.
- Make the Cut: Using your clean, sharp shears, make a clean cut just below an oval leaf node. This is where the most root-forming hormones are concentrated.
- Prepare the Cutting: Gently remove the lower leaves. You want to leave just a couple of leaves at the top. If the remaining leaves are very large, you can even cut them in half horizontally to reduce water loss through transpiration.
- Apply Rooting Hormone (If Using): Dip the cut end of the stem into your rooting hormone, tapping off any excess powder.
- Plant the Cutting: Fill your clean pots with your moist, well-draining potting mix. Use your dibber or a pencil to create a hole in the center of the soil. Place the cut end of your stem into the hole, then gently firm the soil around it. You can fit several cuttings into one pot, as long as they don’t touch each other.
- Water Gently: Water the soil thoroughly but gently. You want the soil to be moist, not waterlogged.
- Create Humidity: Place the pot inside a clear plastic bag or cover it with a humidity dome. Make sure the plastic doesn’t touch the leaves of the cuttings if possible. This creates a mini-greenhouse effect, which is crucial for the cuttings to root before they dry out.
The “Secret Sauce” (Pro Tips)
Now, for a couple of little tricks from my gardening notebook that can really make a difference:
- Bottom Heat is Your Friend: While not strictly necessary, placing your potted cuttings on a gentle heat mat can significantly speed up root development. The warmth encourages root growth from the bottom up. Just ensure the heat isn’t too intense; lukewarm is perfect.
- Don’t Mist Too Much: It’s tempting to mist your cuttings constantly, but too much can encourage fungal issues. Instead, rely on that humidity dome or plastic bag to keep the environment moist. If you do mist, do it in the morning so the leaves have time to dry. Also, if any leaves do end up touching the water in the pot, gently remove them immediately.
Aftercare & Troubleshooting
Once your cuttings have had a few weeks to sit the magic out, you might start seeing signs of life!
- Checking for Roots: The most reliable way to check is to give a very gentle tug on a cutting. If you feel resistance, roots have likely formed. You might also see new leaf growth appearing. This is a fantastic sign!
- Acclimatizing: Once roots appear, it’s time to gradually acclimate your new plant to normal room humidity. Start by opening the plastic bag or humidity dome for a few hours each day, slowly increasing the time over a week or so.
- Transplanting: When your new Rourea surinamensis has a good root system and is looking robust, you can transplant it into its own individual, slightly larger pot. Continue to keep the soil consistently moist but not soggy.
- Troubleshooting Rot: The most common culprit for failure is rot. If you notice stems turning black or mushy, it’s usually a sign of too much moisture and not enough drainage or airflow. In this case, sadly, it’s best to discard the affected cuttings and start again, ensuring your soil mix is super well-draining and your environment isn’t overly wet.
A Warm Closing
Taking cuttings and waiting for new life to emerge is one of the most rewarding experiences in gardening. It’s a little act of faith, a promise of future beauty. Be patient with your Rourea surinamensis cuttings; they’re doing their best work behind the scenes. Enjoy the process, celebrate every tiny new leaf, and before you know it, you’ll have a whole new garden of these gorgeous Pink Starflowers to share! Happy propagating!
Resource:
https://identify.plantnet.org/k-world-flora/species/Rourea%20surinamensis%20Miq./data