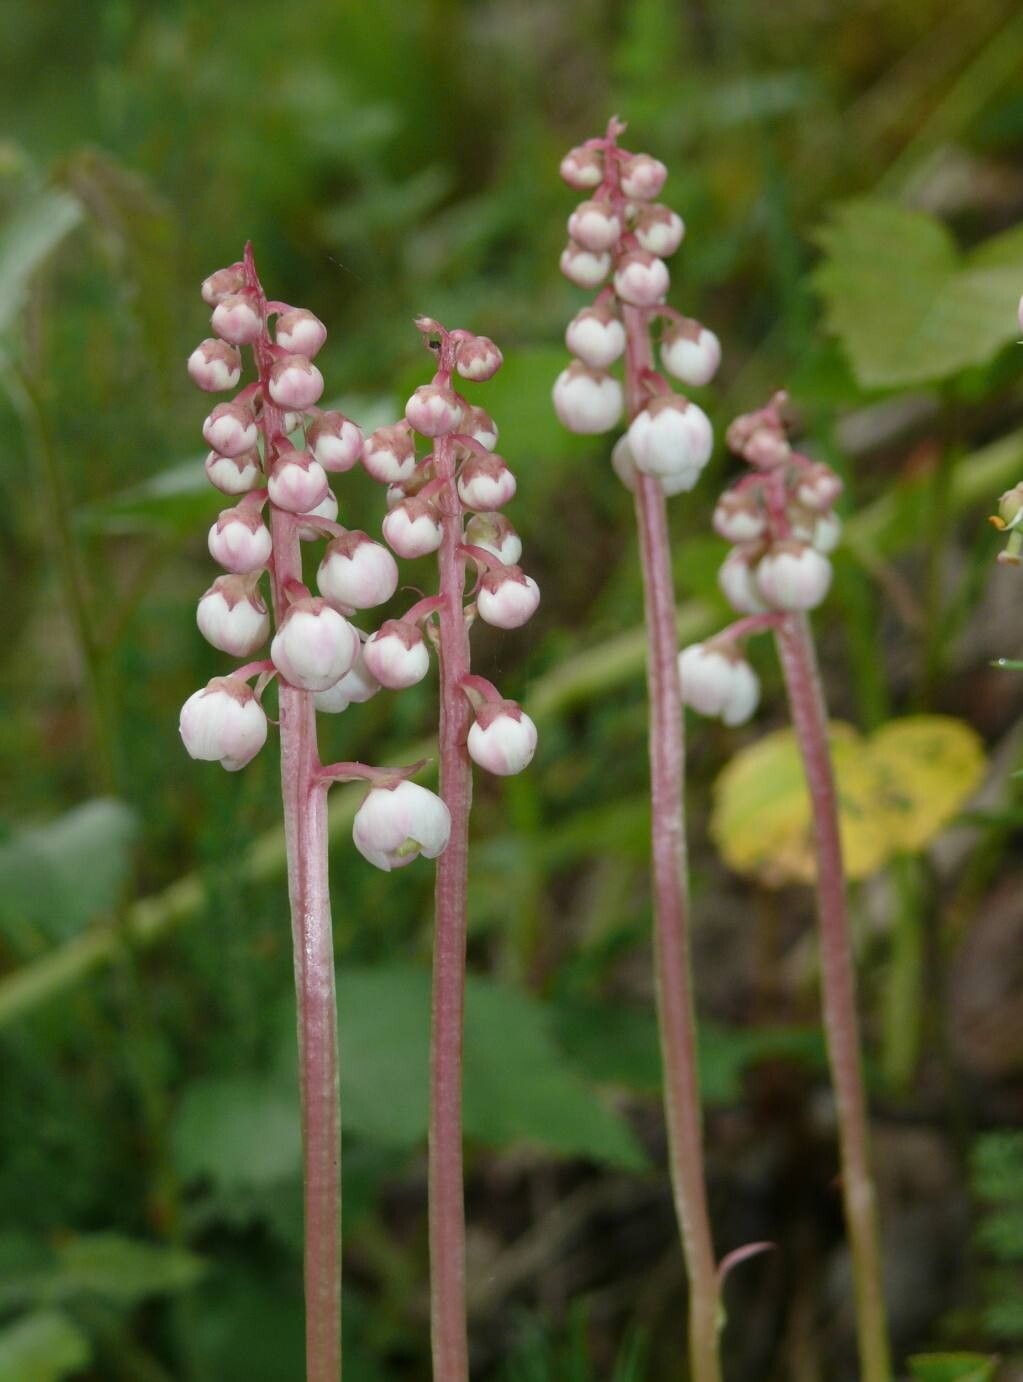
Oh, hello there! Pull up a chair and let’s chat about something truly special: Pyrola minor, also known as Lesser Wintergreen. If you haven’t had the pleasure, imagine these delicate, woodland beauties: small, waxy leaves forming a low rosette, topped with nodding, bell-shaped flowers that are often a pale, ethereal pink or white. They bring such a quiet charm to shady corners, don’t they?
Propagating them can feel like unlocking a little garden secret. It’s incredibly rewarding to see a tiny new plant emerge and know you nurtured it from a piece of its parent. For beginners, I’d say Pyrola minor is a bit of a thoughtful project. It’s not as wild and forgiving as a geranium cutting, but with a little attention, you can certainly have success.
The Best Time to Start
My favorite time to think about propagating Pyrola minor is in the late spring or early summer. This is when the plant is actively growing, and the stems are still tender enough to root well. You’re essentially catching it at its most vigorous, which gives those new cuttings the best chance to thrive. Waiting until after it has finished flowering is also a good indicator that it’s ready to put its energy into new growth.
Supplies You’ll Need
Here’s what I like to have on hand for this little project:
- Sharp, clean pruning shears or a sharp knife: A clean cut is crucial to prevent disease.
- A small pot or propagation tray: Anything around 3-4 inches deep will do.
- A well-draining potting mix: I often use a blend of peat moss, perlite, and a bit of fine bark. A good ratio might be 1:1:1. For shade lovers like Pyrola, a slightly more acidic mix is beneficial.
- Rooting hormone (optional but helpful): A gentle, liquid hormone formulated for cuttings can give them a bit of a boost.
- A clear plastic bag or a propagation dome: This creates a humid environment for the cuttings.
- Watering can with a fine rose: For gentle watering.
Propagation Methods: Taking Cuttings
The most reliable way I’ve found to propagate Pyrola minor is through stem cuttings. It’s straightforward and usually yields good results if you’re patient.
- Select Your Cuttings: Look for healthy, non-flowering stems on your established plant. You want stems that are about 3-4 inches long. They should be somewhat firm but not woody.
- Make the Cut: Using your clean shears or knife, take a cutting just below a leaf node. This is the point where a leaf attaches to the stem. This is where roots are most likely to form.
- Prepare the Cutting: Gently remove the lower leaves. You want a clean stem for about an inch or two at the bottom. If there are any tiny flower buds, pinch them off.
- Apply Rooting Hormone (if using): Dip the cut end of the stem into your rooting hormone, tapping off any excess.
- Plant Your Cuttings: Fill your pot with the prepared potting mix and moisten it gently. Then, create small holes in the soil with a pencil or your finger, and carefully insert the cuttings. Nestle the soil around the stems to ensure good contact.
- Create a Humid Environment: Water them in very gently. Then, cover the pot with a clear plastic bag, propping it up if necessary so it doesn’t touch the leaves, or place it under a propagation dome. This traps humidity, which is vital for cuttings to root.
- Find a Cozy Spot: Place the pot in a bright, indirect light location. Avoid direct sun, as this can scorch the delicate cuttings. A windowsill that gets morning sun or is several feet from a brighter window is perfect.
The “Secret Sauce” (Pro Tips)
Here are a few little tricks that have really made a difference for me:
- Don’t let those leaves touch the water! If you’re doing water propagation (which I find less successful for Pyrola but some try), make sure the leaves are well above the water line. If they rot in the water, it’s a downhill slide.
- Bottom heat is your friend. If you have a seedling heat mat, placing your pot on it provides gentle warmth to the roots, which dramatically speeds up the rooting process. It mimics the warmth of the soil in spring.
- Patience is a virtue (and it’s true!). Pyrola minor can be a slower character when it comes to rooting. Don’t be discouraged if you don’t see progress for several weeks. Keep the soil consistently moist (not soggy!) and the humidity high.
Aftercare & Troubleshooting
Once you start to see a little bit of growth from the top, or feel a gentle tug when you very lightly pull on a cutting, it’s a good sign roots have formed!
- Gradually Acclimate: Once roots are established, begin to slowly increase ventilation. You can do this by opening the plastic bag for a few hours each day, or lifting the dome for longer periods. This helps the new plant get used to the drier air outside its cozy microclimate.
- Transplanting: When your new plants have a decent root system and are looking perky, you can carefully transplant them into individual small pots. Continue to keep them in bright, indirect light and ensure the soil stays consistently moist.
- Signs of Trouble: The biggest culprit for failure is usually rot. If your cuttings turn black and mushy, it’s likely they’ve been too wet and not had enough air circulation. Overwatering is the most common mistake. Also, watch out for wilting; this can mean it’s too dry, or sometimes too hot.
Taking cuttings of Pyrola minor is a wonderfully meditative gardening task. It’s about observation, a bit of gentle intervention, and a lot of patience. Don’t worry if your first attempts aren’t perfect. Each time you try, you learn a little more about what your plant needs. Enjoy the journey of coaxing these lovely little plants into being!
Resource:
https://identify.plantnet.org/k-world-flora/species/Pyrola%20minor%20L./data