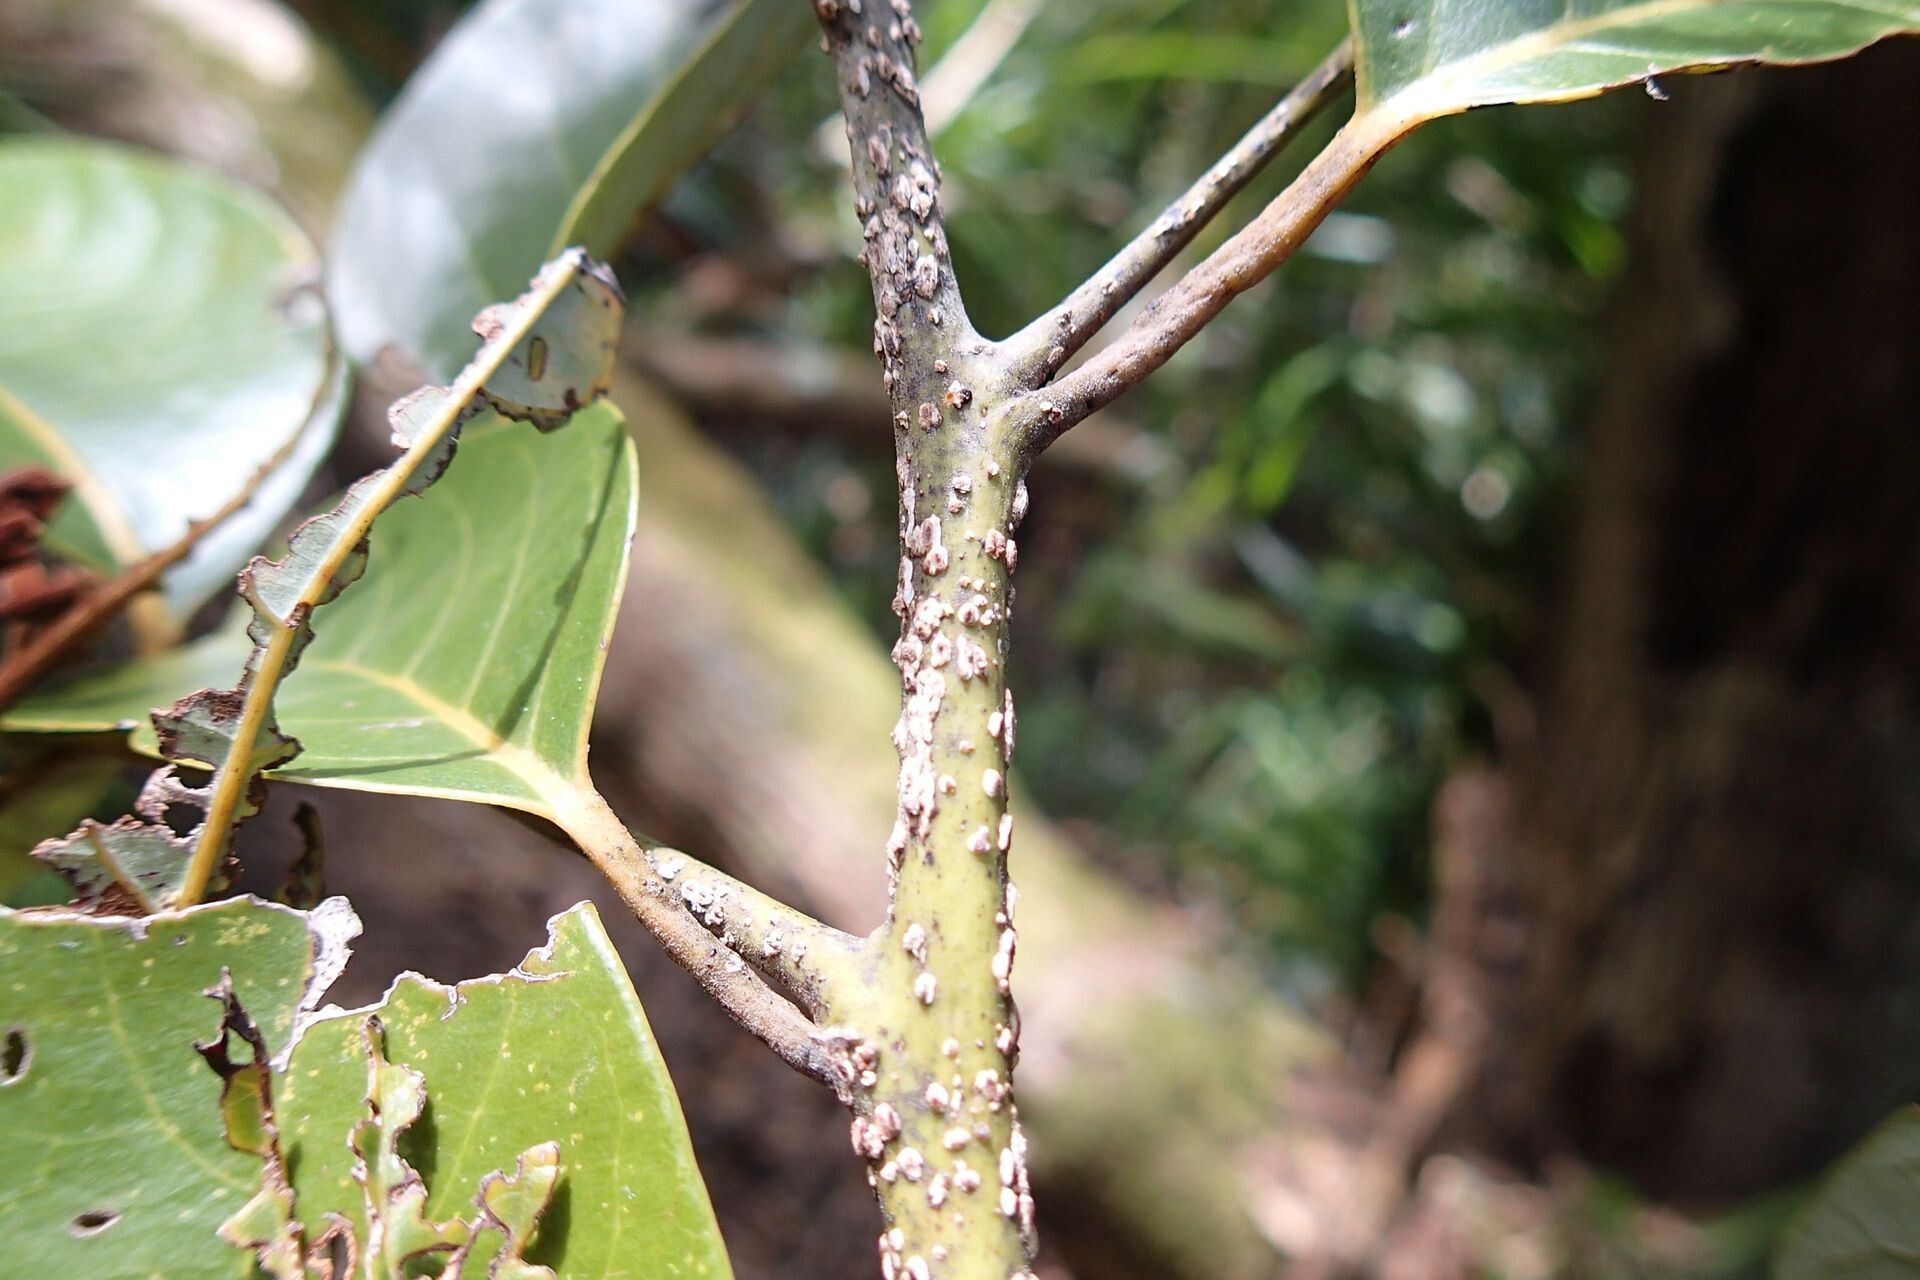
Oh, hello there! I’m so glad you’re here. Today, we’re diving into the wonderful world of Cryptocarya pluricostata. Isn’t she a beauty? I always find her lush foliage and graceful habit absolutely captivating. Propagating her myself has been such a rewarding journey, and I’m excited to share how you can do it too!
Why Propagate Cryptocarya pluricostata?
For me, it’s about more than just having another plant. It’s about understanding her life cycle, nurturing a tiny cutting into a thriving specimen, and perhaps even sharing a piece of that joy with a friend. If you’re looking for a plant that’s moderately rewarding to propagate, that’s Cryptocarya pluricostata. She’s not the absolute easiest for a brand-new gardener to start with, but with a little patience and these tips, you’ll be well on your way.
The Best Time to Start
Spring is definitely your best bet for propagating Cryptocarya pluricostata. As the days lengthen and the plant starts its active growth spurt, you’ll find cuttings are much more eager to root. Aim for the early to mid-spring, when new, semi-hardwood growth is forming. This is the sweet spot for success!
Supplies You’ll Need
Gathering your supplies before you begin makes the whole process smoother. Here’s what I always have on hand:
- Sharp, clean pruning shears or a sharp knife: For taking precise cuttings.
- Rooting hormone powder or gel: This really gives your cuttings a boost.
- A well-draining potting mix: I like a blend of peat moss, perlite, and a little bit of compost. You can also buy specific propagation mixes.
- Small pots or seed trays with drainage holes: Cleanliness is key here!
- A clear plastic bag or propagation dome: To create a humid environment for your cuttings.
- Water: For misting and hydrating.
- Optional: A heat mat: This can significantly speed up root development.
Propagation Methods
Here are a couple of reliable ways to get new Cryptocarya pluricostata plants going.
Stem Cuttings: My Go-To Method
This is usually the most successful approach for Cryptocarya pluricostata.
- Take Your Cuttings: Select healthy, non-flowering stems from your mature plant. Look for stems that are semi-hardwood – they should be firm but still have a bit of flexibility. Cut a section about 4-6 inches long, making sure each cutting has at least two or three leaf nodes (where the leaves attach to the stem).
- Prepare the Cuttings: Remove the lower leaves, leaving just the top couple of sets. This prevents them from rotting once in the soil. If the remaining leaves are very large, you can even cut them in half to reduce water loss.
- Apply Rooting Hormone: Dip the cut end of each cutting into your rooting hormone. Tap off any excess.
- Plant Them Up: Fill your clean pots with your prepared potting mix. Make a hole with a pencil or your finger in the center of the soil. Gently insert the cutting into the hole, ensuring the nodes where you removed the leaves are below the soil surface. Firm the soil gently around the cutting.
- Water and Cover: Water the soil thoroughly until it drains from the bottom. Then, place the pot inside a clear plastic bag or cover it with a propagation dome. Seal it loosely to trap humidity.
Water Propagation (Use with Caution!)
While I prefer soil for Cryptocarya pluricostata, water propagation can work for some, but it requires extra care.
- Take and Prepare Cuttings: Follow steps 1 and 2 from the stem cuttings method above.
- Place in Water: Put the cuttings in a clean jar or glass filled with clean water.
- Important Note: Make sure only the nodes where you removed the leaves are submerged in the water. Never let the leaves touch the water. This is crucial to prevent rot.
- Change Water Regularly: Change the water every few days to keep it fresh and prevent bacterial growth.
- Wait for Roots: You’re looking for roots to emerge from the submerged nodes. This can take several weeks. Once the roots are about an inch long, you’ll need to carefully transplant them into soil.
The “Secret Sauce” (Pro Tips)
Here are a few things I’ve learned over the years that seem to make a big difference:
- The Gentle Nick: Before dipping in rooting hormone, I sometimes make a tiny, shallow slit on one side of the base of the cutting. This can sometimes encourage stronger root development. Don’t go too deep, just a small wound will do.
- Bottom Heat is Your Friend: If you have a heat mat, place your pots on it. Consistent, gentle warmth from below encourages root formation much faster. Imagine a warm, cozy bed for those tiny roots!
- Don’t Disturb Too Soon: Resist the urge to tug on your cuttings to see if roots have formed. Wait until you see clear signs of growth, like new leaves or some resistance when you gently pull. Patience is key!
Aftercare & Troubleshooting
Once you see those beautiful new roots, it’s time for a little extra care.
- Transitioning to Air: Gradually acclimate your rooted cuttings to the open air by opening the plastic bag or dome for increasing periods over a week. This prevents shock.
- Potting Up: Once they’ve adjusted, you can pot them into their own small containers with fresh, well-draining potting mix. Keep them in a bright, indirect light spot and keep the soil consistently moist, but not waterlogged.
- Signs of Trouble: The most common issue is rot. If your cutting turns black and mushy, it’s a sign of too much moisture and not enough air circulation. If you see this, unfortunately, that cutting has likely failed. Another sign is if the leaves start to yellow and drop aggressively – this could indicate it’s just too dry or not getting enough light.
Keep Growing!
Propagating plants is a wonderful way to connect with nature and expand your green collection. Don’t be discouraged if your first few attempts aren’t perfect. Every gardener has had cuttings that didn’t make it! Just keep trying, observe your plants, and enjoy the magical process of bringing new life into your home. Happy propagating!
Resource:
https://identify.plantnet.org/k-world-flora/species/Cryptocarya%20pluricostata%20Kosterm./data