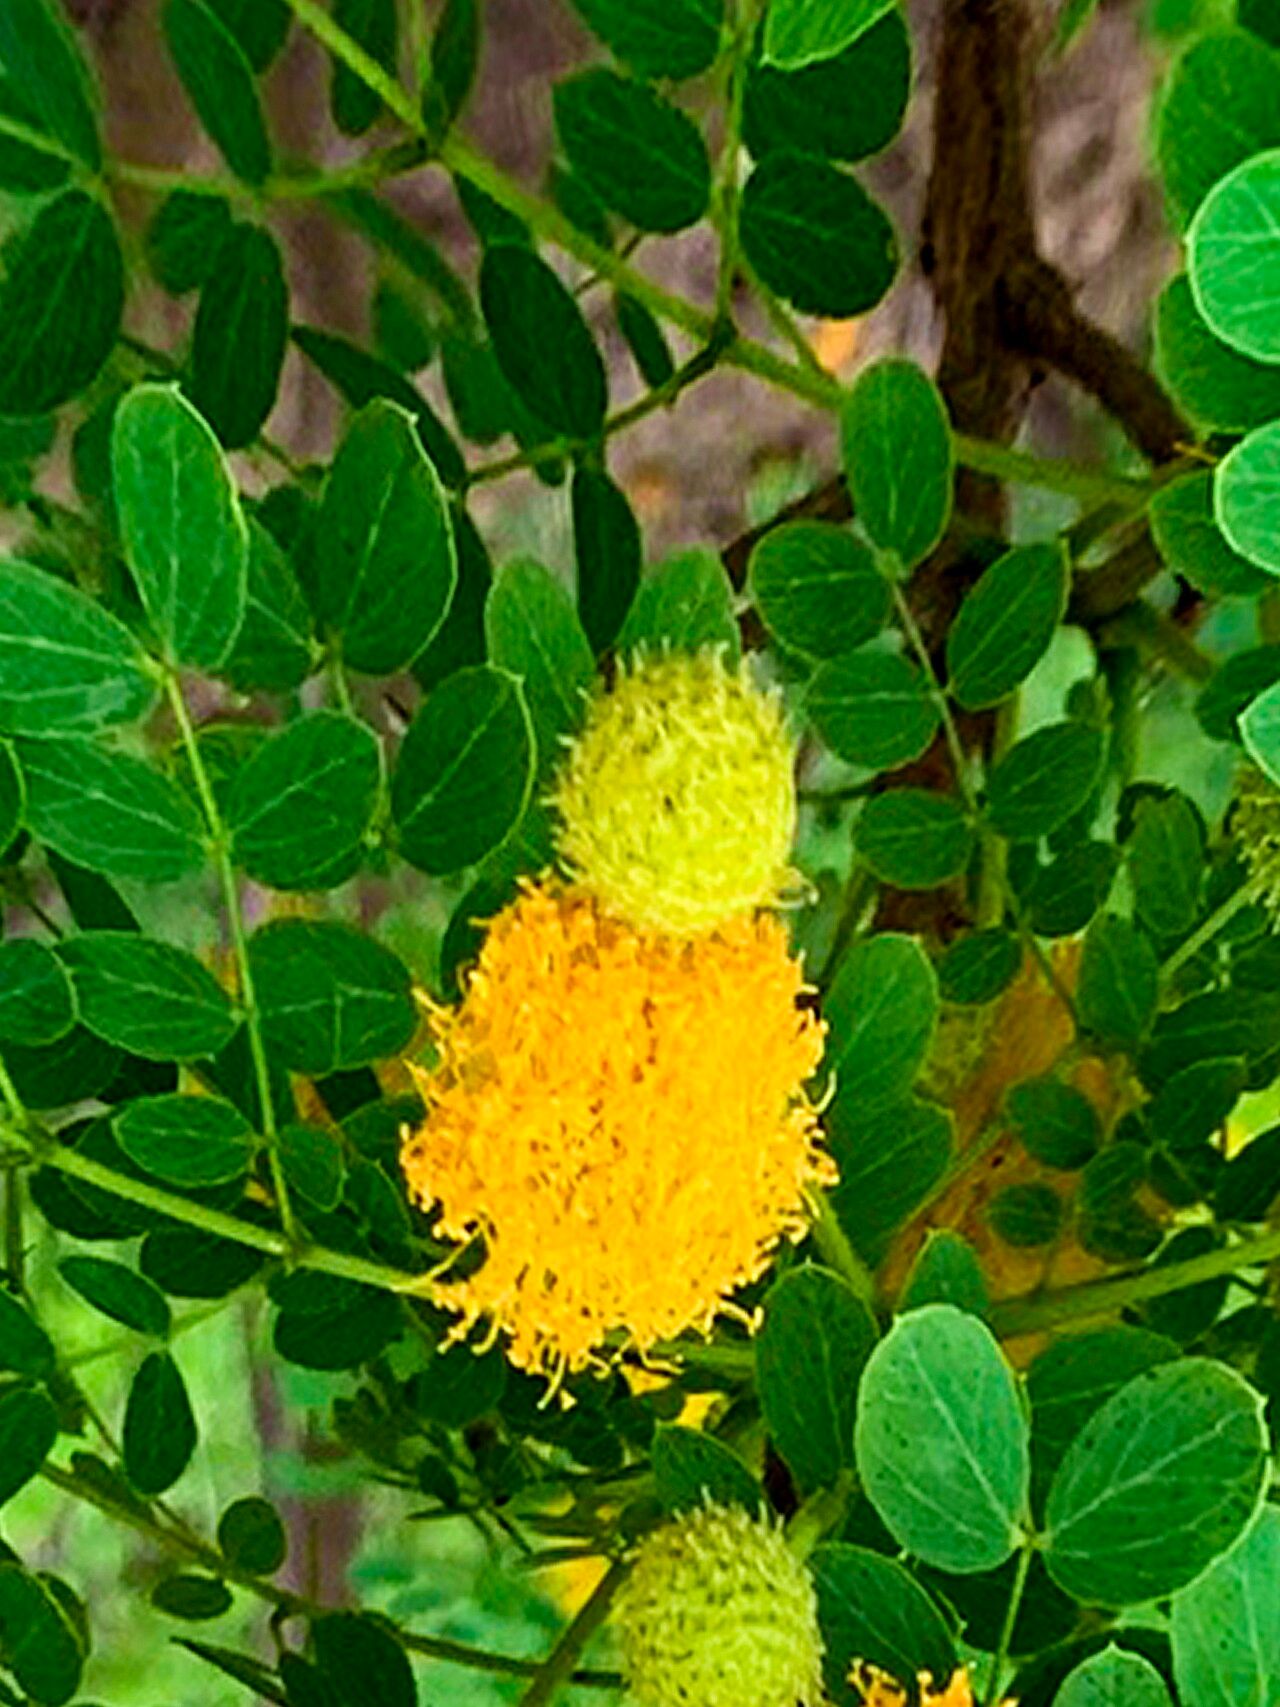
Oh, hello there, fellow garden enthusiast! Pull up a chair, let’s chat about a truly lovely plant: Leucaena retusa. You know, the one with the delicate, fern-like leaves and those gorgeous, fluffy white flower heads? It’s a real stunner, and there’s something so deeply satisfying about coaxing a new life from a piece of an existing one. Propagating it feels like a little bit of magic, and I’m thrilled to share how you can do it too. For those of you just dipping your toes into propagation, I’d say Leucaena retusa is moderately easy – with a few key tricks, you’ll be well on your way!
The Best Time to Start
The absolute best time to get your hands dirty with Leucaena retusa propagation is during its active growing season. Think late spring or early summer. This is when the plant is full of vigor, producing new growth that has plenty of energy to develop roots. Starting with healthy, semi-hardwood cuttings will give you the highest chance of success. Avoid trying this when the plant is dormant or stressed.
Supplies You’ll Need
Here’s a little kit you’ll want to have on hand:
- Sharp Pruning Shears or a Clean Knife: For taking clean, precise cuttings.
- Rooting Hormone Powder or Gel: This really gives your cuttings a boost!
- A Well-Draining Potting Mix: I like a mix of equal parts perlite and coco coir, or a good quality seed-starting mix. Regular potting soil can be too heavy.
- Small Pots or Propagation Trays: Clean, with drainage holes, of course.
- Plastic Bags or a Clear Plastic Dome: To create a humid environment.
- Watering Can with a Fine Rose: For gentle watering.
- Optional: Bottom Heat Mat: This can really speed things up!
Propagation Methods
Let’s get down to business! My favorite way to propagate Leucaena retusa is through stem cuttings.
- Taking the Cuttings: On a healthy branch, look for a stem that’s firm but not woody. It should snap cleanly when you try to bend it slightly. These are often called “semi-hardwood” cuttings. Using your sharp shears or knife, take cuttings that are about 4-6 inches long. Make your cut just below a leaf node (where a leaf meets the stem).
- Preparing the Cuttings: Gently remove the lower leaves, leaving just two or three at the very top. This prevents them from rotting in the soil and reduces moisture loss. If any of your leaves are very large, you can even cut them in half.
- Applying Rooting Hormone: Dip the bottom cut end of each cutting into your rooting hormone. Tap off any excess. This step is crucial for encouraging root development.
- Planting the Cuttings: Make a hole in your prepared potting mix with a pencil or your finger. This prevents you from rubbing off the rooting hormone when you insert the cutting. Carefully place the cutting into the hole and gently firm the soil around it.
- Creating a Humid Environment: Water your cuttings gently until the soil is moist but not soggy. Then, cover the pots with a clear plastic bag or a propagation dome. Make sure the leaves aren’t touching the plastic. You can use stakes to hold the bag up.
The “Secret Sauce” (Pro Tips)
Alright, here are a few little secrets I’ve picked up along the way:
- The “Sacrificial Shoot” Trick: Sometimes, the top few leaves on your cutting will look a little sad. If you have a very vigorous cutting, you can actually pinch off the very tip of the newest growth. This encourages the plant to put its energy into root development rather than making more leaves.
- Embrace the Bottom Heat: If you have a bottom heat mat, use it! Keeping the soil temperature around 70-75°F (21-24°C) can dramatically speed up the rooting process and significantly improve your success rate. It’s like a little spa day for your cuttings.
- Don’t Rush the Water: When you water, water from the bottom if possible by placing the pots in a tray of water. This encourages roots to grow downwards and prevents waterlogging the crown of the cutting. Let the soil absorb water from the bottom as needed.
Aftercare & Troubleshooting
Once your cuttings are planted, keep them in a bright spot out of direct sunlight. Check the humidity daily by gently misting the inside of the plastic if needed, or airing it out if you see too much condensation.
You’ll know your cuttings are rooting when you see new leaf growth appearing at the top. You can also give them a gentle tug – if there’s resistance, roots have formed! This usually takes anywhere from 4 to 8 weeks, sometimes longer, depending on conditions.
What if things go wrong? The most common culprit is rot. If your cuttings turn black and mushy, it’s usually a sign of too much moisture and not enough air circulation. Make sure your soil is well-draining and don’t let them sit in water. If you see a cutting wilting, it might just be too dry, so mist it and check your humidity. Don’t be discouraged if a few don’t make it – that’s all part of the learning process!
A Encouraging Closing
Propagating Leucaena retusa is a wonderfully rewarding journey. Be patient with your little green charges, offer them consistent care, and celebrate every bit of new growth. Before you know it, you’ll have a whole new garden of these beautiful plants to share with friends or simply enjoy yourself. Happy propagating!
Resource:
https://identify.plantnet.org/k-world-flora/species/Leucaena%20retusa%20Benth./data