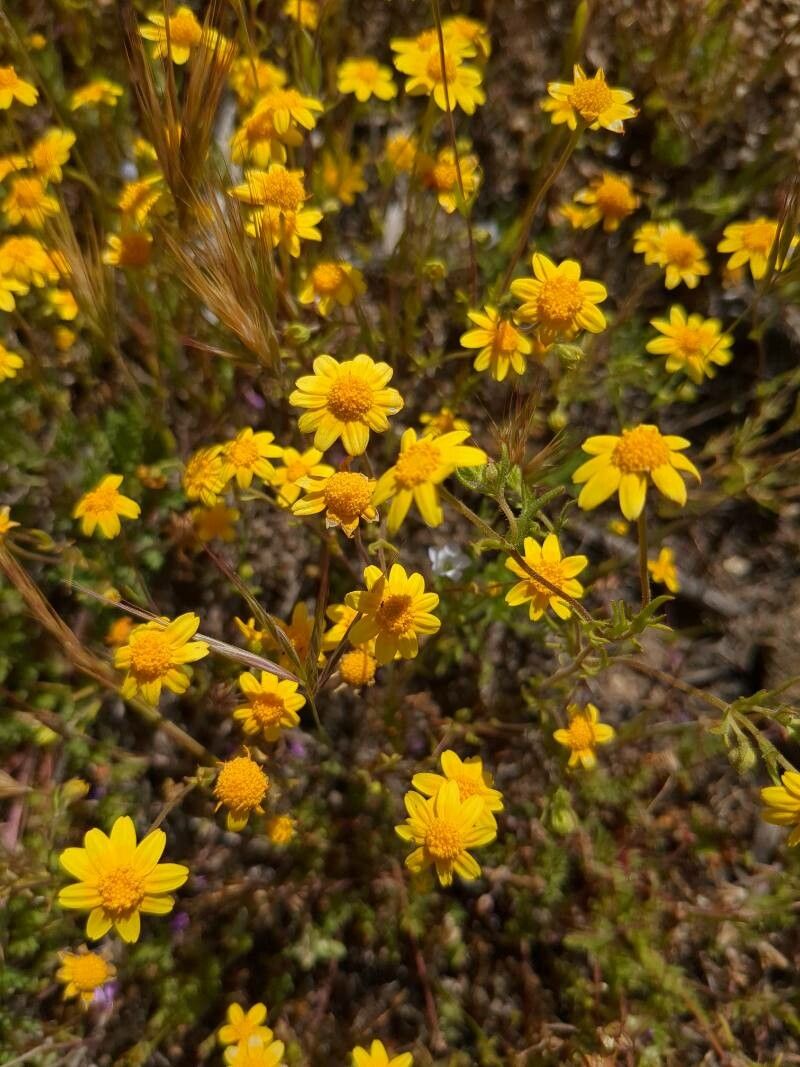
Oh, hello there, fellow plant lover! If you’ve ever admired the cheerful, dainty blooms of Lasthenia gracilis, you’re in for a treat. This little daisy-like charmer, often called Roughheads or Goldfields, brings such a vibrant splash of sunshine to any garden. And guess what? Propagating it is wonderfully doable, even for those of you just starting your green-thumb journey. It’s incredibly rewarding to see these little beauties take root and grow into their own plants.
The Best Time to Start
For Lasthenia gracilis, the prime time to get your propagation on is typically spring. You’ll want to work with healthy, actively growing material. This usually means looking for plants that are past their initial flowering surge but still putting out fresh shoots. Trying to propagate from plants that are stressed or have finished their blooming cycle is a recipe for disappointment.
Supplies You’ll Need
Here’s what I always have on hand when I’m working with my Lasthenia:
- Sharp, clean pruning shears or a sharp knife: For making clean cuts.
- Rooting hormone (optional but recommended): A little powder or gel goes a long way to encourage root development.
- Well-draining potting mix: I like a blend of peat moss, perlite, and a bit of compost. Or, you can buy a good quality cactus and succulent mix.
- Small pots or seed trays: With drainage holes are a must.
- Watering can or spray bottle: For gentle hydration.
- Plastic bags or a propagator lid: To create a humid environment.
- Labels and a pen: To keep track of what’s what!
Propagation Methods
Lasthenia gracilis is generally quite amenable to stem cuttings. This is my go-to method.
- Take Your Cuttings: On a bright, mild spring day, select healthy, non-flowering stems. Look for stems that are about 3-4 inches long. Make a clean cut just below a leaf node (the spot where a leaf attaches to the stem). This is where roots are most likely to form.
- Prepare the Cuttings: Gently remove the lower leaves from the stem, leaving about an inch or two bare. This prevents leaves from rotting once planted. If you’re using rooting hormone, dip the cut end into the powder or gel, tapping off any excess.
- Planting Time: Moisten your well-draining potting mix. Create small holes in the soil with a pencil or your finger. Insert the cut end of each prepared stem into a hole, ensuring the leaf nodes are buried. Gently firm the soil around the base of the cutting.
- Create Humidity: Water the soil lightly – you want it moist, not waterlogged. Cover the pot or tray with a clear plastic bag or a propagator lid. This will trap moisture and create that humid microclimate cuttings love.
The “Secret Sauce” (Pro Tips)
Here are a couple of things I’ve learned that make a real difference:
- Don’t let any leaves touch the soil surface. Any foliage submerged or resting directly on wet soil is prone to rot, which is the kiss of death for a struggling cutting.
- Provide a little warmth from below. A heated propagator mat can significantly speed up root formation. Many nurseries use these, and it’s a game-changer, especially if your home is on the cooler side. Just think of it as giving your little cuttings a cozy, underground embrace.
Aftercare & Troubleshooting
Once your cuttings are planted and covered, place them in a bright location out of direct sunlight. Direct sun can scorch tender new growth. Keep the soil consistently moist but never soggy. You can gently mist the leaves every so often.
You’ll start to see signs of new growth within a few weeks. But the real confirmation is when you feel gentle resistance when you pull lightly on a stem. That’s your signal that roots have formed! At this point, you can gradually acclimate them to normal room humidity by opening the bag or propagator lid a little more each day over about a week.
Now, what if things go wrong? The most common culprit is rot. If a cutting turns black and mushy, it’s likely succumbed to rot. This usually happens due to overwatering or poor air circulation. If you see this, remove the affected cutting immediately to prevent it from spreading. Sometimes, patience is key. If you don’t see any action after several weeks, it might just need more time.
A Encouraging Closing
Propagating Lasthenia gracilis is a small act of gardening magic. It’s a journey of patience and observation. Don’t be discouraged if not every cutting takes – that’s completely normal! Celebrate the successes, learn from the failures, and most importantly, enjoy the process of bringing more of these beautiful yellow blooms into your life. Happy gardening!
Resource:
https://identify.plantnet.org/k-world-flora/species/Lasthenia%20gracilis%20(DC.)%20Greene/data