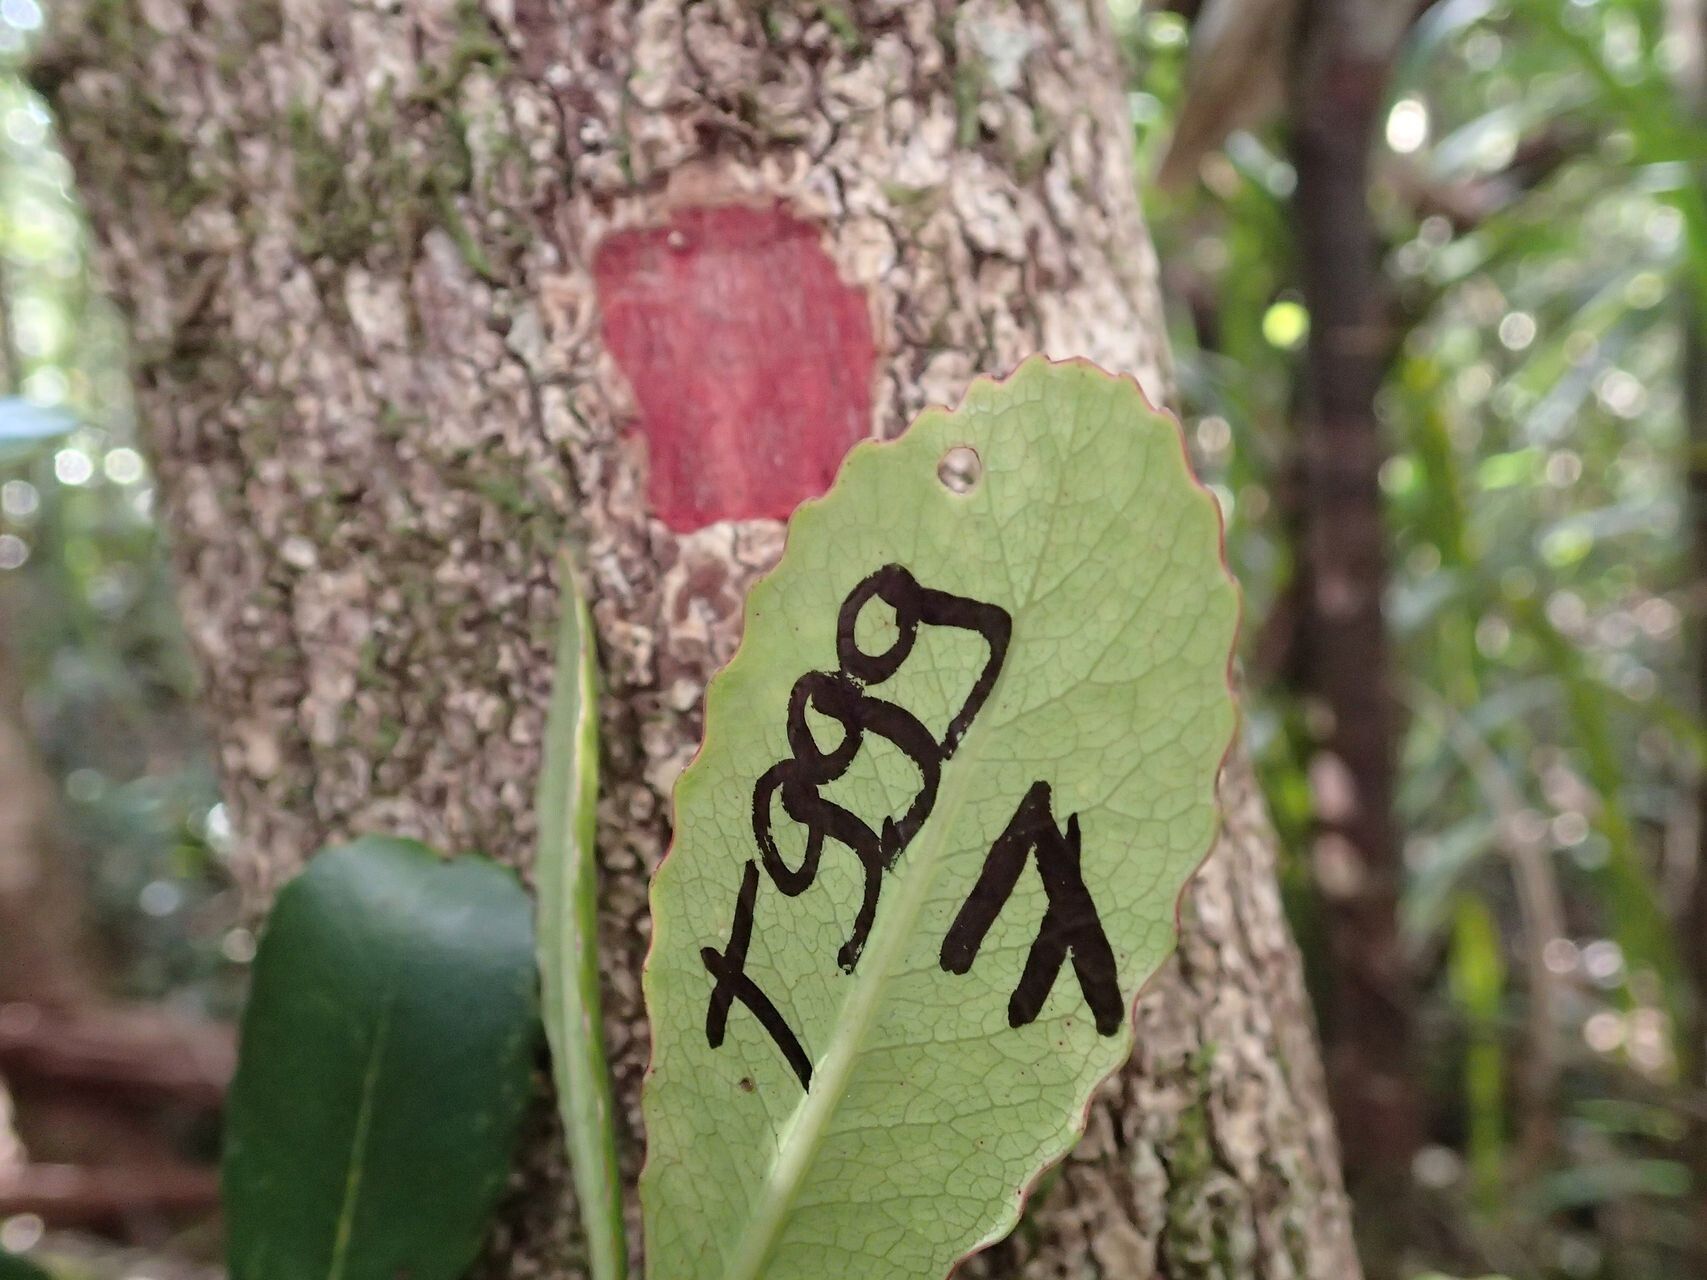
Hello, fellow garden enthusiasts! Today, we’re diving into the wonderfully rewarding world of propagating Cunonia vieillardii. If you’ve ever admired this New Caledonian beauty with its striking foliage and unique habit, you’re not alone. Getting one to thrive is a joy, and growing more from your existing plants? That’s where the real magic happens.
Now, I’ll be honest, Cunonia vieillardii can be a little more of a thoughtful effort to propagate compared to, say, a pothos. It’s not often the first plant I recommend to absolute beginners, but with a little patience and the right approach, you’ll find yourself with a whole new clan of these gorgeous specimens.
The Best Time to Start
For the highest chance of success, I always aim to take cuttings in the late spring or early summer. This is when the plant is in its most vigorous growth phase. You’ll want to select stems that are semi-hardwood. This means they’ve put on new growth this season but are starting to firm up, not completely soft and leafy, and not old and woody.
Supplies You’ll Need
Gathering your tools beforehand makes the whole process so much smoother. Here’s what I usually have on hand:
- Sharp, clean pruning shears or a sharp knife: Essential for making clean cuts.
- Rooting hormone: A good quality rooting powder or gel will significantly boost your success rate.
- Potting mix: A well-draining mix is crucial. I often use a blend of perlite, coco coir, and a bit of compost. You could also use a store-bought cactus or succulent mix for its good drainage.
- Small pots or propagation trays: Clean and with drainage holes, of course!
- Plastic bags or a propagation dome: To create a humid environment around your cuttings.
- Optional: Bottom heat mat: This can really speed up root development.
Propagation Methods
We’ll focus on the most reliable method for Cunonia vieillardii: stem cuttings.
Stem Cuttings:
- Select your cutting: Look for a healthy, semi-hardwood stem that is about 4-6 inches long. You want at least two sets of leaves on the cutting.
- Make the cut: Using your clean shears, make a cut just below a leaf node (where a leaf attaches to the stem). This is where the roots will most likely emerge.
- Prepare the cutting: Gently remove the lower leaves from the bottom half of the cutting, leaving only the top set or two. This prevents them from rotting in the soil.
- Apply rooting hormone: Dip the cut end into your rooting hormone, tapping off any excess.
- Plant your cutting: Fill your small pot with your prepared potting mix. Make a small hole in the center with a pencil or your finger.
- Insert the cutting: Gently place the treated end of the cutting into the hole and firm the soil around it.
- Water gently: Water the soil thoroughly but avoid making it soggy.
- Create humidity: Cover the pot with a clear plastic bag (making sure the leaves don’t touch the plastic) or place it inside a propagation dome. Make sure to poke a few small holes in the bag for airflow or open the dome vents periodically.
- Provide light and warmth: Place the pot in a bright, indirect light location. If you have a bottom heat mat, now’s the time to use it – aim for a temperature of around 70-75°F (21-24°C).
The “Secret Sauce” (Pro Tips)
Here are a couple of things I’ve learned over the years that really make a difference:
- Don’t over-water the initial planting. It’s tempting to drench it, but a consistently damp environment is the fastest way to invite rot. You want the soil to be consistently moist, not waterlogged. Think of it like a wrung-out sponge.
- Bottom heat is your friend. For Cunonia vieillardii, consistent warmth from below really encourages those roots to get going. It mimics the natural conditions where they’d be sitting in warm soil.
- Tap water vs. distilled water. If your tap water is very hard, consider using distilled or rainwater for watering your cuttings, especially in the initial stages. It can help prevent mineral buildup which can stress young roots.
Aftercare & Troubleshooting
Once your cuttings have settled in, keep that humidity high and the light bright but indirect. You’ll know roots are forming when you see new growth appearing, or if you gently tug on the cutting and feel resistance. This can take anywhere from 4 to 8 weeks, or sometimes longer.
The biggest thing to watch out for is rot. If the stem turns black and mushy, or the leaves yellow and fall off prematurely, it’s usually a sign of too much moisture combined with poor airflow. If you see signs of rot, try increasing ventilation. If it’s widespread, you might have to start over with healthier material. Don’t be discouraged if a few don’t make it; it’s all part of the learning curve!
Once you see good root development and new growth, you can begin to gradually acclimate your new plant to lower humidity levels by opening the bag or vents more each day. After a couple of weeks, they should be ready to be moved into their own small pots with regular potting mix.
A Encouraging Closing
Propagating Cunonia vieillardii is a journey. It requires a bit of patience and observation, but seeing those fuzzy roots emerge and the first new leaves unfurl is incredibly satisfying. Enjoy the process, learn from each cutting, and soon you’ll have more of these stunning plants to share with friends, or to fill your own garden with their unique charm. Happy propagating!
Resource:
https://identify.plantnet.org/k-world-flora/species/Cunonia%20vieillardii%20Brongn.%20&%20Gris/data