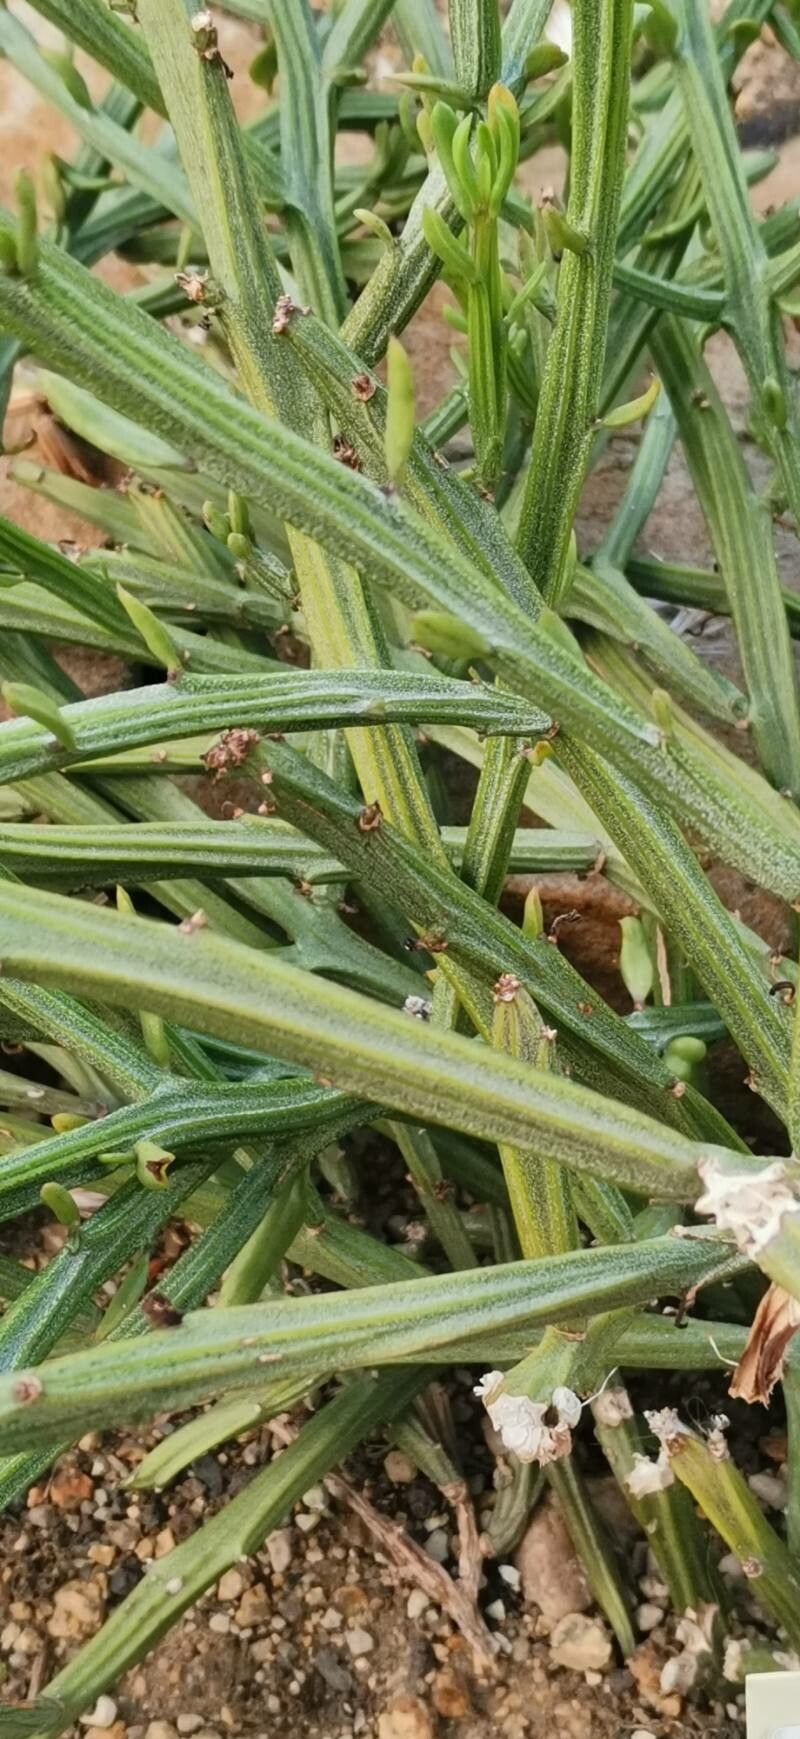
Hey there, fellow plant lovers! I’m so glad you’ve stopped by. Today, we’re diving into the wonderful world of propagating Kleinia madagascariensis, also known affectionately as the Necklace Vine or Climbing Senecio. If you’ve ever admired its delicate, chain-like strands adorned with delightful little pops of yellow flowers, you’re in for a treat. Getting more of these beauties to grow is incredibly satisfying, and I’m here to guide you through it.
Why You’ll Love Propagating This Beauty
Kleinia madagascariensis is just a charmer. Its trailing habit makes it perfect for hanging baskets or spilling over the edges of pots. And those little sunny blooms? Pure joy! Propagating it is also quite rewarding, and I’m happy to say, it’s a pretty straightforward plant for beginners to tackle. You’ll feel a real sense of accomplishment as you watch new roots form.
The Best Time to Start
For the highest success rate, early spring through summer is your golden window. This is when the plant is actively growing and has plenty of energy to put into developing new roots. Think of it as giving your cuttings the best possible start with plenty of light and warmth.
Supplies You’ll Need
Gathering your supplies beforehand makes the whole process much smoother. Here’s what I always have on hand:
- Sharp Pruning Shears or a Clean Knife: For making clean cuts.
- Well-Draining Potting Mix: I often use a cactus and succulent mix, or I’ll blend regular potting soil with perlite or pumice for extra drainage.
- Small Pots or Seedling Trays: With drainage holes, of course!
- Rooting Hormone (Optional but Recommended): This can give your cuttings an extra boost.
- Watering Can or Spray Bottle: For gentle watering.
- Gloves: If you’re sensitive to the sap.
Propagation Methods: Let’s Get Our Hands Dirty!
The most successful way to propagate Kleinia madagascariensis is by using stem cuttings. It’s simple and effective!
Stem Cuttings:
- Select Your Cuttings: Look for healthy, non-flowering stems that are at least 4-6 inches long. You want a section that looks vibrant and robust.
- Make the Cut: Using your sharp pruning shears or a clean knife, make a clean cut just below a leaf node (where a leaf attaches to the stem). This is where roots are most likely to form.
- Prepare the Cutting: Gently remove the lower leaves from the bottom half of the cutting. This prevents them from rotting once planted.
- Let it Callus (Crucial Step!): This is important! Allow the cut end of the stem to air dry for 2-3 days, or even longer, until a callus forms over the cut. It will look dry and sealed. This prevents rot when you plant it.
- Apply Rooting Hormone (Optional): If you’re using rooting hormone, dip the callused end into the powder or gel. Tap off any excess.
- Plant Your Cuttings: Insert the callused end of the cutting about 1-2 inches deep into your well-draining potting mix. You can plant several cuttings in the same pot, giving them a little space.
- Water Gently: Lightly water the soil. You want it to be moist, not soggy. A spray bottle is great for this initial watering.
Water Propagation (Another Easy Option!):
- Prepare your cuttings as you would for stem cuttings (steps 1-3 above).
- Instead of letting them callus, place the cuttings directly into a jar or glass of clean water.
- Make sure no leaves are submerged in the water. This is where the “secret sauce” comes in! Leaves in the water will just rot and can take your cutting down with them.
- Place the jar in a bright spot, out of direct sunlight. Change the water every few days to keep it fresh.
- You’ll start to see tiny roots developing in about 2-4 weeks. Once the roots are about an inch long, you can pot them into soil.
The “Secret Sauce” (Pro Tips from Experience)
Here are a few tricks I’ve learned over the years that really make a difference:
- Bottom Heat is Your Friend: If you’re propagating in a cooler environment or during spring, consider placing your pots on a gentle heat mat. This warmth encourages faster root development. It’s like giving your little cuttings a warm hug and saying, “Grow, grow, grow!”
- Don’t Over-Water, Ever! This is the number one killer of cuttings. Succulents and semi-succulents like Kleinia are prone to rot. Let the soil dry out slightly between waterings. When in doubt, wait a day longer.
- Patience with the “Sealed” Method: For stem cuttings planted in soil, resist the urge to tug on them to see if they have roots. Wait at least 3-4 weeks before gently trying to pull one. If there’s resistance, congratulations – you’ve got roots!
Aftercare & Troubleshooting
Once your cuttings have developed a good root system (you’ll see new growth appearing on the top), you can start treating them like a mature plant.
- Gradual Acclimation: If they’ve been in a humid environment (like under a dome, though I don’t usually find this necessary for Kleinia), gradually introduce them to normal room humidity.
- Light: Place them in a bright spot, but avoid direct, harsh midday sun initially. As they grow stronger, you can slowly move them into more light.
- Watering: Water thoroughly when the top inch or two of soil is dry.
Common Signs of Failure:
- Rotting: The stem turns black and mushy. This is almost always due to overwatering or not letting the cutting callus properly.
- Wilting without Rooting: If the cutting wilts significantly, and you see no signs of roots after several weeks, it might not have been placed in ideal conditions or the cutting itself wasn’t healthy enough.
Keep Growing!
Propagating Kleinia madagascariensis is a wonderfully accessible way to expand your collection or share these charming plants with friends. Don’t be discouraged if your first attempt isn’t perfect; gardening is all about learning and experimenting. Just remember to be patient, give them the right conditions, and enjoy the process of watching new life emerge. Happy propagating!
Resource: