Oh, hello there! Come on in and grab a mug. It’s so lovely to chat with fellow plant enthusiasts. Today, we’re diving into the wonderful world of propagating Tilia platyphyllos, also known as the Large-leaved Lime or Common Lime tree.
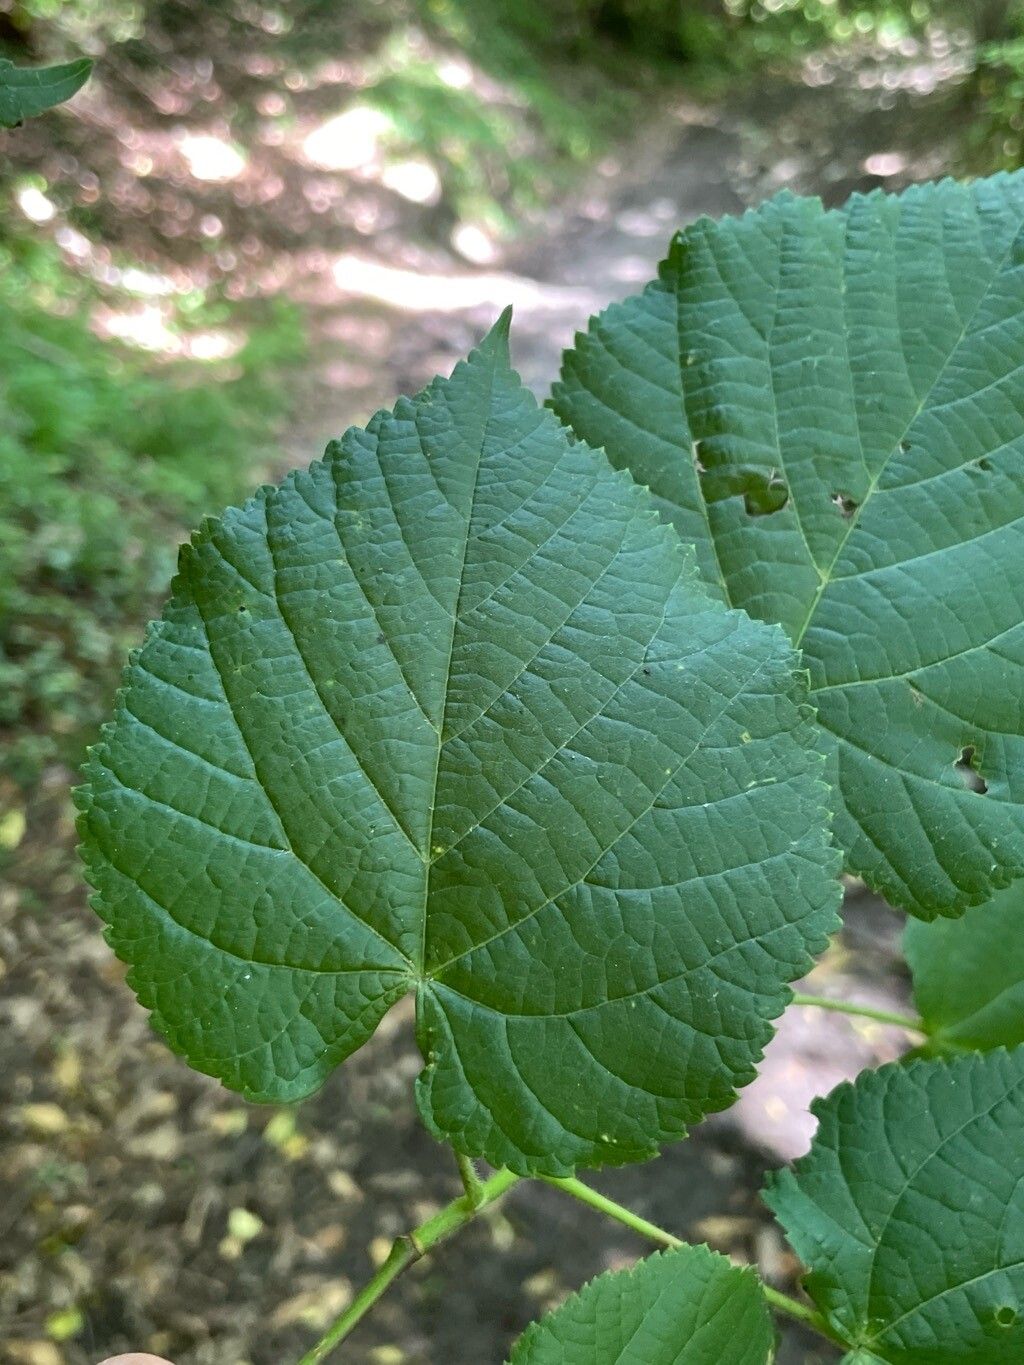
Aren’t these trees just magnificent? Their broad, heart-shaped leaves create such a comforting shade, and in the early summer, the air around them is simply perfumed with their sweet, delicate scent. It’s truly one of nature’s little gifts. And the best part? You can share that beauty! Propagating them is a fantastic way to grow more of these giants for your garden or to gift to friends. For beginners, tackling Tilia platyphyllos might feel a tiny bit ambitious, but with a little patience and these tips, you’ll find it’s definitely achievable.
The Best Time to Start
When it comes to Tilia platyphyllos, think softwood cuttings taken in late spring or early summer. This is when the new growth is flexible and full of life, making it much more receptive to rooting. It’s that vibrant, green stage before the wood fully hardens. You can try semi-hardwood cuttings in mid-summer too, but for the easiest ride, aim for that prime spring window.
Supplies You’ll Need
Here’s what you’ll want to have on hand for your propagation adventure:
- Sterilized pruning shears or a sharp knife: Clean tools are non-negotiable to prevent disease.
- Rooting hormone powder or gel: This isn’t strictly essential but gives your cuttings a real boost.
- A well-draining potting mix: I like a blend of equal parts peat moss (or coco coir), perlite, and a bit of coarse sand.
- Small pots or seed trays with drainage holes: Clean them thoroughly before use!
- A plastic bag or propagation dome: To create a humid environment.
- Gravel or small stones: For the bottom of pots if using water propagation.
- A sunny windowsill or a warm propagation mat: For consistent warmth.
Propagation Methods
While you can sometimes get lucky with seeds, taking stem cuttings is your most reliable route for creating a clone of your desired tree. Let’s get to it!
Softwood Cuttings: Your Best Bet
- Select your cutting: Look for healthy, non-flowering shoots that are still somewhat flexible. You want pieces about 4-6 inches long.
- Make the cut: Using your clean shears or knife, make a cut just below a leaf node (where a leaf attaches to the stem). This is where the magic happens to encourage roots.
- Prepare the cutting: Gently remove the lower leaves, leaving just a couple at the very top. If the leaves are very large, you can even cut them in half horizontally to reduce water loss.
- Apply rooting hormone: Dip the cut end into your rooting hormone, tapping off any excess.
- Plant your cutting: Fill your pots with your prepared potting mix. Make a small hole with a pencil or your finger and gently insert the cut end of the stem, firming the soil around it.
- Create humidity: Water the soil gently so it’s moist but not waterlogged. Then, cover the pot with a clear plastic bag, secured at the rim with a rubber band, or place it under a propagation dome.
- Provide warmth and light: Place the pots in a bright spot that receives indirect sunlight. If you have a heated propagation mat, placing them on it will speed things up wonderfully.
The “Secret Sauce” (Pro Tips)
Here are a couple of things I’ve learned over the years that make a real difference:
- Never let the lower leaves touch the soil directly. This is a sure way to invite rot. Make sure they’re all above the soil line.
- Bottom heat is your friend. While ambient light is great, consistent bottom heat from a mat or a warm spot can significantly speed up root formation. It mimics the feeling of being rooted in the warm earth.
- Don’t be afraid to experiment with different types of cuttings. While softwood is best, if you miss the window, try a semi-hardwood cutting later in the summer. The success rate might be slightly lower, but it’s worth a shot!
Aftercare & Troubleshooting
Once your cuttings are planted, be patient! It can take anywhere from 4 to 8 weeks, sometimes even longer, for roots to develop. You’ll know they’re ready when you see new leaf growth or feel a gentle resistance when you lightly tug on the cutting.
What to do when roots appear:
- Acclimate them slowly: Gradually remove the plastic bag or dome over a week or so, allowing the plant to get used to the drier air.
- Water consistently: Keep the soil evenly moist, never letting it dry out completely, but also avoid sogginess.
- Move to bigger pots: Once your new sapling has a good root system, carefully transplant it into a slightly larger pot with fresh potting mix.
Common signs of trouble:
- Wilting and yellowing leaves: This can be a sign of too little water, too much sun, or even a sign that the cutting hasn’t rooted and is just running out of steam.
- Blackening or mushy stem: This is almost always rot, usually caused by overwatering or poor drainage. If you see this, unfortunately, that cutting is likely lost. It’s a good reminder to check your soil moisture and drainage!
A Encouraging Closing
See? It’s not rocket science, just a little bit of nurturing and observation. Don’t get discouraged if not every cutting makes it – that’s part of the gardening journey! The joy of watching a tiny twig transform into a well-rooted sapling is truly special. So go ahead, grab your shears, and enjoy the process. Happy propagating!
Resource:
https://identify.plantnet.org/k-world-flora/species/Tilia%20platyphyllos%20Scop./data