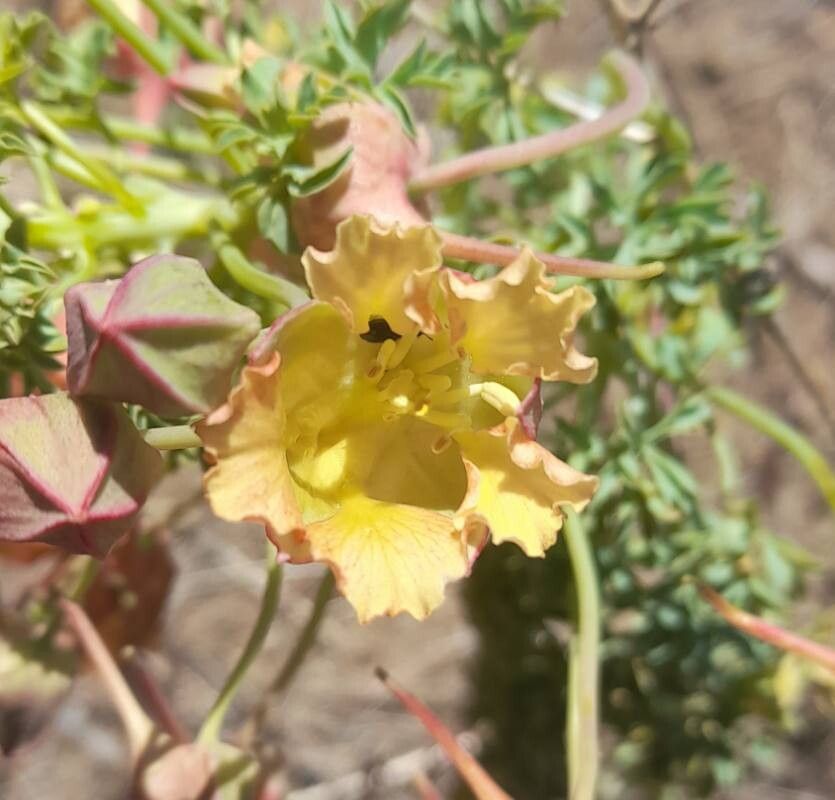
Hello fellow plant lovers! Today, we’re diving into the wonderful world of Tropaeolum incisum, often called the “netted nasturtium” for its delicate, deeply divided leaves and often vibrant, jewel-toned flowers. If you’ve ever admired this little beauty in someone’s garden or on your own, you might be wondering how to bring more of it home. The good news? Propagating Tropaeolum incisum is a really rewarding experience, and while it has its quirks, I wouldn’t call it overly challenging for the eager beginner. Seeing a tiny cutting transform into a thriving plant is one of gardening’s greatest joys!
The Best Time to Start
For the highest success rate, I find starting with cuttings in late spring or early summer is usually your best bet. This is when the plant is actively growing, and the stems have a good balance of being firm enough to handle but still flexible and full of life. You’re essentially tapping into the plant’s prime energy for growth.
Supplies You’ll Need
Before we get our hands dirty, let’s gather our tools:
- Sharp pruning shears or a clean knife: For making neat cuts.
- Rooting hormone powder or gel (optional but recommended): Gives your cuttings a little boost.
- A well-draining potting mix: I like a blend of peat moss, perlite, and a little bit of compost. You can also use a specialized seed-starting mix.
- Small pots or trays: Clean ones are crucial to prevent disease.
- Clear plastic bags or a propagator: To create a humid environment.
- Watering can or spray bottle: For gentle watering.
Propagation Methods
Tropaeolum incisum can be propagated quite successfully from stem cuttings. It’s my go-to method, and it’s surprisingly straightforward.
- Take Your Cuttings: Look for healthy, non-flowering stems. Using your sharp shears or knife, take cuttings that are about 4-6 inches long. Make your cut just below a leaf node (where a leaf meets the stem) – this is where roots are most likely to form.
- Prepare the Cuttings: Gently remove the lower leaves from the bottom half of the cutting, leaving just one or two at the very top. This prevents them from rotting in the soil and also reduces moisture loss. If you’re using rooting hormone, dip the cut end into the powder or gel according to the product instructions.
- Plant Your Cuttings: Make a small hole in your potting mix with a pencil or your finger. Insert the cut end of the stem into the hole, ensuring the nodes are buried. Gently firm the soil around the stem to hold it in place.
- Create a Humid Environment: Water the soil gently so it’s moist but not waterlogged. Then, cover the pot or tray with a clear plastic bag or place it inside a propagator. This traps humidity, which is vital for cuttings to form roots before they dry out. Keep the bag slightly open or vent the propagator daily to allow for air circulation and prevent mold.
The “Secret Sauce” (Pro Tips)
Here are a couple of little tricks I’ve learned over the years that can make a big difference:
- Bottom Heat is Your Friend: If you have a propagator or can get your hands on a seedling heat mat, using bottom heat can significantly speed up root formation. It mimics the warmth of spring soil and encourages those roots to get going.
- Don’t Constantly Disturb Them! It’s tempting to peek and prod your cuttings to see if they have roots, but honestly, resist the urge. Every time you move them, you risk damaging delicate new root hairs. Let them settle in and focus your attention on keeping the humidity and moisture levels right.
Aftercare & Troubleshooting
Once your cuttings have been sitting in their humid haven for a few weeks, you might start to see signs of new growth – little leaves unfurling! This is a great indicator that roots are forming.
- Acclimatize Gradually: When you see good root development (you can gently tug on a cutting, and it feels firm), it’s time to gradually acclimatize your new plants to normal conditions. Start by removing the plastic bag for an hour or two each day, slowly increasing the time over a week.
- Watering: Continue to keep the soil consistently moist but not soggy. Overwatering is probably the most common reason cuttings fail, leading to rot. You’ll notice if a cutting is rotting if it turns black and mushy at the base. If you see this, unfortunately, it’s best to discard it and try again. Another sign of distress is wilting, which can be a lack of roots or too much drying out – check your watering and humidity.
A Little Patience Goes a Long Way
Gardening is a journey, and propagation is a wonderful part of it. Don’t be discouraged if your first few attempts aren’t perfect. Keep observing, keep tending, and most importantly, enjoy the magical process of growing plants from scratch. Happy propagating!
Resource:
https://identify.plantnet.org/k-world-flora/species/Tropaeolum%20incisum%20(Speg.)%20Sparre/data