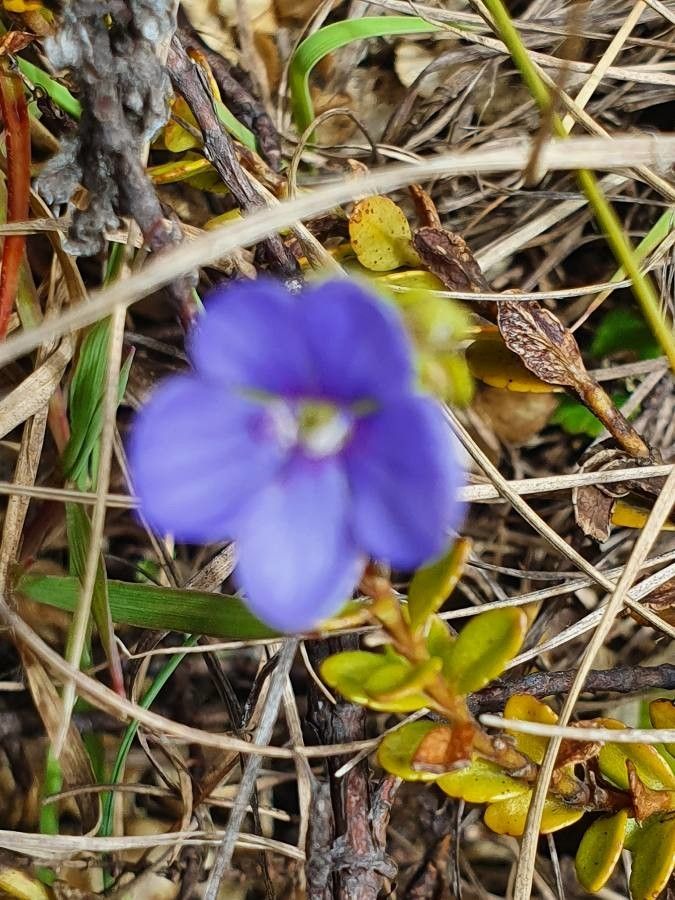
Hello, fellow plant lovers! Today, I want to chat about a real charmer in the garden – Veronica glandulosa. If you adore those spires of lovely, often vibrant blue, flowers that dance through the summer months, you’re going to love getting to know this one. Propagating Veronica glandulosa is a wonderfully rewarding way to fill your garden beds or share these beauties with friends. And for those of you just dipping your toes into the world of plant propagation, I’m happy to report that Veronica glandulosa is quite forgiving. It’s a great one to start with!
The Best Time to Start
When it comes to getting the most bang for your propagation buck, late spring to early summer is your sweet spot. This is when the plant is actively growing, and its stems have that perfect balance of being flexible yet firm. You want to avoid trying to propagate from very soft, new growth or old, woody stems. Look for stems that are starting to mature a bit – they’ll snap cleanly when bent, rather than just flopping over.
Supplies You’ll Need
To get started on your propagation journey, gather up these helpful bits and bobs:
- Sharp pruning shears or a clean knife: For making clean cuts.
- Rooting hormone (optional but recommended): Available in powder or gel form.
- Small pots or trays: With drainage holes, of course!
- A well-draining potting mix: A good starter mix is equal parts peat moss and perlite, or a commercial seed-starting mix will do.
- Plastic bags or a clear propagation dome: To create a humid environment.
- A watering can with a fine rose attachment: For gentle watering.
Propagation Methods
There are a couple of reliable ways to get new Veronica glandulosa plants going. I find stem cuttings to be the most straightforward.
1. Stem Cuttings:
- Take your cuttings: In late spring or early summer, select healthy, non-flowering stems. Using your sharp shears, cut stems about 4-6 inches long. Make your cut just below a leaf node (where a leaf attaches to the stem).
- Prepare the cuttings: Gently remove the lower leaves from the cutting, leaving just two or three at the top. This helps prevent rot and encourages the plant to focus its energy on rooting.
- Apply rooting hormone: If you’re using rooting hormone, dip the cut end of the stem into the hormone, tapping off any excess.
- Pot them up: Fill your small pots or trays with your well-draining potting mix. Make a hole in the center of the mix with your finger or a pencil.
- Insert the cuttings: Place the prepared cutting into the hole, ensuring the nodes where you removed leaves are buried in the soil. Gently firm the soil around the base of the cutting. You can fit several cuttings into one pot, as long as they aren’t touching each other.
- Water gently: Water thoroughly but gently to settle the soil around the cuttings.
- Create humidity: Cover the pots with a clear plastic bag or pop them under a propagation dome. This is crucial for keeping the cuttings from drying out while they develop roots. Aim to keep the humidity high but ensure some air circulation to prevent fungal issues.
2. Water Propagation (for the adventurous!):
While not quite as consistently successful as soil propagation for Veronica, some people have luck with water.
- Take your cuttings: Follow the same steps as for stem cuttings – 4-6 inch lengths, cut below a node, remove lower leaves.
- Place in water: Put the cuttings in a clean jar or glass of water. Make sure no leaves are submerged; they will rot.
- Change water regularly: Change the water every few days to keep it fresh and oxygenated.
- Watch for roots: You should start to see tiny white roots emerging from the nodes within a few weeks. Once the roots are about an inch long, you can carefully transplant them into potting mix, just as you would a previously rooted cutting.
The “Secret Sauce” (Pro Tips)
Now for a few little things I’ve learned over the years that can really boost your success:
- Don’t let those leaves touch the water (if water propagating): This is a big one! Submerged leaves are a one-way ticket to rot. Pinch them off ruthlessly.
- Bottom heat is your friend: If you have a gentle seedling heat mat, place your pots on it. This provides warmth to the soil, encouraging root development. It’s like a warm blanket for your cuttings!
- Be patient with humidity: That plastic bag or dome is doing a vital job. Resist the urge to lift it constantly. Let the little guys do their thing and build up that comforting moisture.
Aftercare & Troubleshooting
Once you start to see a bit of new growth emerging from your cuttings, that’s a fantastic sign! It means roots have formed. You can gently tug on a cutting – if there’s resistance, you’ve got roots!
- Acclimatize gradually: Once roots appear, start to introduce your new plants to normal air by gradually opening the plastic bag or dome a little each day for a week.
- Water consistently: Keep the soil moist but not waterlogged. Let the top centimeter or so of soil dry out before watering again.
- Pot up: Once they are showing good growth and have a decent root system, you can pot them into slightly larger individual pots.
Now, what if things aren’t going quite as planned? The most common culprit is rot. If your cuttings turn black or mushy, it’s usually a sign of too much moisture and not enough air circulation. Unfortunately, if rot sets in, it’s usually best to discard them and try again. Don’t beat yourself up; it happens to the best of us!
A Encouraging Closing
Propagating plants is such a beautiful dance with nature. There’s a special kind of joy in nurturing a tiny cutting into a full, thriving plant. So get out there, get your hands dirty, and give Veronica glandulosa propagation a go. Be patient with yourself and with your new little charges. You’ve got this, and happy gardening!
Resource: