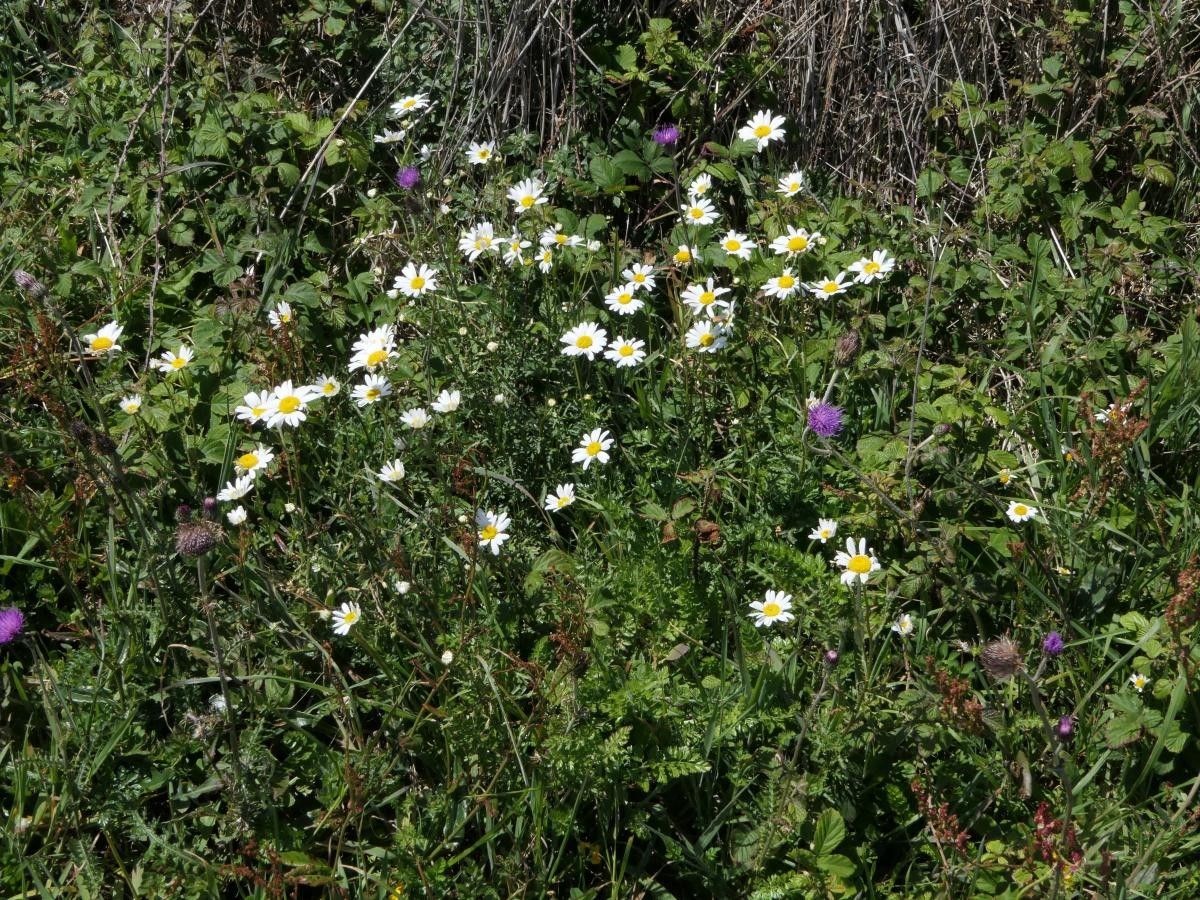
Oh, hello there! Come on in, grab a mug of your favorite brew. Today, we’re diving into something truly special: propagating Leucanthemum pluriflorum. You know, those darling little Shasta daisies with their cheerful, abundant blooms. They just fill the garden with such bright, happy energy.
There’s something incredibly satisfying about coaxing new life from an existing plant. It’s like a little gardening magic, and honestly, it’s a fantastic way to expand your flower borders without spending a fortune. The good news? For Leucanthemum pluriflorum, you’ll find this a wonderfully rewarding process, and quite beginner-friendly too!
The Best Time to Start
Generally, the sweet spot for propagating most perennials, including our lovely Shasta daisies, is late spring to early summer. This is when the plants are in their active growing phase. You want to catch them when they’re full of vigor, not when they’re stressed. Look for healthy, non-flowering stems.
Supplies You’ll Need
Here’s what you’ll want to gather to make your propagation efforts a breeze:
- Sharp pruning shears or a clean knife: Sterilize them with rubbing alcohol first!
- Rooting hormone powder or liquid: This is optional but can give your cuttings a helpful boost.
- A lightweight, well-draining seed starting mix or a 50/50 blend of peat moss and perlite.
- Small pots or seed trays with drainage holes.
- Clear plastic bags or domes: To create a humid environment.
- A spray bottle: For misting.
- Labels and a marker: To keep track of your endeavors.
Propagation Methods
Let’s get our hands dirty with the most reliable ways to multiply your Leucanthemum pluriflorum.
Stem Cuttings
This is my go-to method for these daisies.
- Select your stem: Find a healthy stem from a mature plant. Aim for one that’s about 4-6 inches long and hasn’t started flowering yet. You can often find suitable stems just below a flower bud.
- Make the cut: Using your sterilized shears or knife, make a clean cut just below a leaf node (that little bump where a leaf attaches to the stem). This is where roots are most likely to form.
- Prepare the cutting: Gently remove the lower leaves from the stem, leaving just a few at the top. If your stem has any flower buds, pinch them off. The plant’s energy is best directed towards root formation, not flowering.
- Dip in rooting hormone (optional): If you’re using rooting hormone, dip the cut end of the stem into the powder or liquid. Tap off any excess.
- Plant the cutting: Fill your small pots with your prepared potting mix. Make a small hole with a pencil or your finger and insert the cutting, ensuring the lower leaf nodes are buried in the soil.
- Water gently and create humidity: Water the soil lightly. Then, cover the pot with a clear plastic bag or a propagator lid. This traps moisture and creates the humid environment cuttings need. You can secure the bag around the pot with a rubber band.
Division
This is fantastic for a quick way to get more plants, especially if your Shasta daisies have grown into a nice, bushy clump.
- Dig up the clump: In early spring or fall, when the plant is dormant or just starting to grow, carefully dig up the entire plant.
- Divide it: Gently pull the root ball apart. You can use your hands for this, or if it’s a bit tough, a clean trowel or spade can help. Each section should have a good portion of roots and at least a few healthy shoots.
- Replant immediately: Replant the divisions back into the garden or pot them up in fresh soil. Water them well.
The “Secret Sauce” (Pro Tips)
Here are a few little tricks I’ve learned over the years that can really make a difference.
- Don’t let the leaves touch the compost too much! When you’re preparing your cuttings, and you strip off those lower leaves, ensure the remaining ones aren’t sitting directly on the damp soil surface. This can encourage rot before roots even have a chance to form.
- Bottom heat is your friend! If you have a heat mat designed for seedlings, place your pots on it. This gentle warmth from below encourages root development much faster than ambient room temperature alone. Don’t go too hot, just a nice, cozy warmth.
- Tap water vs. distilled: For cuttings, especially if you’re a bit worried about minerals in your tap water, using distilled or rainwater for misting and initial watering can sometimes prevent issues down the line.
Aftercare & Troubleshooting
Once your cuttings have rooted – you’ll often see new leaf growth or feel a gentle tug when you lightly pull on the stem – it’s time for a little more attention.
- Acclimate slowly: Gradually remove the plastic covering (
gradually is key here!) over a few days to let the new plants get used to drier air. - Watering: Water when the top inch of soil feels dry. Avoid overwatering, as this is a common cause of trouble.
- Potting up: Once the plants have a decent root system, you can move them into slightly larger pots.
Now, what if things go wrong? The most common culprits are rot and shriveling.
- Rot: This usually happens from too much moisture and not enough air circulation. If you see stems turning black and mushy, it’s usually a goner. Ensure your soil drains well and that you’re not overwatering.
- Shriveling: This can happen if the cutting dries out too much. Make sure your humidity dome is effectively trapping moisture, and mist regularly.
A Encouraging Closing
Propagating these beautiful daisies is a journey, and like all good journeys, it requires a bit of patience. Don’t be discouraged if every single cutting doesn’t make it. Learn from each attempt, celebrate your successes, and most importantly, enjoy the process of gardening and nurturing new life. Happy propagating!
Resource:
https://identify.plantnet.org/k-world-flora/species/Leucanthemum%20pluriflorum%20Pau/data