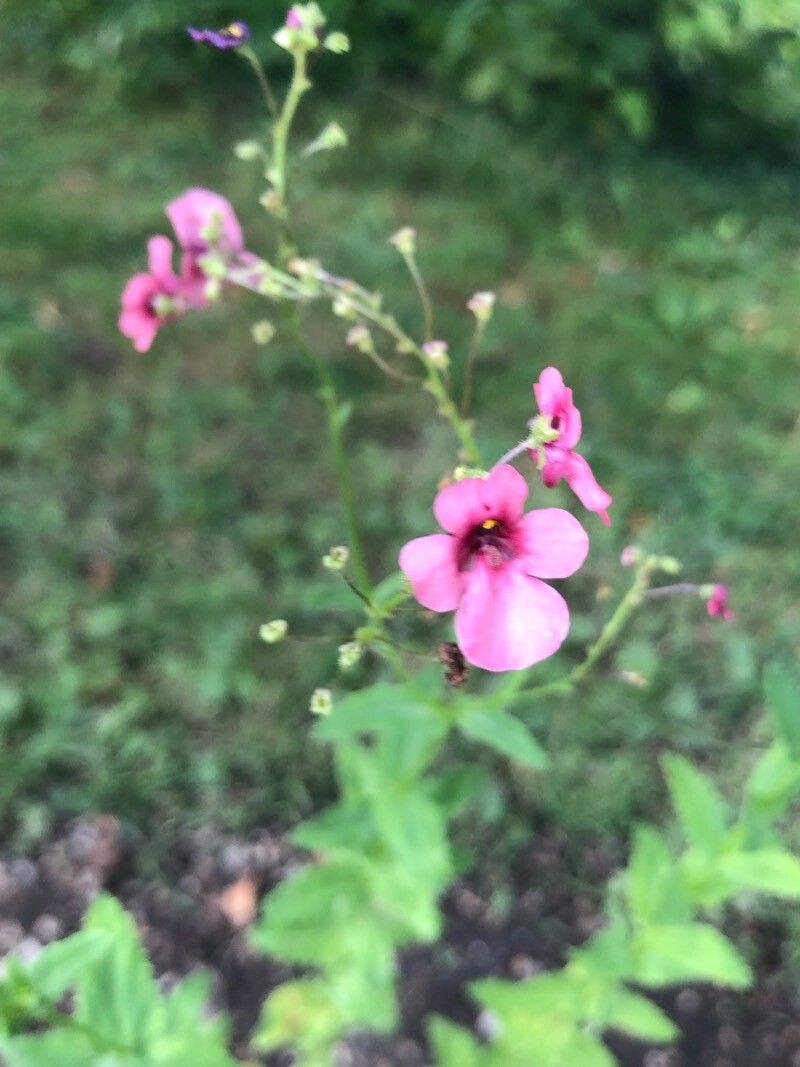
Hello, fellow garden enthusiasts! It’s so lovely to have you join me today. If you’ve ever admired those delicate, jewel-toned blooms of Diascia personata cascading from pots or spilling over the edges of a garden bed, you know exactly why this plant captures our hearts. Their cheerful colors and long blooming season make them a real gem, and the satisfaction of creating more of them yourself? Pure gardening joy!
Now, you might be wondering if bringing more Diascia into your life is a tricky endeavor. I’m happy to tell you that propagating Diascia personata isn’t an insurmountable challenge at all. While it requires a gentle touch and a bit of patience, even those of you who are relatively new to the propagation game will find this plant quite rewarding to work with.
The Best Time to Start
My go-to time for propagating Diascia personata is during the late spring or early summer. This is when the plant is in a vigorous growth phase, meaning it’s producing plenty of healthy new shoots that are perfect for taking cuttings. You want to catch that surge of energy before the intense heat of mid-summer sets in, which can sometimes stress young cuttings.
Supplies You’ll Need
To set yourself up for success, gather these essentials:
- Clean, sharp pruning shears or a sharp knife: Essential for making clean cuts.
- Rooting hormone (powder or gel): Not strictly mandatory for Diascia, but it can give your cuttings a significant boost.
- Small pots or seed trays: With drainage holes, of course!
- Well-draining potting mix: A good seed-starting mix or a blend of peat moss and perlite (about 50/50) works wonderfully.
- Plastic bags or a propagator lid: To create a humid environment.
- Watering can or spray bottle: For gentle watering.
Propagation Methods
I find stem cuttings to be the most reliable and straightforward method for Diascia personata. Here’s how we’ll do it:
- Select Your Cuttings: Look for healthy, non-flowering shoots that are about 3-4 inches long. These are often found on the newer growth.
- Make the Cut: Using your clean shears, take cuttings just below a leaf node. A leaf node is a little bump on the stem where a leaf grows from. This is where roots tend to form.
- Prepare the Cuttings: Gently remove the lower leaves, leaving just a couple at the very top. This prevents them from rotting when you insert them into the soil.
- Apply Rooting Hormone (Optional but Recommended): Dip the cut end of the stem into your chosen rooting hormone. Tap off any excess.
- Plant Your Cuttings: Fill your small pots or trays with your moistened potting mix. Make a small hole with a pencil or your finger and gently insert the cut end of the Diascia cutting. Firm the soil around the stem to ensure good contact.
- Create a Humid Environment: Water gently from the bottom or mist the surface. Then, cover the pot with a plastic bag or place it inside a propagator. This keeps the humidity high, which is crucial for cuttings that can’t yet absorb water through roots. You can prop up the bag with a skewer or two to keep it from touching the leaves.
- Provide Light and Warmth: Place the pots in a bright spot, but out of direct, harsh sunlight. A little bit of bottom heat (like a heating mat designed for propagators) can speed things up significantly.
The “Secret Sauce” (Pro Tips)
Over the years, I’ve learned a few tricks that really make a difference:
- Don’t let the leaves touch the water: If you opt for water propagation (which I sometimes do for quick rooting with Diascia, but it’s more prone to rot), ensure that only the cut stem is submerged. Any leaves dipping into the water will likely rot and can take the whole cutting down with them.
- Bottom heat is your best friend: While not strictly necessary, popping your cuttings on a gentle propagation heat mat really encourages those roots to form much faster. It mimics that lovely warmth of spring.
- Prune for bushiness before rooting: If you have a particularly leggy Diascia plant, take cuttings from the tips. Once the cuttings have rooted and are growing, I often pinch out the tip of the new growth. This encourages the plant to branch out, resulting in a bushier, more robust plant later on.
Aftercare & Troubleshooting
Once you see new growth emerging from your cuttings – that’s your signal that roots are forming! This usually takes anywhere from 3 to 6 weeks, depending on the conditions.
- Gradual Acclimatization: Once roots have developed, slowly remove the plastic cover or propagator lid over a few days. This helps the new plants adjust to normal humidity levels.
- Watering: Keep the soil consistently moist but not waterlogged. Overwatering is one of the quickest ways to lose your precious new plants.
- Potting Up: When your new Diascia are big enough to handle, usually when they have a decent root system and a few sets of true leaves, you can pot them up into slightly larger individual pots.
The most common sign of trouble is wilting and mushy stems, which almost always points to rot. This is usually caused by too much moisture and poor air circulation. If you see this, unfortunately, it’s often too late, but it’s a good lesson in adjusting your watering and humidity levels for the next batch.
A Little Patience, A Lot of Reward
So there you have it! Propagating Diascia personata is a wonderful way to multiply your garden’s beauty and share it with friends. Don’t be discouraged if not every cutting takes; gardening is a journey of learning and experimenting. Just be patient, observe your plants, and enjoy the magic of bringing new life into your world. Happy propagating!
Resource: