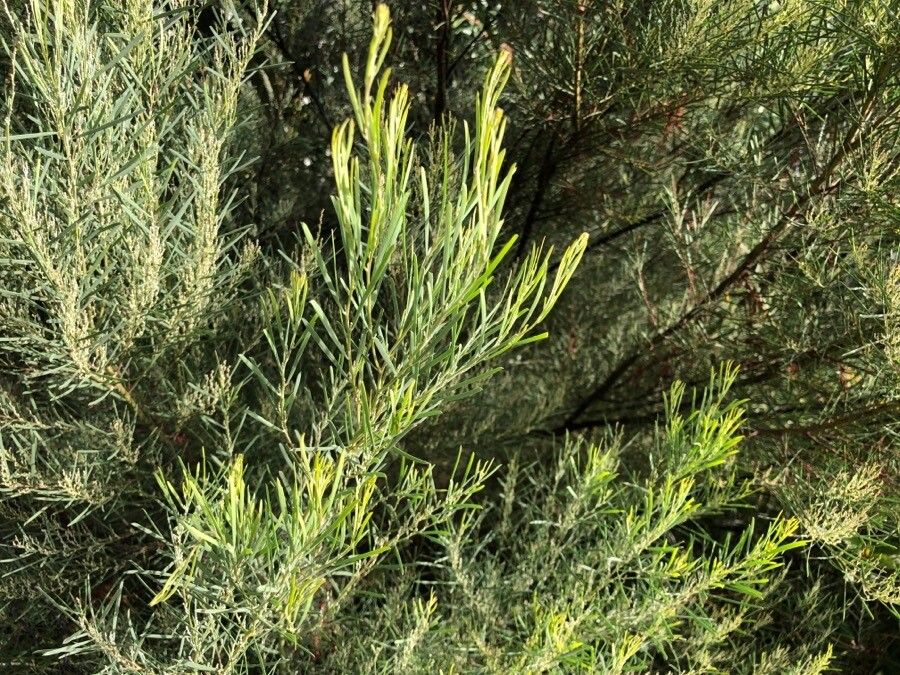
Hello, fellow plant lovers! Today, we’re diving into something truly special: propagating Acacia binata. If you’ve ever admired this Australian native’s delicate, fern-like foliage and the subtle charm it brings to a garden, you’re in for a treat. Growing more of this beauty from your existing plants is incredibly satisfying. For beginners, I’d say Acacia binata is a moderate challenge – it’s not as foolproof as, say, a pothos, but with a little care and attention, you’ll be well on your way to success.
The Best Time to Start
When it comes to Acacia binata, timing is everything. The sweet spot for propagation is late spring to early summer. This is when the plant is in its active growth phase, meaning it’s more robust and receptive to producing new roots. You’ll want to select stems that are soft and pliable – not brand new, fragile growth, but also not old, woody branches. Think of stems that have just finished their initial flush of growth and are firming up nicely.
Supplies You’ll Need
Gathering your supplies beforehand always makes the process smoother. Here’s what I recommend:
- Sharp, clean pruning shears or a sharp knife: For making precise cuts.
- Rooting hormone: A powder or gel can significantly boost success rates.
- Potting mix: A well-draining mix is crucial. I often use a blend of 2 parts perlite to 1 part peat moss or coco coir. You can also buy specific succulent or cactus mixes.
- Small pots or seedling trays: With drainage holes, of course!
- Plastic bags or a humidity dome: To keep cuttings moist.
- Spray bottle: For misting.
- Labels or plant markers: To keep track of your cuttings!
Propagation Methods: Let’s Get Our Hands Dirty!
We’ll focus on the most reliable method for Acacia binata: stem cuttings.
- Take the Cuttings: Using your clean shears, select a healthy stem and make a clean cut just below a leaf node. A leaf node is where a leaf attaches to the stem. Aim for cuttings that are about 4-6 inches long. Remove the lower leaves, leaving only the top few. This prevents them from rotting in the soil.
- Prepare the Cuttings: Dip the cut end of each cutting into a small amount of rooting hormone. Tap off any excess. Be sure to use just enough to coat the cut end.
- Plant the Cuttings: Fill your small pots or trays with your well-draining potting mix. Make a small hole in the center of the mix with a pencil or your finger. Gently insert the prepared cutting into the hole, ensuring the leaf nodes that were stripped of leaves are below the soil surface. Firm the soil gently around the cutting.
- Create a Humid Environment: Water the soil lightly until it’s evenly moist, but not soggy. Cover the pot with a plastic bag (create a mini greenhouse by tying it with a twist tie or rubber band) or place it under a humidity dome. This is crucial for preventing the cuttings from drying out.
- Provide Light and Warmth: Place your cuttings in a bright spot that receives indirect sunlight. Avoid direct sun, which can scorch them. A little warmth from the bottom can be beneficial – a heat mat set to a low temperature is fantastic for this.
The “Secret Sauce” (Pro Tips)
Here are a few tricks I’ve learned over the years that can really make a difference:
- Don’t overcrowd your pots: Give each cutting enough space. This improves air circulation and reduces the risk of fungal diseases. If you’re using a tray, try to give them at least an inch or two between them.
- Mist, don’t soak: While humidity is key, over-watering the surface of the soil can still lead to rot. I like to mist the cuttings lightly every couple of days, especially if you’re not using a closed dome. You can even mist the inside of the bag gently.
- Watch for signs of life, not just leaves: New leaves are a good sign, but the real indicator of success is when you feel a gentle tug when you lightly pull on the cutting. This means roots have formed. It can take anywhere from 4 to 8 weeks, sometimes longer, so patience is a virtue!
Aftercare & Troubleshooting
Once you see signs of roots, it’s time to start acclimating your new little Acacia binata to regular conditions. Gradually remove the plastic bag or dome over a week or two. Continue to keep the soil consistently moist but not waterlogged. As the plant grows, you can transplant it into a slightly larger pot.
The most common sign of failure is wilting and browning followed by the cutting becoming mushy at the base. This is almost always a sign of rot, usually caused by too much moisture and poor drainage, or less commonly, severe dehydration. If you see this, it’s best to discard that cutting and re-evaluate your watering and soil mix for the next batch. Another sign is a cutting that just looks… sad, and never shows any signs of rooting or new growth after many weeks. This might mean the cutting wasn’t viable, the conditions weren’t right, or it just didn’t take.
Keep Planting!
Propagating your Acacia binata is a wonderful journey. It’s a chance to connect with your plants on a deeper level and to create more of the beauty you love. Don’t be discouraged if your first attempts aren’t perfect. Each time you try, you learn something new. Enjoy the process, celebrate every tiny root that forms, and soon you’ll have a whole collection of these lovely plants to share! Happy propagating!
Resource:
https://identify.plantnet.org/k-world-flora/species/Acacia%20binata%20Maslin/data