Bringing More Beauty to Your Garden: Propagating the Wonderful Crataegus laciniata
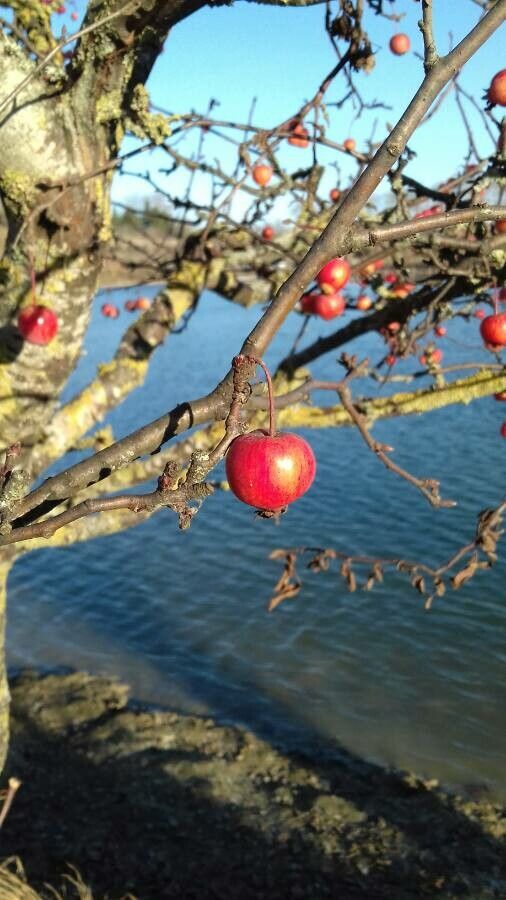
Oh, Crataegus laciniata! If you’ve ever admired its intricate, deeply lobed leaves and the charm of its hawthorn berries, you know why it’s a special addition to any garden. It’s a plant that offers so much throughout the year, from delicate spring blooms to vibrant autumn fruit. And the joy of seeing one of these beauties sprout from a little piece of what you already have? It’s truly something special. Now, I know when you first look at a plant, you might wonder, “Can I really do this myself?” For Crataegus laciniata, I’d say it’s moderately challenging. It’s not quite as foolproof as, say, a spider plant, but with a little patience and the right approach, you’ll be rewarded with success.
When is the Magic Time to Start?
For most woody plants like our friend Crataegus laciniata, late spring to early summer, just as the new growth has started to firm up a bit but is still somewhat flexible, is your golden window. You want stems that are neither super soft and floppy nor old and woody. This is when the plant’s energy is really flowing, giving your cuttings the best shot at rooting.
Gather Your Gardening Toolkit
To set yourself up for success, you’ll want to have these essentials ready to go:
- Sharp Pruning Shears or Scissors: Cleanliness is key to prevent disease.
- Potting Mix: A good quality, well-draining seed starting mix is ideal. You can also make your own by mixing equal parts peat moss (or coco coir) and perlite.
- Rooting Hormone: This is a helpful booster. Look for one containing indole-3-butyric acid (IBA).
- Small Pots or Trays: With drainage holes, of course!
- Plastic Bags or a Mini Greenhouse: To create a humid environment.
- Water: For moistening the soil and misting.
- Labeling Stakes: To keep track of what you’ve planted!
Let’s Get Our Hands Dirty: Propagation Methods
Two common and effective ways to propagate Crataegus laciniata are through stem cuttings and, if you have a mature plant, division.
Stem Cuttings:
- Select Your Cuttings: Look for healthy, vigorous stems on your Crataegus laciniata. You want pieces that are about 6-8 inches long.
- Make the Cut: Using your sharp, clean shears, make a cut just below a leaf node (where a leaf grows from the stem). This is where the plant’s rooting hormones are concentrated.
- Prepare the Cutting: Gently remove the lower leaves, leaving just a few at the very top. This prevents them from rotting in the soil and reduces water loss.
- Dip in Rooting Hormone: Lightly moisten the cut end of the stem and dip it into your rooting hormone powder. Tap off any excess.
- Planting: Fill your pots with the prepared potting mix and moisten it thoroughly. Make a small hole with your finger or a pencil and insert the cutting, ensuring the leaf nodes are below the soil surface. Gently firm the soil around the stem.
- Create Humidity: Water the soil gently. Then, cover the pot with a clear plastic bag or place it in a mini greenhouse. Make sure the leaves aren’t touching the plastic!
Division (for established plants):
- Dig Up the Plant: In early spring, before new growth really takes off, carefully dig up your established Crataegus laciniata. Try to get as much of the root ball as possible.
- Gently Separate: With clean hands or a spade, gently tease apart the root ball into sections. Each section should have a good amount of roots and at least one or two healthy shoots.
- Replant: Immediately replant these divisions into their new spots or into pots with fresh potting mix. Water them in well.
The Gardener’s “Secret Sauce”
Here are a few little tricks I’ve learned over the years that can really make a difference:
- Bottom Heat is Your Friend: Crataegus laciniata cuttings love a little warmth from below. Placing your pots on a heat mat designed for seedlings can significantly speed up root development. It mimics the warmth of the soil in summer and is a game-changer!
- Don’t Drown Them! While cuttings need moisture, they also hate sitting in soggy soil. The key is consistently moist, not wet. If you see water pooling on the surface after watering, you’ve gone too far. Make sure your pots drain freely.
- Air Circulation Matters: After a few days, especially if you’re using a plastic bag, open it up for an hour or two each day to allow for some air exchange. This helps prevent fungal issues.
Caring for Your New Sprouts and What to Watch For
Once your cuttings are planted and in their humid environment, resist the urge to constantly check. The best indicator that roots are forming is new leaf growth. This usually takes several weeks, sometimes even a couple of months, so patience is a virtue here!
If you see wilting or stem rot (a dark, mushy appearance), it’s often a sign of too much moisture or poor air circulation. Unfortunately, in these cases, the cutting might not recover. On the flip side, healthy green growth and resistance when you gently tug on the cutting (don’t pull it out, just a tiny tug) are wonderful signs of successful rooting.
Once roots have developed and you see good top growth, you can gradually acclimate your new plants to drier air. This means slowly increasing the time they are exposed to open air over a week or two before removing the bag or greenhouse entirely. Then, you can pot them up into slightly larger containers or plant them in their permanent garden home.
Enjoy the Green Journey!
Propagating plants, especially something as beautiful as Crataegus laciniata, is a journey of hope and discovery. There will be successes, and there might be a few “learning experiences” along the way. Embrace it all! With a little care and the knowledge shared here, you’ll be well on your way to enjoying more of this lovely hawthorn in your garden. Happy planting!
Resource:
https://identify.plantnet.org/k-world-flora/species/Crataegus%20laciniata%20Ucria/data