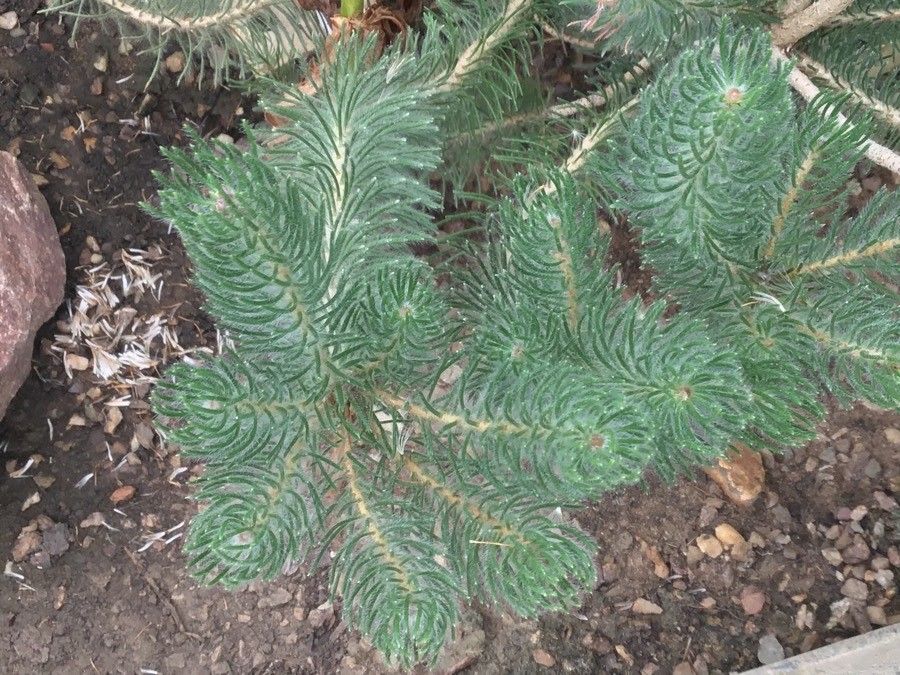
Hello, fellow plant lovers! Today, we’re going to dive into the wonderful world of Melaleuca eriocarpa, or as some of us affectionately call it, the Woolly-fruited Honey-myrtle. I’ve been growing these beauties for years, and their delicate, often fluffy-looking flowers are just a joy. They bring a touch of the Australian bush right into our gardens, and propagating them yourself is such a rewarding experience. You get to share the love, fill out your own landscape, or even gift a little piece of green magic to friends. Now, for beginners, I’d say Melaleuca propagation falls into the “moderately easy” category. It requires a little patience and attention to detail, but it’s by no means impossible. Let’s get those hands dirty!
The Best Time to Start
Timing is everything in gardening, and for Melaleuca eriocarpa, the sweet spot for propagation is generally late spring to early summer. This is when the plant is actively growing and has plenty of vigor. Look for young, semi-hardwood stems – they’re not brand new and soft, but not yet woody and old either. Think of it like a teenager – still flexible but developing strength.
Supplies You’ll Need
Before we get started, let’s gather our supplies. Having everything ready will make the process so much smoother.
- Sharp pruning shears or a clean knife: For taking clean cuts.
- Rooting hormone (optional but recommended): I find it gives cuttings a good boost.
- Well-draining potting mix: A good blend of perlite, peat moss, and a little coarse sand works wonders. Some people like to use a specific seed-starting mix too.
- Small pots or seed trays: With drainage holes, of course!
- Plastic bags or a propagation dome: To create a humid environment.
- Labels and a marker: So you don’t forget what you planted where!
- Watering can or spray bottle: For gentle watering.
Propagation Methods: Stem Cuttings
This is my go-to method for Melaleuca eriocarpa. It’s straightforward and usually yields good results.
- Take Your Cuttings: Select healthy stems that have developed a bit. Aim for pieces about 4-6 inches long. Make your cut just below a leaf node (where the leaves attach to the stem). This is where rooting hormones tend to be most effective.
- Prepare the Cuttings: Gently remove the leaves from the bottom half of each cutting. You want to expose a bit of the stem so it can root. If the remaining leaves are very large, you can cut them in half to reduce water loss.
- Dip in Rooting Hormone: If you’re using rooting hormone, dip the cut end of each stem into the powder or gel. Tap off any excess.
- Plant the Cuttings: Fill your pots or trays with the well-draining potting mix. Make a hole with a pencil or your finger, then gently insert the cutting. Firm the soil around the base. You can plant several cuttings in one pot, just give them a little space.
- Water Gently: Water the potting mix thoroughly but gently. You don’t want to dislodge your cuttings.
- Create Humidity: Cover the pots with a plastic bag or a propagation dome. If using a bag, you might want to insert a few stakes to keep the plastic from touching the leaves. This creates a mini-greenhouse, keeping the humidity high, which is crucial for cuttings to root without drying out.
The “Secret Sauce” (Pro Tips)
Here are a couple of tricks I’ve picked up over the years that really seem to help:
- Bottom Heat is Your Friend: Melaleucas love a bit of warmth from below. If you have a heated propagation mat, place your pots on it. This encourages root development. If not, just placing them in a warm spot, out of direct sun, is usually sufficient. I find this really speeds things up.
- Don’t Drown Your Propagations: While humidity is key, you don’t want soggy soil. Allow the top layer of soil to dry out slightly between waterings. Overwatering is a fast track to rot, and nobody wants that! A light misting can also help keep the leaves hydrated without waterlogging the roots.
Aftercare & Troubleshooting
Once your cuttings have rooted (you’ll know when you see new growth or feel a bit of resistance when you gently tug), it’s time to transition them.
- Light Transition: Gradually remove the plastic cover over a few days to acclimate the cuttings to normal humidity. Move them to a spot with bright, indirect light.
- Water Sparingly: Continue to water when the top inch of soil feels dry. They’re still young and need consistent moisture but not soggy feet.
- Repotting: Once they’ve developed a good root system and a few sets of leaves, you can carefully transplant them into individual pots with your regular potting mix.
The most common issue you might face is rot. If you see your cuttings turning black and mushy, it’s usually a sign of too much moisture. Ensure your soil drains well, and don’t water too frequently. Another sign of failure is a cutting that just looks deflated and won’t perk up – this could be due to it drying out completely or the parent stem being too old.
A Encouraging Closing
Propagating plants is a journey, and like any good journey, it’s about the process as much as the destination. Be patient with your Melaleuca eriocarpa cuttings. Not every cutting will succeed, and that’s perfectly okay! Each attempt is a learning experience. Enjoy watching those tiny roots develop, and soon you’ll have a whole new generation of these lovely shrubs adding their unique charm to your garden. Happy growing!
Resource:
https://identify.plantnet.org/k-world-flora/species/Melaleuca%20eriocarpa%20(Lindl.)%20ined./data