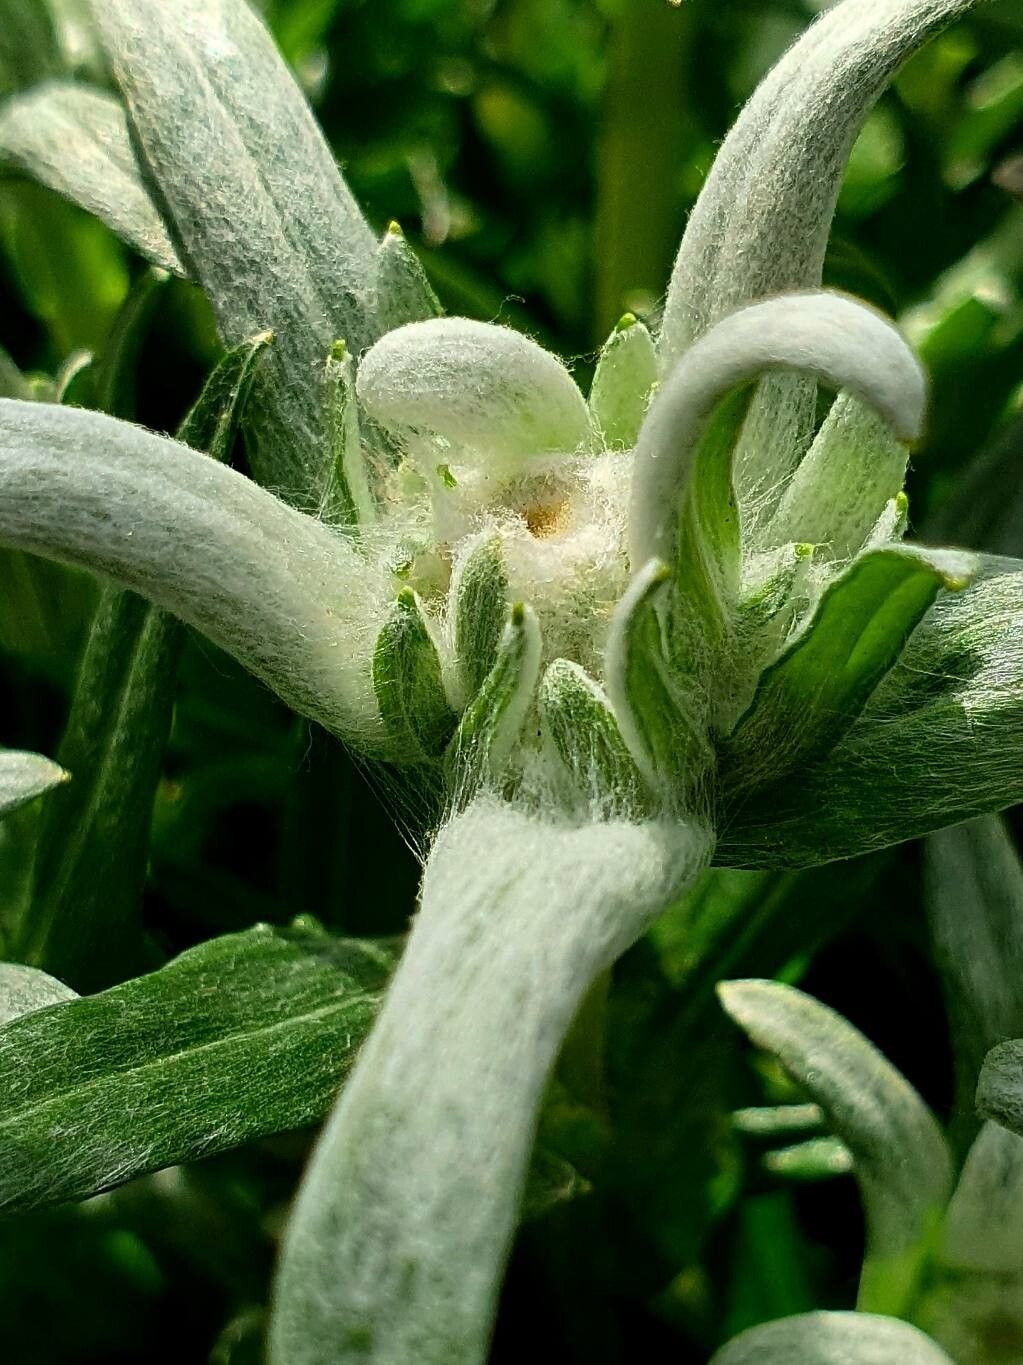
Gather ’round, fellow garden enthusiasts! Today, we’re diving into the wonderfully fuzzy world of Edelweiss, specifically Leontopodium nivale. You know, that iconic little alpine bloom with its star-shaped, woolly bracts that just screams “mountain magic.”
There’s a special kind of joy that comes from coaxing a new plant into existence from an existing one. Propagating Edelweiss is a bit like that – a small victory that connects you even deeper to your garden. While it’s not the absolute easiest plant to propagate for a complete novice, with a little care and attention, it’s absolutely achievable. Don’t be intimidated; let’s get our hands dirty!
The Best Time to Start
For Edelweiss, the sweet spot for propagation is generally in late spring to early summer. This is when the plant is actively growing, and its stems are most vigorous. You want to capture that energy! Waiting until after it has finished its showy bloom can also work, but I find the new growth from spring gives the best results.
Supplies You’ll Need
You don’t need a fancy greenhouse for this, just a few basics:
- Well-draining potting mix: I like a blend of half potting soil and half perlite or coarse sand. Edelweiss hates soggy feet.
- Clean, sharp pruning shears or a knife: For making clean cuts.
- Rooting hormone (optional but recommended): This gives your cuttings a little extra encouragement. Look for one formulated for softwood cuttings.
- Small pots or trays: With drainage holes, of course!
- Watering can with a fine rose or a mister: Gentle watering is key.
- Labels and a marker: So you don’t forget what you planted and where!
Propagation Methods
Edelweiss can be propagated effectively through stem cuttings and division.
Stem Cuttings
This is my go-to method for increasing my Edelweiss collection.
- Take your cuttings: In late spring or early summer, locate healthy, non-flowering shoots. They should be about 3-4 inches long. Make a clean cut just below a leaf node (where the leaves attach to the stem).
- Prepare the cuttings: Gently remove the lower leaves, leaving just the top couple of leaves. This prevents them from rotting in the soil.
- Dip in rooting hormone: If you’re using it, dip the cut end of each stem into the rooting hormone powder, tapping off any excess.
- Plant the cuttings: Fill your small pots with your well-draining mix. Make a small hole with your finger or a pencil and gently insert the cutting, firming the soil around it.
- Water gently: Give them a light watering. You want the soil to be moist, but not waterlogged.
- Create humidity: You can cover the pots loosely with a plastic bag or place them in a mini-greenhouse to maintain humidity. Just make sure there’s some airflow to prevent mold.
Division
If you have a mature Edelweiss plant that’s looking a bit crowded, division is a great option.
- Timing is key: The best time to divide is in early spring, just as new growth is appearing, or in early autumn.
- Gently excavate: Carefully dig up the entire plant.
- Separate the crowns: Gently pull or use a clean trowel to separate the root ball into sections. Each section should have a healthy crown (where the stems emerge from the roots) and plenty of roots.
- Replant immediately: Plant each division into its new home, whether that’s back in the same spot with more space or in a new pot. Water them in well.
The “Secret Sauce” (Pro Tips)
Here are a couple of things I’ve learned over the years:
- Never let the leaves touch the water: If you choose to air-root a cutting briefly before potting (though I generally don’t for Edelweiss unless specified by the plant itself), or if you’re watering, ensure the leaves stay dry. Any submerged foliage is an invitation for rot.
- Bottom heat is your friend: Not strictly essential, but placing your cuttings on a heated propagator mat can significantly speed up root development. It mimics the warmth of spring soil and gives them a real boost.
Aftercare & Troubleshooting
Once your cuttings are planted or divisions are in the ground, the real waiting game begins!
- Keep them consistently moist but not soggy: This is the golden rule. Check the soil moisture by poking your finger in about an inch deep. If it feels dry, it’s time to water.
- Provide bright, indirect light: Direct sun can scorch young cuttings, so a bright windowsill or a lightly shaded spot in the garden is perfect.
- Be patient! Rooting can take anywhere from 4 to 8 weeks, sometimes longer. Gently tugging on a cutting is the best way to check for resistance, indicating roots have formed.
The most common problem you’ll encounter is rot. If you see your cuttings turning mushy or black, it’s usually a sign of too much moisture and not enough airflow. Don’t be discouraged; clean your tools, adjust your watering, and try again!
A Encouraging Closing
Watching those tiny white hairs of roots emerge, or seeing your divided plant burst back to life, is truly one of gardening’s quiet miracles. Don’t be afraid to experiment, to learn from your successes and your occasional plant casualties. Every gardener has them! Enjoy the process, savor the anticipation, and soon you’ll have even more of your beloved fuzzy friends to share. Happy propagating!
Resource: