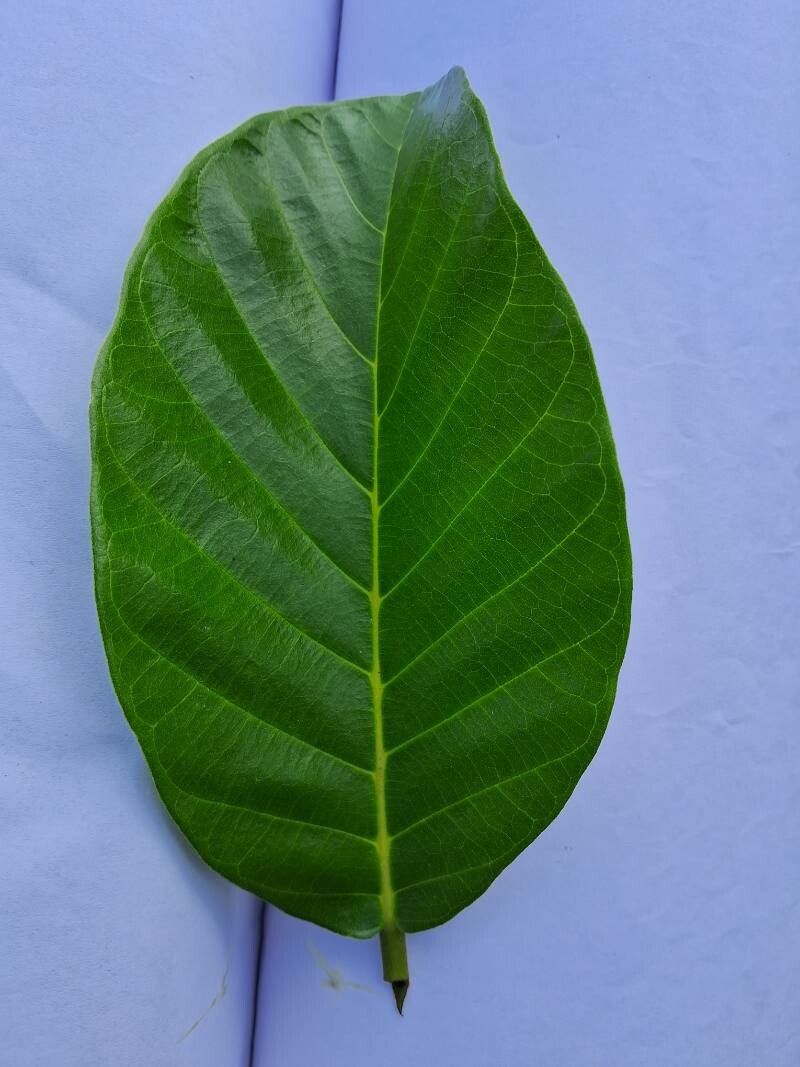
Hello there, fellow plant enthusiasts! If you’ve ever admired the lush, tropical beauty of the Artocarpus hirsutus, or Jackfruit relative, you’re in for a treat. This magnificent tree, often grown for its delicious fruit and impressive foliage, is incredibly rewarding to propagate. You get to witness new life emerge right before your eyes, and hey, who doesn’t love more green in their life? Now, is it a beginner’s walk in the park? Honestly, Artocarpus hirsutus can be a bit finicky, but with a little patience and the right approach, you’ll be well on your way to success.
The Best Time to Start
For the highest success rates, spring and early summer are your golden ticket. This is when the plant is actively growing and has plenty of energy to invest in forming new roots. Look for healthy, vigorous new growth that’s a bit firm but not woody. Avoid trying to propagate during the plant’s dormant phase; it’s just not in the mood for starting a family then!
Supplies You’ll Need
Before we get our hands dirty, let’s gather our toolkit:
- Sharp pruning shears or a clean, sharp knife: For making clean cuts.
- Rooting hormone (powder or gel): This is a game-changer for encouraging root development.
- Well-draining potting mix: A blend of perlite, peat moss, and a little bit of compost works wonders. Think of it as a cozy, airy bed for your cuttings.
- Small pots or seed trays: With drainage holes, of course!
- Plastic bags or a propagator: To create a humid environment.
- Spray bottle: For misting.
- Labels: So you remember what you planted where!
Propagation Methods
While grafting is often used for fruit trees, for home gardeners, stem cuttings are usually the most accessible route.
Stem Cuttings:
- Select your cutting: Choose a healthy stem that’s about 6-8 inches long and has at least two sets of leaves. Ideally, it should be from this year’s growth, slightly woody at the base but still flexible.
- Make the cut: Using your sharp shears, make a clean cut just below a leaf node. This is where roots are most likely to form.
- Prepare the cutting: Gently remove the bottom leaves, leaving just the top set. This prevents them from rotting in the soil and helps the plant focus its energy on roots.
- Apply rooting hormone: Dip the cut end of the stem into your rooting hormone, ensuring it’s well-coated. Tap off any excess.
- Plant your cutting: Fill your pot or tray with your well-draining mix. Make a small hole with your finger or a pencil and gently insert the cutting, firming the soil around it.
- Create humidity: Water the soil lightly and then cover the pot with a plastic bag or place it in a propagator. This creates a mini greenhouse, keeping the humidity high, which is crucial for cuttings. Make sure the leaves don’t touch the plastic.
The “Secret Sauce” (Pro Tips)
This is where the magic really happens!
- Bottom Heat is Your Friend: Artocarpus hirsutus cuttings love warmth from below. Placing your pots on a heated seed mat dramatically speeds up root formation. It’s like giving them a warm hug to encourage those roots to stretch out.
- Don’t Drench, Mist: While we want humidity, waterlogged soil is the enemy of cuttings. Instead of heavy watering, mist the leaves and the soil surface regularly with your spray bottle. This keeps things moist without getting soggy.
- Patience with the Hormone: If you’re using a rooting hormone, resist the urge to reapply it after the initial dip. Over-application can actually hinder root development. Let nature do its thing!
Aftercare & Troubleshooting
Once your cuttings have been planted, keep them in a bright, indirect light location. Avoid direct sunlight, as it can scorch the delicate new growth. Check the soil moisture regularly and mist as needed.
You’ll know roots are forming when you see new leaf growth after a few weeks. You can also give a very gentle tug on the cutting; if there’s resistance, roots are likely developing. Once you see good root development, you can gradually introduce your new plant to less humid conditions and eventually repot it into its own container.
The most common issue you’ll encounter is rot. If your cutting turns black and mushy, it’s a sign of too much moisture and not enough air circulation. If this happens, sadly, it’s time to start over. The good news is, the more you practice, the better you’ll become at judging those perfect conditions.
A Encouraging Closing
Propagating Artocarpus hirsutus is a journey, not a race. There might be a few attempts before you hit that sweet spot, and that’s perfectly okay. Embrace the process, learn from each step, and celebrate the tiny victories. Before you know it, you’ll be marveling at your very own baby Artocarpus, grown with your own two hands! Happy propagating!
Resource:
https://identify.plantnet.org/k-world-flora/species/Artocarpus%20hirsutus%20Lam./data