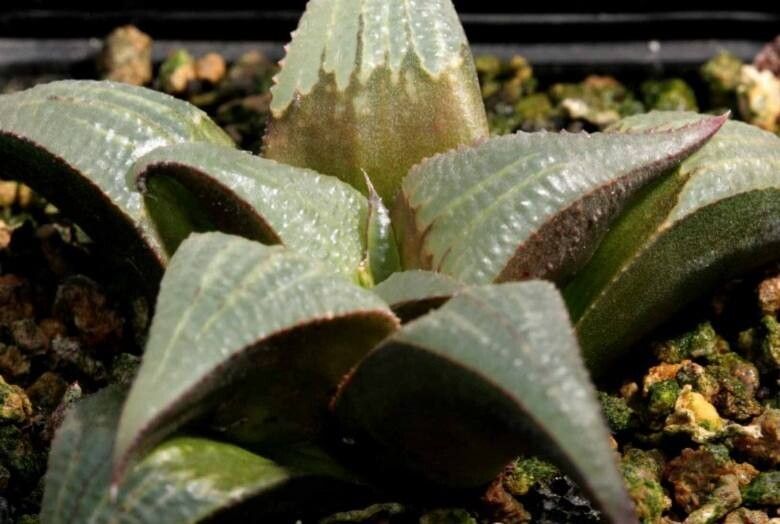
Hello fellow plant lovers!
There’s something wonderfully satisfying about watching a new plant unfurl its leaves from a tiny cutting. And when it comes to Haworthia mirabilis, the rewards are even sweeter. These charming succulents, with their intricate patterns and jewel-like leaves, are little treasures. Propagating them is not only a fantastic way to expand your collection (or share with friends!), but it’s also a really accessible way to get started with succulent propagation. Honestly, I find Haworthia mirabilis to be quite forgiving, making it a delightful project for beginners.
The Best Time to Start
For the highest success rate with Haworthia mirabilis, I always aim for the late spring or early summer. This is when the plant is actively growing, which means it’s more robust and has the energy to put out new roots. You can also have some success in the early fall, but I find the spring growth spurt gives you the best chance.
Supplies You’ll Need
Gathering your supplies beforehand makes the whole process much smoother. Here’s what I always have on hand:
- Well-draining soil mix: A cactus and succulent mix is perfect, or you can make your own with equal parts potting soil, perlite, and coarse sand.
- Sterilized pruning shears or a sharp knife: Clean tools are crucial to prevent disease.
- Small pots or trays: Terracotta pots are my favorite as they breathe well.
- Rooting hormone (optional but helpful): This can give cuttings a good boost.
- Watering can or spray bottle: For gentle watering.
- Labels: To keep track of your new babies!
- Gloves (optional): For comfort.
Propagation Methods
Haworthia mirabilis is wonderfully versatile when it comes to propagation! Most often, I rely on one of these two simple methods.
Offsets (Pups) – My Favorite Method!
This is by far the easiest and most successful way to propagate Haworthia mirabilis. These plants naturally produce little baby plants, called offsets or pups, around the base of the mother plant.
- Gently remove the soil: Carefully dig around the base of the mother plant to expose the offsets.
- Separate the offset: If the offset has its own roots, you can usually twist or gently pull it away from the parent plant. If it’s still attached firmly, use your sterilized pruning shears or knife to cleanly cut it away, making sure to leave a small section of stem attached to the offset if possible.
- Let it callous: This is important! Place the offset in a dry, well-ventilated spot for a day or two (or even longer if it’s humid) so the cut surface dries and forms a protective layer. This prevents rot when you plant it.
- Pot it up: Fill a small pot with your well-draining soil mix. Make a small hole in the center and plant the offset firmly into the soil.
- Water sparingly: Wait a few days after planting before watering. Then, water lightly. It’s better to underwater than overwater at this stage.
Leaf Cuttings (A Bit More Fiddly, But Can Work!)
While not as reliable as offsets for Haworthias, you can sometimes successfully propagate them from leaves.
- Select a healthy leaf: Choose a plump, mature leaf from the mother plant.
- Make a clean break: Gently twist the leaf at its base until it separates from the stem. You want to get as much of the white basal part of the leaf as possible.
- Let it callous: Just like with offsets, let the cut end of the leaf dry and callous over for a few days.
- Place on soil: Set the calloused leaf on top of your well-draining soil mix in a shallow tray or pot. Don’t bury it.
- Misting: Lightly mist the soil surface every few days, just enough to keep it slightly moist. You’ll start to see a tiny root or baby plant emerge from the basal end of the leaf. This takes patience!
The “Secret Sauce” (Pro Tips)
Here are a few little tricks I’ve picked up over the years that really help boost success:
- The air gap is your friend: When propagating from offsets or leaves, ensure the cut end isn’t sitting directly in moist soil or water. Allowing it to callous in the air is key. If you’re trying water propagation (though I don’t recommend it for Haworthias as rot is a big risk), keep the leaves or cuttings above the water level so only the roots touch.
- Bottom heat is a game-changer: If you can, pop your potted offsets onto a seedling heat mat set on its lowest setting. This gentle warmth encourages root development much faster, especially if your room is a bit cooler.
- Don’t rush the water: Once your offset is potted, resist the urge to water it immediately. Let it settle in for at least a week before its first light watering. This gives any minor wounds time to heal and reduces the risk of rot.
Aftercare & Troubleshooting
Once your offset (or hopeful leaf cutting) has a few roots peeking out, it’s time to treat it like a mini version of the adult!
- Watering: Water only when the soil is completely dry. For small propagations, this might be every 1-3 weeks, depending on your climate and pot size. Stick your finger into the soil to check.
- Light: Provide bright, indirect light. Avoid harsh, direct sun which can scorch their delicate leaves.
- Troubleshooting: The most common issue is rot. If your cutting or leaf turns mushy, black, and smells unpleasant, it’s likely rotted. This is usually due to overwatering or not letting it callous properly. If you catch it early, you might be able to cut away the rotten parts and try again, but often it’s a loss. Pale, stretched leaves can indicate not enough light.
A Little Patience Goes a Long Way
Propagating Haworthia mirabilis is a journey that teaches us patience and observation. Don’t be discouraged if your first attempt isn’t a roaring success. Each new plant is a testament to your nurturing hand. Keep practicing, learning from your plants, and enjoy the wonderful process of creating new life. Happy gardening!
Resource:
https://identify.plantnet.org/k-world-flora/species/Haworthia%20mirabilis%20(Haw.)%20Haw./data