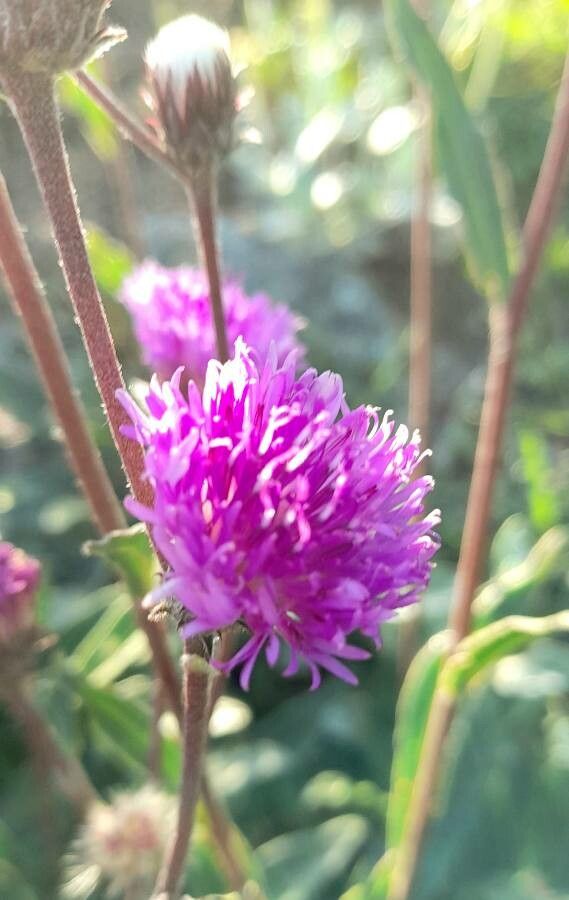
Hello there, fellow garden enthusiasts! Today, we’re going to talk about a plant that brings such a vibrant splash of purple to my garden beds: Vernonia echioides. You might know it by its common name, “Purple Vernonia” or sometimes “Ironweed,” though there are many Vernonia species. This particular one, with its lovely fuzzy leaves and cheerful blossoms, is a joy to have. And the best part? It’s wonderfully rewarding to propagate!
For those of you just getting your hands dirty, I’d say Vernonia echioides is a moderately easy plant to propagate. It’s not as finicky as some orchids, but it does appreciate a little care and attention. With a bit of patience, you’ll be sharing these beauties with friends in no time.
The Best Time to Start
I’ve found the sweet spot for propagating Vernonia echioides is in late spring to early summer. This is when the plant is actively growing and has plenty of energy to put into developing new roots. You’ll want to take cuttings from healthy, new growth that hasn’t started to flower yet. Think of it as harvesting the plant’s newest, most vigorous shoots.
Supplies You’ll Need
Gathering your supplies beforehand makes the whole process smoother. Here’s what I usually have on hand:
- Sharp Pruning Shears or a Clean Knife: For making clean cuts.
- Rooting Hormone (Optional but Recommended): A powder or gel that can give your cuttings a boost.
- Well-Draining Potting Mix: A good blend for me is 50% potting soil and 50% perlite or coarse sand. This ensures good aeration and prevents waterlogged roots.
- Small Pots or Seedling Trays: About 3-4 inches in diameter are perfect for individual cuttings.
- Plastic Bags or a Propagator Lid: To create a humid environment.
- Watering Can or Spray Bottle: For gentle watering.
Propagation Methods
Now, let’s get down to business! I primarily use stem cuttings for Vernonia echioides. It’s reliable and yields excellent results.
Stem Cuttings:
- Select Your Cuttings: Head out to your Vernonia echioides. Look for healthy, non-flowering stems that are about 4-6 inches long. Gently bend a stem; if it snaps cleanly, it’s usually tender enough.
- Make the Cut: Using your sharp pruning shears or knife, make a cut just below a leaf node (where a leaf meets the stem). This is where roots are most likely to form.
- Prepare the Cuttings: Carefully remove the lower leaves from the cutting, leaving just a few at the top. This prevents them from rotting in the soil. If the leaves are very large, I sometimes even cut them in half to reduce water loss.
- Apply Rooting Hormone (Optional): Dip the cut end of the stem into your rooting hormone powder or gel. Tap off any excess.
- Plant Your Cuttings: Fill your small pots with your well-draining potting mix. Make a small hole in the center with your finger or a pencil. Insert the cut end of the cutting into the hole and gently firm the soil around it.
- Water Gently: Water the soil thoroughly but gently, making sure not to disturb the cuttings.
- Create Humidity: Cover the pots with a plastic bag or place them under a propagator lid. This traps moisture and creates a mini-greenhouse effect, which is crucial for cuttings to root. You can use a stake to keep the plastic bag from touching the leaves.
- Placement: Place the pots in a bright location with indirect sunlight. Avoid direct sun, which can scorch the tender cuttings.
The “Secret Sauce” (Pro Tips)
After years of coaxing plants to grow, I’ve picked up a few tricks. Here are a couple that really make a difference for Vernonia echioides:
- Bottom Heat is Your Friend: If you have one, placing your propagator or pots on a gentle heat mat can significantly speed up root development. It mimics the warmth of the soil in summer and encourages those roots to form more quickly.
- Don’t Be Afraid to Mist: While you want to avoid soggy soil, giving the leaves a light misting every day or two can help keep them hydrated, especially before roots have formed. It’s a delicate balance, but essential!
- Rooting Hormone is More Than Just a Boost: I’ve found that even with plants that root easily, a dip in rooting hormone ensures stronger, more robust root systems from the get-go. It’s an investment for healthier plants down the line.
Aftercare & Troubleshooting
Once you see new leaf growth or feel a slight resistance when you gently tug on a cutting, it’s a good sign that roots have formed! This usually takes 3-6 weeks.
- Gradual Acclimation: Once roots are established, slowly acclimate your new plants to normal conditions. This means gradually opening the plastic bag or propagator lid over a few days.
- Continue Watering: Keep the soil consistently moist but not waterlogged. You can also start feeding them with a diluted liquid fertilizer every couple of weeks.
- Repotting: When the roots have filled their pots, it’s time to transplant them into larger containers or directly into your garden beds, once all danger of frost has passed.
What if things go wrong? The most common issue is rot. If your cuttings turn black and mushy, it’s usually a sign of too much moisture and poor air circulation. Make sure your soil drains well and that you’re not overwatering. Another sign of trouble is wilting, which could mean not enough humidity or the cutting has dried out too much. Keep an eye on them!
A Encouraging Closing
Propagating plants is a journey, and each cutting is a little experiment. Don’t get discouraged if not every single one makes it. The most important thing is to enjoy the process, learn from what happens, and celebrate the new life you’re helping to create. Be patient with your Vernonia echioides cuttings, give them a little extra TLC, and soon you’ll have a whole new wave of purple beauty to admire. Happy gardening!
Resource:
https://identify.plantnet.org/k-world-flora/species/Vernonia%20echioides%20Less./data