Oh, hello there! Come on in, grab yourself a mug. I’ve got the kettle on. Today, we’re going to chat about something I absolutely adore: Iris arenaria, or as I like to call it, the little sand iris.
Introduction: A Tiny Treasure
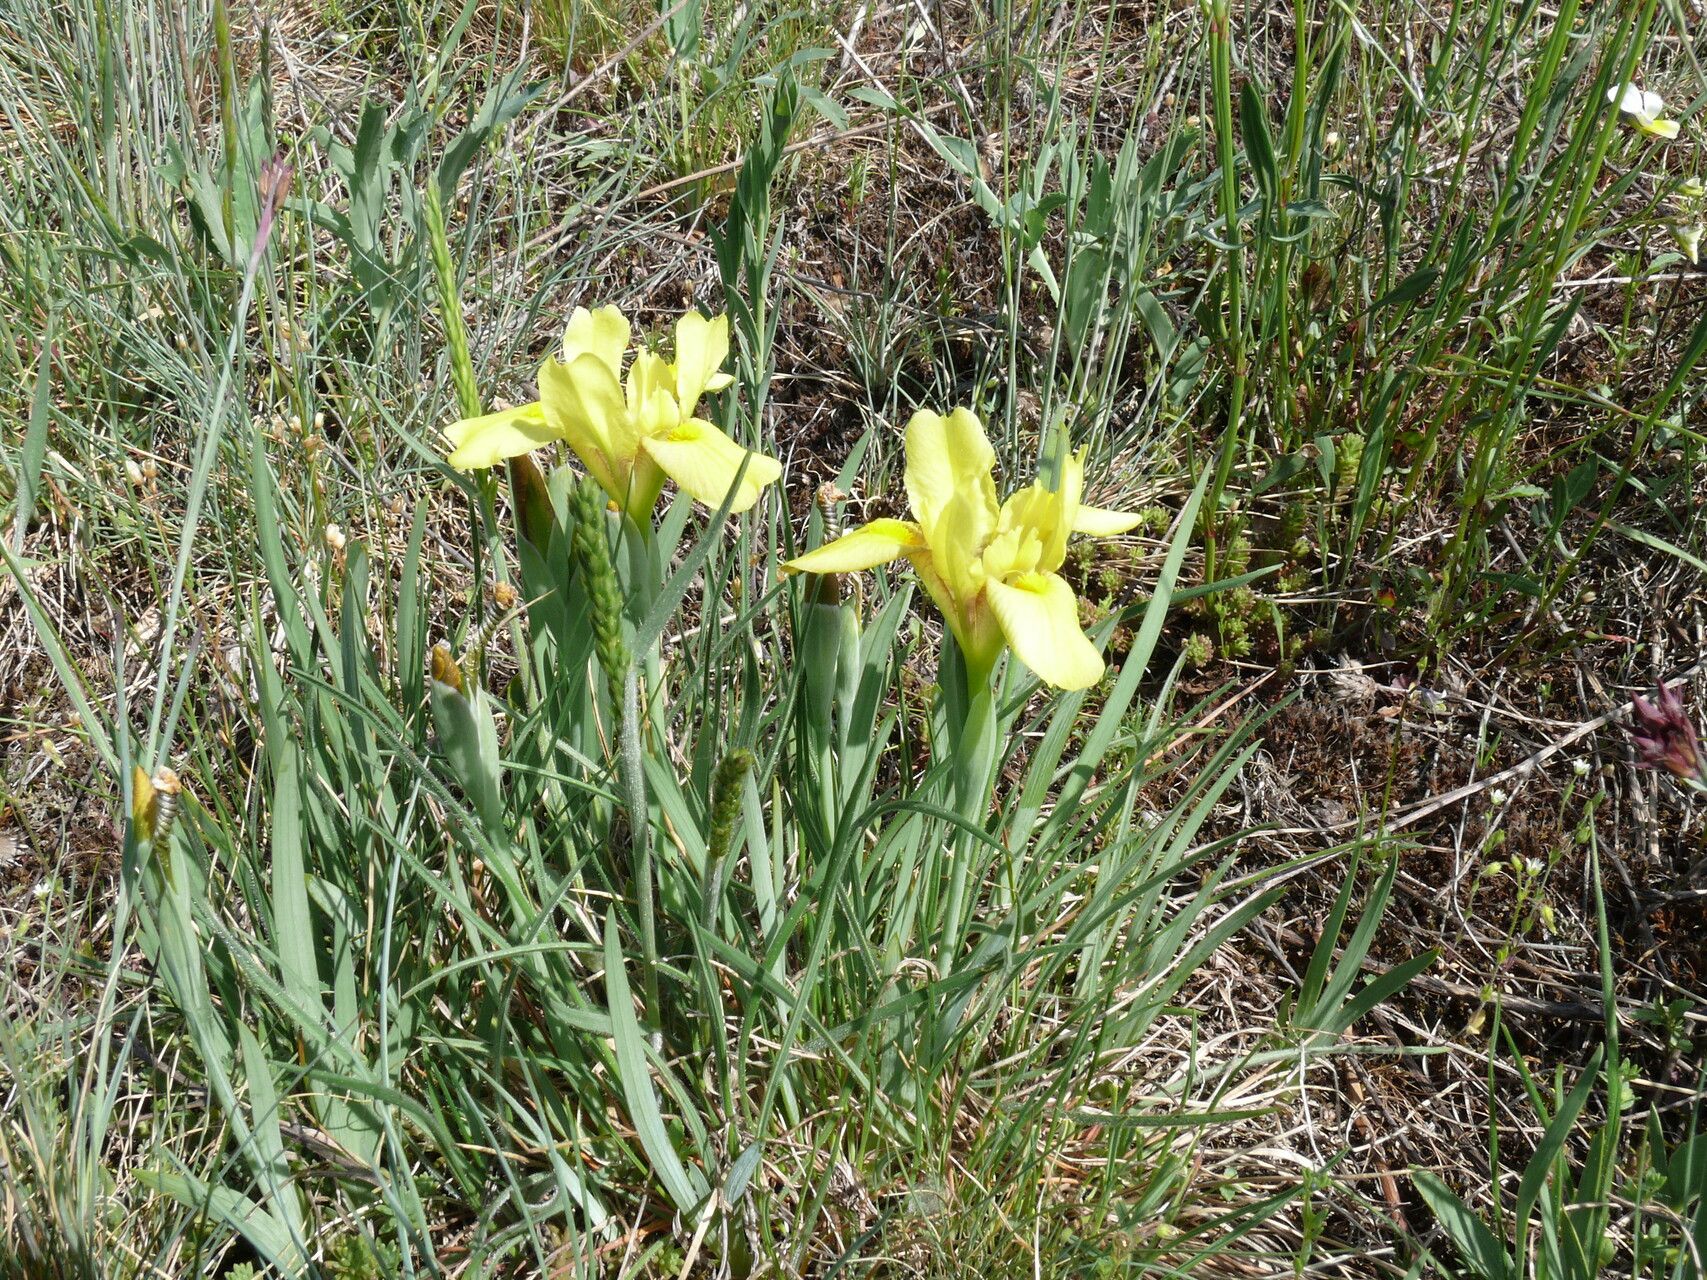
There’s something so special about Iris arenaria. Its delicate, sunny yellow blooms are like little bursts of joy in the late spring garden. It’s a low-growing iris, perfect for tucking into rock gardens, borders, or even containers. And the most rewarding part? Watching these little beauties multiply. Propagating them is, I’d say, moderately easy. It’s not quite as foolproof as a spider plant, but with a little attention and the right approach, you’ll be rewarded with new plants in no time.
The Best Time to Start
For Iris arenaria, the absolute sweet spot for propagation is right after flowering, usually in late spring or early summer. This is when the plant has put all its energy into blooming and is ready to shift gears into growth. You want to catch it when it’s active but before the intense heat of midsummer sets in.
Supplies You’ll Need
Here’s what you’ll want to have on hand before we get our hands dirty:
- Sharp pruning shears or a clean knife: For making precise cuts.
- Well-draining potting mix: A blend of potting soil, perlite, and coarse sand is ideal. Think about what they’d grow in naturally; they don’t like soggy feet.
- Small pots or trays: With drainage holes, of course!
- Rooting hormone (optional but helpful): A powder or gel can give cuttings a little boost.
- Watering can or spray bottle: For gentle watering.
Propagation Methods: Let’s Get Growing!
The most successful way to propagate Iris arenaria is through division. It’s the most direct route to success with these guys.
Here’s how I do it:
- Dig with Care: Using a trowel or a sturdy fork, carefully dig around the clump of your iris. Gently lift the entire plant from the soil.
- Inspect the Rhizomes: You’ll see thick, fleshy underground stems called rhizomes. Gently clean away some of the excess soil so you can see where the rhizomes naturally want to separate.
- Divide and Conquer: Using your clean pruning shears or knife, carefully cut or pull the rhizomes apart. Aim for divisions that have at least one or two healthy leaves and a good chunk of rhizome. Make sure each section has some roots attached.
- Planting Time: Dig a shallow hole in your prepared, well-draining soil. Place the divided rhizome so the top of the rhizome is just at soil level, or slightly exposed. You don’t want to bury it too deep. Firm the soil gently around it.
- Water in Gently: Give your newly planted divisions a gentle watering to settle the soil.
If you want to try cuttings (though division is easier for this particular iris), you can try taking pieces of the leafy shoots directly from a healthy rhizome. Make sure to get a little bit of the rhizome attached to the shoot. Treat these much like you would divisions, planting them so the rhizome piece is at soil level.
The “Secret Sauce” (Pro Tips)
Here are a few little tricks I’ve picked up over the years:
- Don’t Drown Your Babies: This is critical for irises. They absolutely hate sitting in water. When planting divisions or cuttings, ensure excellent drainage and water them thoroughly once to settle them in. Then, only water again when the top inch of soil feels dry. Overwatering is the quickest way to disaster.
- Embrace Some Sunshine, But Not Too Much: Your new divisions will appreciate some sun, but bright, direct, scorching sun can be too much for them when they’re trying to establish. A spot with morning sun and dappled shade in the afternoon is usually perfect.
- Patience is a Virtue: I know it’s tempting to poke and prod, but give your new divisions time. They need a few weeks to settle in and start forming new roots before you see much visible top growth.
Aftercare & Troubleshooting
Once your divisions are in the ground, keep an eye on them. Continue to water when the soil starts to dry out. You’ll know they’re happy when you see new shoots emerging from the rhizomes.
The most common sign of trouble is rotting. If a division looks mushy, turns black, or develops a foul smell, it probably caught too much moisture. Sadly, if this happens, it’s best to discard it and try again. Ensure your soil mix is truly free-draining for the next attempt.
A Encouraging Closing
Propagating plants is such a wonderful way to deepen your connection with your garden and share its bounty. Be patient with your Iris arenaria, trust the process, and enjoy the satisfying feeling of creating new life. Happy gardening, my friend! You’ve got this.
Resource:
https://identify.plantnet.org/k-world-flora/species/Iris%20arenaria%20Waldst.%20&%20Kit./data