Hey there, fellow garden enthusiasts! It’s wonderful to connect with you again. Today, we’re diving into the delightful world of Aposeris foetida.
Welcoming Aposeris foetida into Your Garden
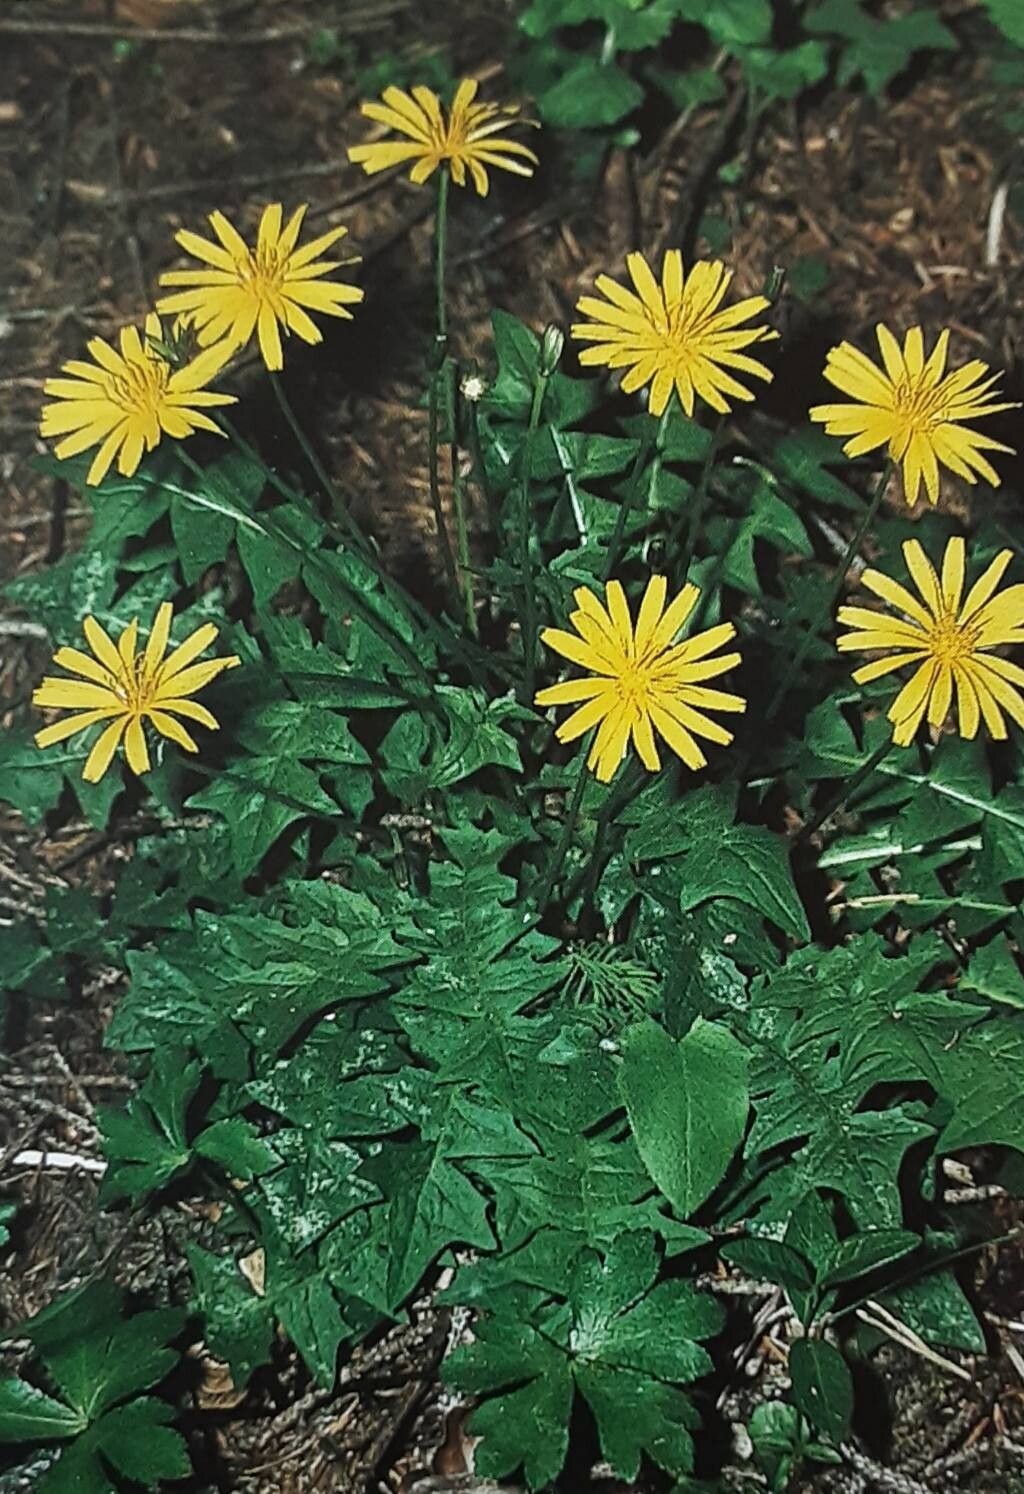
I’ve always been drawn to plants with a bit of personality, and Aposeris foetida certainly has that. It’s a charming, often underestimated perennial with delicate, feathery foliage and, in my experience, much more subtle floral charms than its sometimes-unflattering common name might suggest. Propagating it feels like nurturing a little piece of magic, and honestly, watching a new plant thrive that you grew from a tiny piece of another is one of the most rewarding feelings in gardening. Now, is it a walk in the park for absolute beginners? I’d say it’s somewhere in the middle. It requires a little attentive care, but with the right approach, you’ll be successful.
The Best Time to Start
For Aposeris foetida, the absolute sweet spot for propagation is spring, just as new growth begins to emerge. Think of it as tapping into the plant’s natural energy surge. You can also have good luck with early summer cuttings, but you’ll want to ensure they have plenty of time to establish before any significant heat spells.
Supplies You’ll Need
Here’s what I always have on hand when I’m propagating Aposeris foetida:
- Sharp, clean pruning shears or a sharp knife: Essential for making clean cuts.
- Small pots or trays: Four-inch pots are usually a good starting point.
- Well-draining potting mix: A blend of peat moss, perlite, and a bit of compost works wonders. You can also find specialized seedling or cutting mixes.
- Rooting hormone (optional but helpful): A powder or gel can give cuttings a healthy boost.
- Plastic bags or a propagator: To maintain humidity around your cuttings.
- Watering can with a fine rose: For gentle watering.
- Labels: So you don’t forget what you’ve planted!
Propagation Methods
Aposeris foetida is most commonly and successfully propagated through division or stem cuttings.
Division: The Gentlest Approach
This is how I often start with my established plants.
- Gently dig up your parent plant during the spring dormant period (or just as it’s waking up).
- Carefully shake off excess soil to reveal the root structure.
- Look for natural breaks in the root ball where distinct crowns (the point where leaves emerge from the roots) are visible.
- Using your hands or a clean trowel, gently pull the plant apart into smaller sections. Each section should have at least one good root and a few healthy shoots. If the roots are really intertwined, a sharp knife can help sever them cleanly.
- Immediately pot up the divisions into your prepared potting mix.
- Water thoroughly and place in a shady, sheltered spot for a week or two.
Stem Cuttings: Growing from Shoots
This method focuses on vegetative propagation from new growth.
- Select healthy, non-flowering shoots from your Aposeris foetida in spring. Look for shoots that are about 3-4 inches long.
- Make a clean cut just below a leaf node (where a leaf attaches to the stem).
- Remove the lower leaves, leaving only a couple of sets at the top. This prevents them from rotting when buried.
- Dip the cut end in rooting hormone (if using) according to the product’s instructions.
- Insert the cutting about an inch deep into your pre-moistened, well-draining potting mix. Gently firm the soil around it.
- Place the pot inside a clear plastic bag or propagator to create a humid environment. You can also tent it with a plastic bag. Ensure the leaves don’t touch the plastic if possible.
- Position the pot in bright, indirect light. Direct sun will scorch the delicate cuttings.
The “Secret Sauce” (Pro Tips)
Here are a couple of things I’ve learned over the years that really make a difference:
- Don’t let the leaves touch the water when doing water propagation (though I prefer soil for Aposeris foetida). If you were to try water rooting, it’s crucial to keep the foliage clear of the water surface. Any submerged leaves will quickly rot and can infect the cutting, dooming it before it has a chance to root.
- Bottom heat is your friend for stem cuttings. While not strictly essential, placing your pot on a heat mat designed for seedlings can significantly speed up root development. It mimics the warmth of spring soil and encourages those roots to get moving. I find it makes a noticeable difference.
- Be patient with divisions. Sometimes, a division might look a bit sad for a week or two. Don’t despair! As long as the roots are firm and the crown looks healthy, it’s probably just adjusting to its new home. Keep it consistently moist but not soggy.
Aftercare & Troubleshooting
Once your cuttings have started to show signs of rooting – you might see new leaf growth or feel a gentle tug when you lightly pull on the stem – it’s time to wean them off their high humidity. Gradually open the plastic bag over a week or so. Water regularly but allow the soil surface to dry slightly between waterings. Avoid overwatering, as this is the quickest way to invite root rot.
Signs of trouble? If your cuttings turn yellow and mushy, or if a division wilts dramatically and the roots look black and slimy, you’re likely dealing with rot. This is usually due to too much moisture and poor air circulation. Sadly, once rot sets in, it’s often irreversible, but don’t let it discourage you! Just clean up the area and try again, perhaps with slightly drier soil or better ventilation.
Keep Growing!
Propagating Aposeris foetida is a beautiful way to multiply your garden’s charm. It’s a process that teaches patience and observation. Trust your instincts, enjoy the feel of the soil in your hands, and celebrate each tiny success. Happy gardening!
Resource:
https://identify.plantnet.org/k-world-flora/species/Aposeris%20foetida%20(L.)%20Less./data