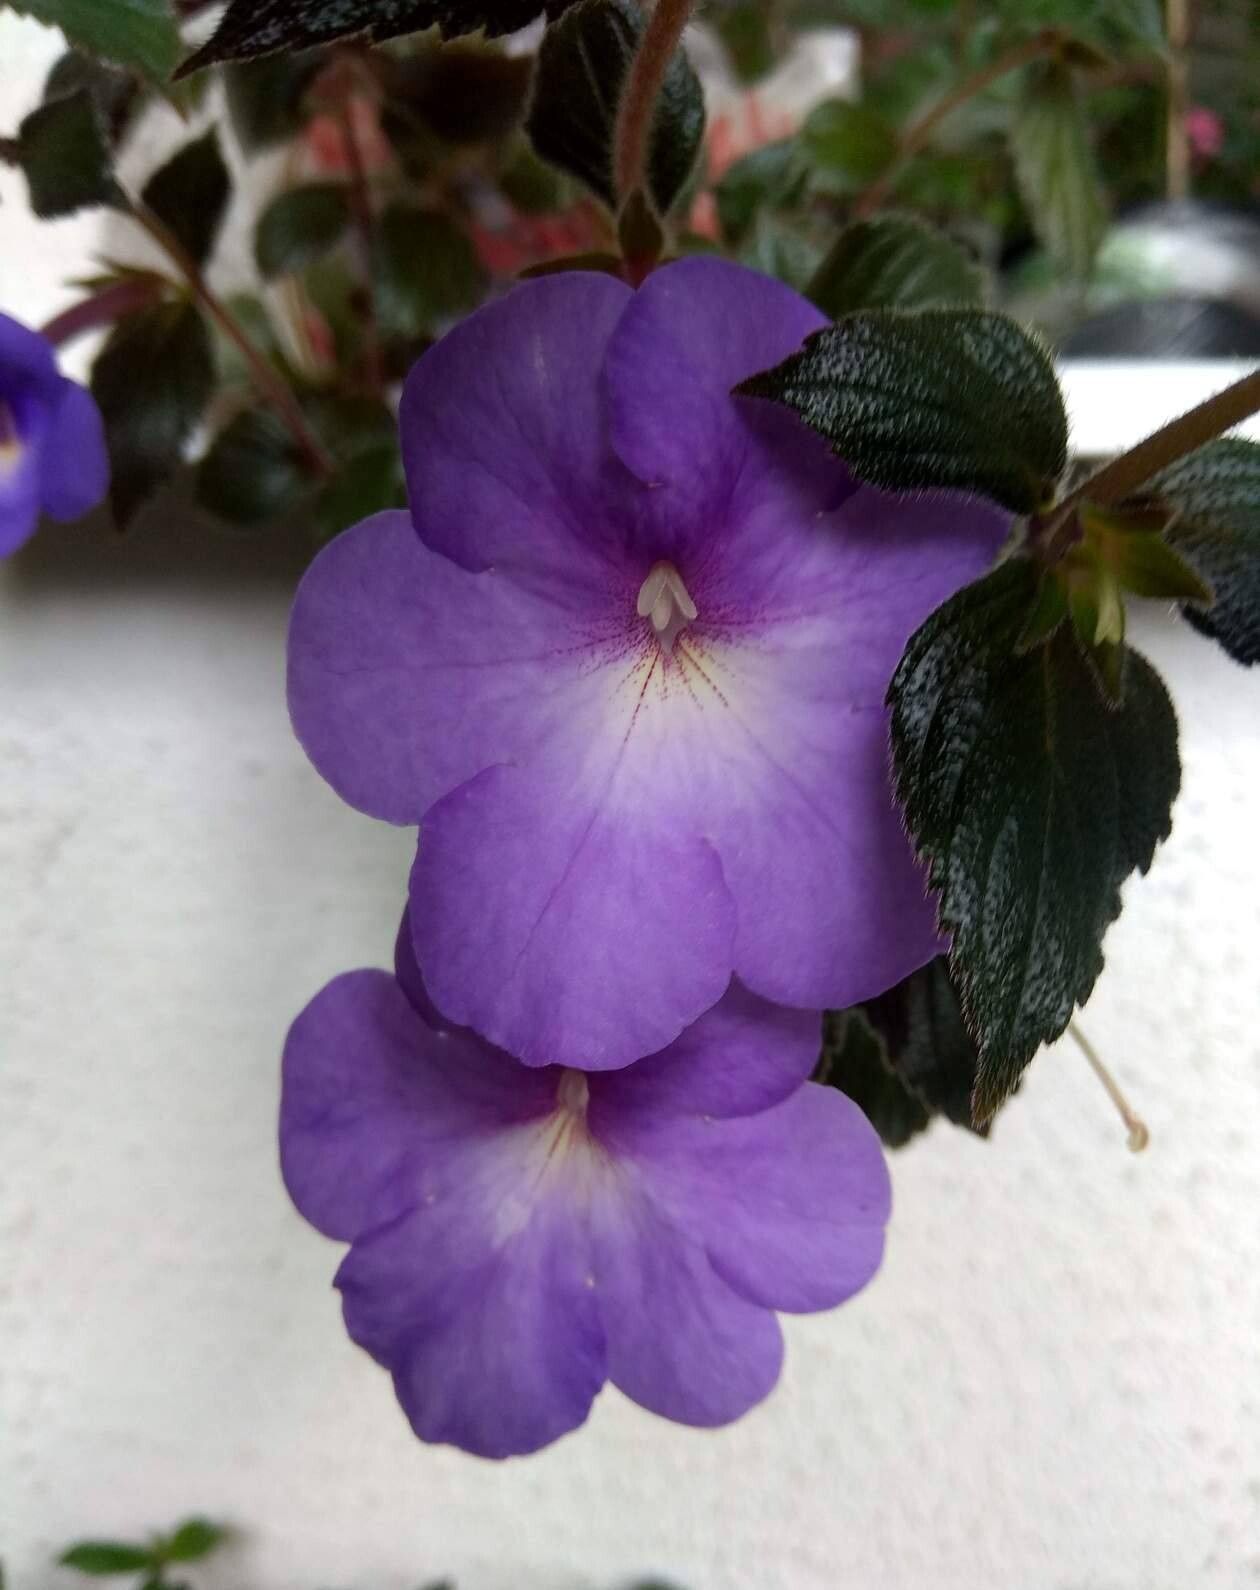
Oh, hello there! Come on in, grab a mug. I’m so excited to chat with you today about Achimenes longiflora, or as I affectionately call them, “Magic Violets.” If you haven’t met them yet, prepare to be charmed. These beauties, with their trumpet-shaped flowers in shades of purple, lavender, and sometimes even pink, are absolute showstoppers. And the joy of propagating them yourself? Well, that’s a whole other level of gardening fulfillment. Don’t worry, for all their exotic looks, they’re quite forgiving. In fact, I’d say this is a pretty beginner-friendly plant to get started with propagating.
The Best Time to Start
The real sweet spot for propagating these lovely plants is during their active growing season. Think late spring through mid-summer. This is when they’re putting on their best growth, meaning they’re full of energy and eager to sprout new roots. Trying to do it too early in spring before they’ve really woken up, or too late in the fall when they’re winding down, can make things a bit trickier.
Supplies You’ll Need
Gathering your tools is half the fun, isn’t it? Here’s what you’ll want to have on hand:
- Sterile potting mix: I like a mix that’s light and airy. A blend of peat moss or coco coir, perlite, and a bit of vermiculite works wonders. You can even buy pre-made African violet or seed-starting mixes.
- Sharp pruning shears or a clean knife: For taking those clean cuttings.
- Small pots or cell trays: Clean ones are important to prevent introducing any nasty germs.
- Rooting hormone (optional but helpful): This can give your cuttings an extra boost.
- Plastic bags or a propagator: To create a humid environment.
- Spray bottle: For misting.
- Labels: So you don’t forget what you planted where!
Propagation Methods
There are a couple of ways we can coax new life from your existing Achimenes. I find these two to be the most reliable.
Stem Cuttings
This is my go-to method. It’s so satisfying to see a little leaf emerge from a seemingly simple twig.
- Take your cuttings: Look for healthy, non-flowering stems. Using your sharp pruning shears or knife, take cuttings that are about 3-4 inches long. Make sure each cutting has at least two or three sets of leaves. Pinch off the lower leaves.
- Prepare the cuttings: If you’re using rooting hormone, dip the cut end into it. This helps stimulate root development.
- Plant your cuttings: Fill your small pots or cell trays with your prepared potting mix. Make a small hole in the center with your finger or a pencil. Gently insert the cut end of the stem into the hole, ensuring the lowest leaf nodes are below the surface of the soil.
- Water gently: Water the soil thoroughly but carefully. You want it moist, not soggy.
- Create humidity: Now, cover the pot loosely with a plastic bag or place it inside a propagator. This creates that humid environment cuttings love. You can prop the bag up with a few stakes so it doesn’t touch the leaves.
- Place in bright, indirect light: Find a warm spot that gets plenty of bright, indirect light. Avoid direct sun, which can scorch those tender cuttings.
Division
Achimenes also grow from rhizomes, which are like little underground stems. Often, when you repot them, you’ll find clumps of these.
- Gently clean the rhizomes: When you repot your Achimenes (usually in spring), carefully brush away as much of the old soil as you can from the root ball to expose the rhizomes.
- Separate the rhizomes: Look for natural divisions. You can gently tease apart larger clumps. If a rhizome is stuck, don’t force it; just select a different spot to break. You want individual rhizomes or small clumps of 2-3.
- Pack them in: Fill a shallow tray or pots with your light, moist potting mix. Lay the rhizomes on top of the soil, or bury them just barely under the surface.
- Mist lightly: Give them a gentle misting to start.
- Keep them warm and slightly moist: Place them in a warm spot and keep the soil lightly moist, but never waterlogged. They’ll start to sprout in a few weeks.
The “Secret Sauce” (Pro Tips)
Alright, a couple of things I’ve learned over the years that really make a difference.
- Don’t let those leaves touch the water if you’re trying water propagation (though I prefer soil for these). When leaves sit in water, they tend to get mushy and rot before they can even think about forming roots. Keep them above the waterline!
- Bottom heat is your best friend when you’re starting cuttings or divisions, especially if your house is on the cooler side. A seedling heat mat can work wonders. It’s like a little warm hug for those developing roots, encouraging them to grow faster and stronger.
Aftercare & Troubleshooting
Once you start seeing new growth – tiny leaves unfurling or little stems reaching for the light – you’re in business!
- Gradually reduce humidity: As your cuttings root and grow, you can start to gradually acclimate them to lower humidity. Poke a few holes in your plastic bag or open the propagator lid for longer periods.
- Water carefully: Continue to keep the soil consistently moist but not waterlogged. Overwatering is the most common culprit for failure.
- Watch for rot: The biggest sign that something’s gone wrong is if your cuttings turn mushy and black at the base. This is usually a sign of too much moisture and poor air circulation. If you see this, remove the affected cutting immediately to prevent it from spreading. Sometimes, just a single mushy leaf can indicate a problem.
A Little Encouragement
Propagating plants is a journey, and every gardener knows that patience is key. Don’t get discouraged if your first few attempts aren’t perfect. Each time you try, you learn a little more. Enjoy the process of nurturing these tiny new lives, and soon enough, you’ll have a whole collection of these magical Achimenes to share and enjoy! Happy gardening!
Resource:
https://identify.plantnet.org/k-world-flora/species/Achimenes%20longiflora%20DC./data