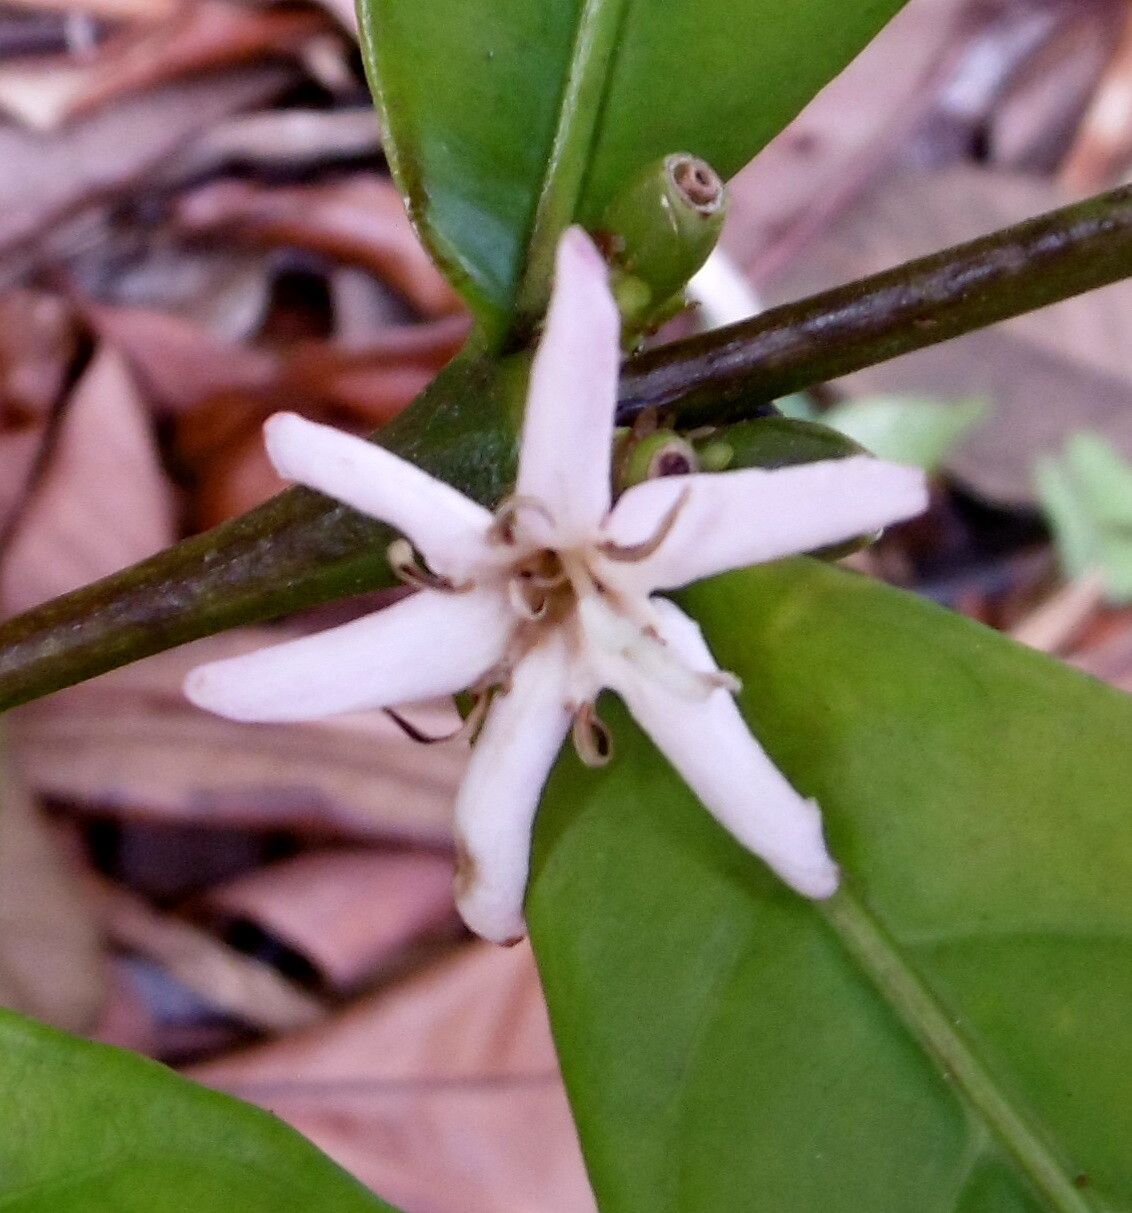
Oh, hello there! Come on in, pull up a chair. Let’s chat about something truly special today: Coffea humilis. You know, the dwarf coffee plant? It’s such a charming little thing, isn’t it? Those glossy, dark green leaves paired with the promise of tiny, fragrant coffee blossoms – it’s like bringing a bit of a tropical sunrise right into your home. And the best part? You can create more of them yourself! It’s incredibly rewarding to watch a tiny cutting unfurl its first new leaf, knowing you helped it happen. Honestly, for those of you dipping your toes into the world of plant propagation, Coffea humilis is a pretty forgiving friend. You can absolutely do this!
The Best Time to Start
Timing is everything in gardening, and with our little coffee plants, it’s no different. The absolute sweet spot for propagating Coffea humilis is during its active growth period. Think late spring through summer, when the plant is bursting with new energy. You’ll want to take cuttings from healthy, vigorous stems that have started to harden off a bit – not the brand-new, bright green, floppy growth, but stems that are firm to the touch but still flexible. This gives them the best chance to transition to their new life and develop strong roots.
Supplies You’ll Need
Gathering your supplies before you begin makes the whole process so much smoother. Here’s what I usually have on hand:
- Sharp Pruning Shears or a Clean Knife: For making clean cuts, which is crucial.
- Rooting Hormone (Optional, but helpful): Look for a powder or gel formulation. I find it gives cuttings a real boost.
- Well-Draining Potting Mix: A good blend is key. I like to mix about two parts peat moss or coco coir with one part perlite or coarse sand. This ensures excellent aeration.
- Small Pots or Propagation Trays: Clean ones are a must to prevent disease.
- Plastic Bags or a Clear Domed Propagator: To create a humid environment around your cuttings.
- Watering Can with a Fine Rose: To water gently without disturbing the cuttings.
- Labels: To keep track of what you’ve propagated and when!
Propagation Methods
The most reliable way to get more Coffea humilis plants is through stem cuttings. It’s tried and true, and I’ve had great success with it over the years.
Stem Cuttings:
- Select Your Cutting: Look for a healthy stem that is at least 4-6 inches long and has several sets of leaves. You want to make your cut just below a leaf node (where a leaf attaches to the stem).
- Make the Cut: Using your clean shears or knife, make a sharp, decisive cut. This clean wound will help prevent disease and encourage rooting.
- Prepare the Cutting: Gently remove the lower leaves, leaving just two or three at the very top. This reduces water loss and ensures that none of the leaves will be buried in the soil. If the remaining leaves are very large, you can also cut them in half horizontally to further reduce transpiration.
- Apply Rooting Hormone (If Using): Dip the cut end of the stem into your rooting hormone, tapping off any excess.
- Plant Your Cutting: Fill your small pot or propagation tray with your moistened well-draining potting mix. Make a small hole in the center with your finger or a pencil. Insert the cut end of your stem into the hole, gently firming the soil around it. Ensure the lowest leaf node is buried beneath the soil surface.
- Create Humidity: Water the soil gently. Then, cover the pot with a clear plastic bag, creating a small greenhouse effect. Make sure the leaves don’t touch the sides of the bag if possible. You can use stakes to hold the bag up. Alternatively, place the pot in a clear-domed propagator.
- Placement: Place your cutting in a warm spot with bright, indirect light. Avoid direct sunlight, which can scorch the delicate cutting.
The “Secret Sauce” (Pro Tips)
Here are a few little things I’ve learned that can really make a difference:
- Bottom Heat is Your Friend: If you can, place your pots on a heating mat designed for propagators. This gentle warmth from below really encourages root development, especially if your home is a bit cooler. It’s like giving your baby plant a warm hug from the roots up!
- Don’t Drench, Mist: While you want the soil to be consistently moist, it’s easy to overwater cuttings, which can lead to rot. Instead of watering heavily, I often mist the leaves and the surface of the soil regularly, especially if using a plastic bag. This keeps things humid without waterlogging.
- Patience is a Virtue (And Patience Pays Off!): Some propagators root in a few weeks, others can take a couple of months. Resist the urge to pull them up to check for roots constantly! If you see new leaf growth, that’s a fantastic sign that roots are forming.
Aftercare & Troubleshooting
Once you start seeing new growth, congratulations – roots have formed! You can gently tug on the cutting; if there’s resistance, it’s got roots.
- Acclimatize: Gradually remove the plastic cover over a week or two. Start by taking it off for an hour or two each day, then for longer periods. This helps the new plant adjust to your home’s normal humidity.
- Watering: Water when the top inch of soil feels dry. Again, avoid soggy conditions, as this is still a vulnerable stage.
- Repotting: Once the new plant has developed a good root system and is showing sturdy new growth, you can carefully transplant it into a slightly larger pot with its regular potting mix.
Now, what if things go wrong? The most common issue you’ll encounter is rot. This usually happens if the soil is too wet and there isn’t enough air circulation. If you see the stem turning black and mushy at the soil line, or the leaves wilting and yellowing without any signs of new growth, it’s usually rot setting in. Unfortunately, at that point, the cutting is usually lost. The best defence is a good offense: use well-draining soil, don’t overwater, and ensure good air flow.
A Encouraging Closing
Propagating plants is a journey, and sometimes, not every attempt is successful. But that’s part of the fun! Each time you try, you learn something new. Be patient with your Coffea humilis cuttings, give them a little TLC, and celebrate those tiny triumphs. Watching a new plant flourish from a simple stem is one of gardening’s purest joys. Happy propagating!
Resource:
https://identify.plantnet.org/k-world-flora/species/Coffea%20humilis%20A.Chev./data