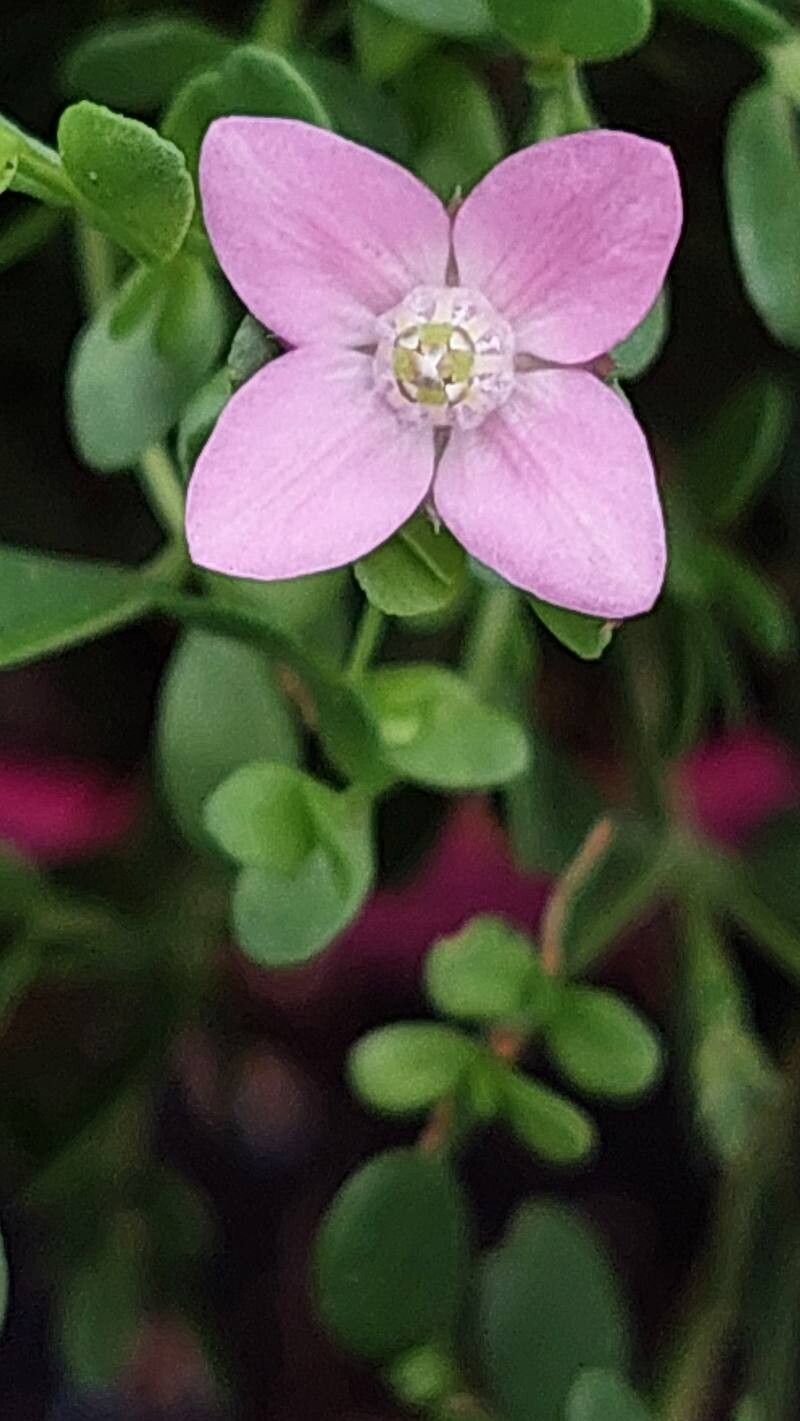
Hello, garden friends! Today, we’re diving into the wonderful world of Boronia crenulata, or our lovely Coral Heath. This Australian native is a real charmer with its delicate, often pink or coral-colored bell-shaped flowers that give off the most delightful perfume. Trust me, filling your garden, or even just a small pot on your patio, with this beauty is incredibly rewarding. It adds such a unique touch. Now, about propagating it – is it a walk in the park for a beginner? I’d say it’s moderately challenging. It’s not impossible, but you’ll likely have more success if you’ve got a little bit of propagation experience under your belt. But don’t let that deter you! With a bit of care and patience, you can absolutely coax new Boronia plants to life.
The Best Time to Start
For Boronia crenulata, the sweet spot for propagation is generally late spring to early summer. This is when the plant is actively growing, and the stems have matured slightly – they’re not too soft and green, but not woody either. You’re looking for what we call “semi-hardwood cuttings.” Think of a pencil that’s just started to firm up but still has a bit of flexibility.
Supplies You’ll Need
Here’s what you’ll want to have on hand:
- Sharp, clean pruning shears or a sharp knife: To make clean cuts without damaging the plant.
- Rooting hormone: A powder or gel that encourages root development. Look for one suited for softwood or semi-hardwood cuttings.
- Well-draining potting mix: This is crucial! I like to use a mix of perlite, coarse sand, and peat moss, or a good quality native potting mix. Boronias really dislike sitting in soggy soil.
- Small pots or seed-raising trays: With drainage holes, of course!
- Plastic bags or a propagator: To create a humid environment for your cuttings.
- Optional: A heat mat: This can provide that extra boost for root development.
Propagation Methods: Stem Cuttings Reign Supreme
For Boronia crenulata, stem cuttings are by far the most reliable method. Division is rarely successful as the root system can be quite sensitive. Water propagation isn’t ideal for this particular plant.
Here’s how we do it:
- Take Your Cuttings: Using your clean shears, select healthy stems that fit the “semi-hardwood” description. Make a clean cut just below a leaf node (where a leaf attaches to the stem). You want cuttings that are about 10-15 cm long.
- Prepare the Cuttings: Gently remove the lower leaves from the bottom half of the cutting, leaving just a few at the top. This prevents them from rotting in the soil and reduces water loss.
- Apply Rooting Hormone: Dip the cut end of each prepared cutting into rooting hormone, tapping off any excess. Make sure the hormone coats the actual cut surface.
- Pot Them Up: Fill your pots or trays with your well-draining mix. Make a small hole in the mix with a pencil or skewer – this prevents the rooting hormone from rubbing off as you insert the cutting. Firmly insert the cuttings into the holes, ensuring the lowest leaf nodes are buried to encourage root growth from those points.
- Create Humidity: Water the soil gently. Then, cover the pots with a clear plastic bag or place them in a propagator. This traps moisture and creates that essential humid environment. You can use skewers to keep the plastic bag from touching the leaves.
- Provide Light and Warmth: Place your cuttings in a bright, indirect light location. Avoid direct sun, which can scorch the young cuttings. If you have a heat mat, place the pots on it.
The “Secret Sauce” (Pro Tips)
Now, for a little insider knowledge:
- Don’t Overwater! This is probably the biggest killer of Boronia cuttings. The soil should be consistently moist, but never soggy. A good test is to poke your finger about an inch down – if it feels dry, it’s time to water sparingly.
- Air Circulation is Key: While humidity is vital, stagnant air can lead to fungal diseases. Open the plastic bags for a few minutes each day to allow for some air exchange. This also helps prevent rot.
- Bottom Heat Makes a Difference: If you can manage it, providing gentle bottom heat from a propagator or heat mat can significantly speed up root development, especially if your ambient temperature isn’t consistently warm.
Aftercare & Troubleshooting
Once you start to see signs of new growth, like tiny new leaves or a slight resistance when you gently tug on a cutting, that’s a good indicator that roots are forming!
- Gradual Acclimatization: Once roots have formed, it’s time to gradually introduce your new Boronias to less humid conditions. Start by removing the plastic bag for longer periods.
- Potting On: When the cuttings are well-rooted and have a bit more growth, you can pot them into slightly larger pots with fresh, well-draining potting mix.
- Common Signs of Failure: The most common problem is rot, which will appear as brown, mushy stems. This is almost always due to overwatering or poor drainage. If you see signs of rot, unfortunately, that cutting is likely lost, but don’t despair – try again with a new one, focusing on drier conditions. Drooping or wilting leaves can also mean they’re too dry, or sometimes too much direct sun.
Happy Propagating!
Growing your own Boronia crenulata from cuttings is a wonderfully fulfilling process. It takes a touch of patience, and admittedly, you might lose a few along the way – that’s just part of gardening! But when you see those first tiny roots emerge and watch your new plant thrive, it’s a feeling like no other. So, gather your supplies, take a deep breath, and enjoy the journey. Happy gardening, everyone!
Resource:
https://identify.plantnet.org/k-world-flora/species/Boronia%20crenulata%20Sm./data