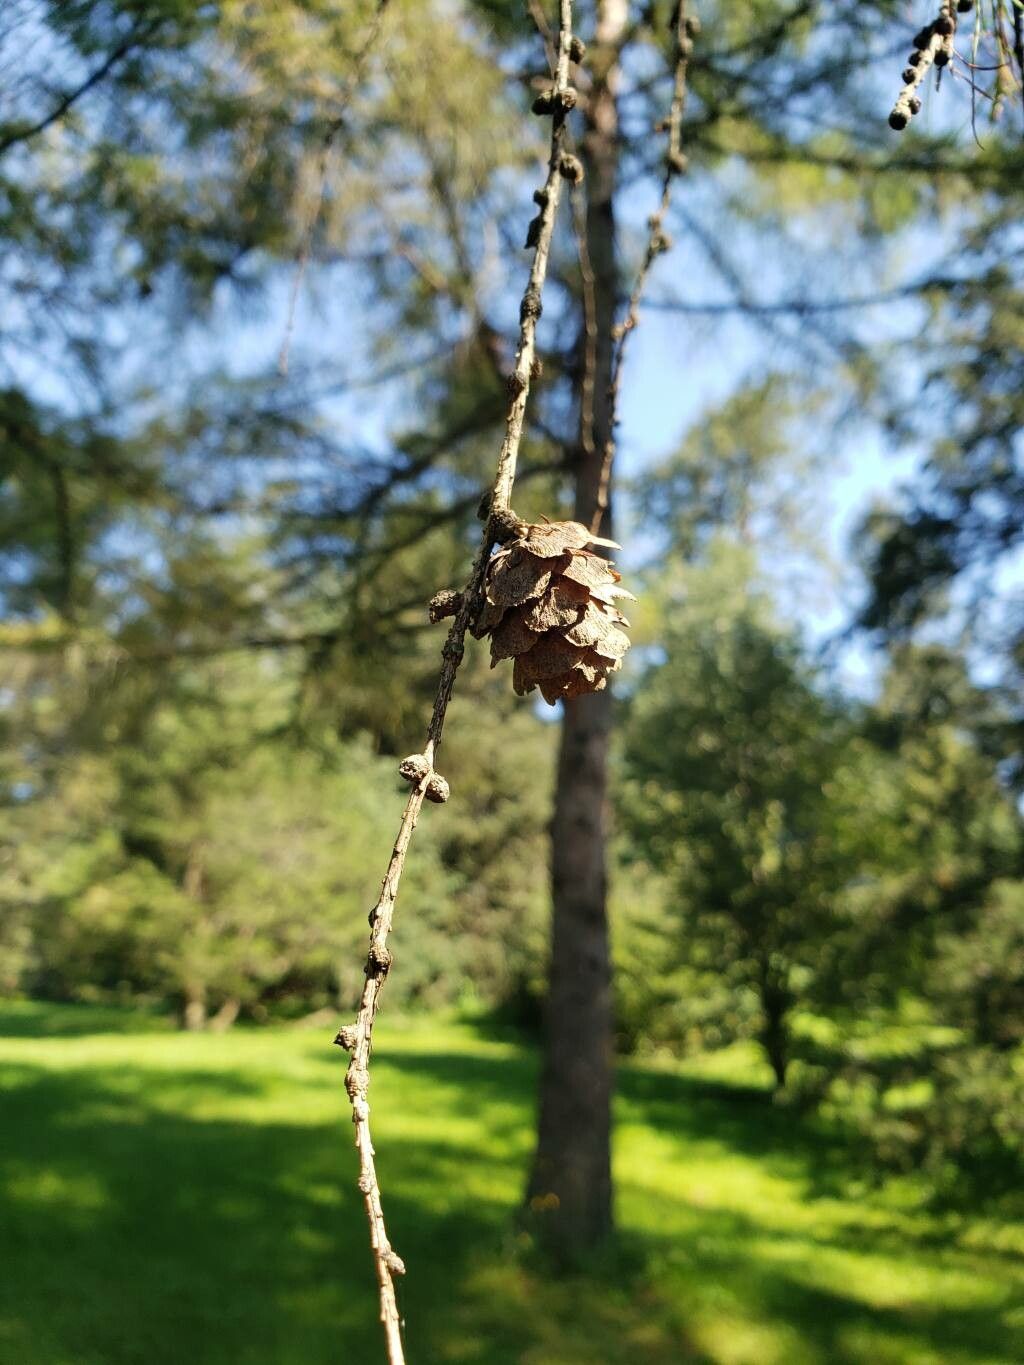
Oh, hello there! Come on in, grab a cuppa. I’m so glad you’re interested in propagating Siberian Larch. It’s such a magnificent tree, isn’t it? That soft, feathery foliage that turns the most glorious golden hue in autumn. There’s something truly special about coaxing a new life from an existing one, and working with a Larch is a wonderfully rewarding experience, even if it takes a little patience. For beginners, I’d say it’s a project that requires a touch more attentiveness than, say, a Pothos, but with a little guidance, you’ll be well on your way.
The Best Time to Start
For Siberian Larch, the early summer, specifically June and July when the new growth is still relatively soft and flexible, is your prime window. This is when the stems are actively growing and have the best chance of forming roots. You want to catch them when they’re not too woody, but also not too ephemeral.
Supplies You’ll Need
Here’s a little list of what you’ll want to have ready:
- Sharp pruning shears or a clean, sharp knife: Essential for making clean cuts.
- Rooting hormone powder or gel: This really gives your cuttings a boost.
- A well-draining potting mix: I like a blend of perlite, peat moss, and a bit of coarse sand. About a 1:1:1 ratio usually works a treat.
- Small pots or a propagation tray: Make sure they have drainage holes.
- A clear plastic bag or a propagation dome: To create a humid environment.
- Watering can with a fine rose: Gentle watering is key.
- A labels and marker: To keep track of your precious cuttings!
Propagation Methods
The most reliable way to propagate Siberian Larch at home is through stem cuttings. It’s quite straightforward once you get the hang of it.
- Select Your Cuttings: Look for healthy, vigorous stems that are about 6-8 inches long. These should be semi-hardwood cuttings, meaning they’ve started to firm up but aren’t fully mature and woody yet. You can usually tell by gently bending the tip – it should snap cleanly, not bend limply. New growth from this year is perfect.
- Make the Cut: Using your clean pruning shears or knife, make a clean cut just below a leaf node (where a leaf attaches to the stem). This is where rooting hormones will be most effective. Remove all but the top few leaves. If the remaining leaves are very large, I like to snip them in half to reduce water loss.
- Apply Rooting Hormone: Dip the cut end of the stem into your rooting hormone powder or gel, tapping off any excess. This step is crucial for encouraging root development.
- Plant Your Cuttings: Fill your small pots or propagation tray with your well-draining potting mix. Make a small hole with a pencil or your finger, and gently insert the cutting so that the bottom leaves are just above the soil surface. Firm the soil gently around the stem to ensure good contact.
- Create Humidity: Water the soil thoroughly but gently. Then, cover the pots with a clear plastic bag or a propagation dome to maintain high humidity. Make sure the leaves do not touch the plastic, as this can encourage rot. If the bag wilts, mist the inside lightly.
The “Secret Sauce” (Pro Tips)
Okay, here are a couple of things I’ve learned over the years that can really make a difference:
- Bottom Heat is Your Friend: If you have the option, placing your propagation tray on a gentle heating mat can significantly speed up the rooting process. It mimics the warmth of spring and encourages those roots to form more quickly. Just keep it on a low setting.
- The “Heel” Trick (Occasionally): Sometimes, when taking cuttings from more mature wood, you might find a small piece of older bark attached to the base – this is called a “heel.” If you can get one naturally attached when you make your cut, it can sometimes give your cutting an extra advantage. Don’t force it, though; clean cuts are generally more important.
- Air Circulation Matters: While you want high humidity, stagnant air can be a breeding ground for fungal diseases. I like to lift the plastic bag or dome for a few minutes each day to allow for some air exchange. This is especially important after watering.
Aftercare & Troubleshooting
Once your cuttings are planted, place them in a bright location but out of direct sunlight. Think of it as dappled shade. Keep the soil consistently moist but not waterlogged. You can check for root development after about 4-8 weeks by giving a very gentle tug on the cutting. If you feel resistance, you have roots!
The most common problem you’ll encounter is rot. If you see mushy, dark stems, or leaves that are yellowing and dropping rapidly, it’s usually a sign of too much moisture or poor air circulation. Don’t be discouraged by failures – they happen to all of us! Just pull out the affected cuttings, ensure your remaining ones have good drainage and air, and keep trying.
When your Larch has developed a good root system, you can carefully transplant them into slightly larger pots. Continue to keep them in bright, indirect light and water them as needed.
A Encouraging Closing
Propagating Siberian Larch is a journey, and like any good garden endeavor, it’s about the process as much as the outcome. Be patient with your cuttings, give them the best conditions you can, and celebrate every little sign of progress. Soon enough, you’ll have tiny Siberian Larches to admire, and that, my friend, is a truly special joy. Happy gardening!
Resource:
https://identify.plantnet.org/k-world-flora/species/Larix%20sibirica%20Ledeb./data