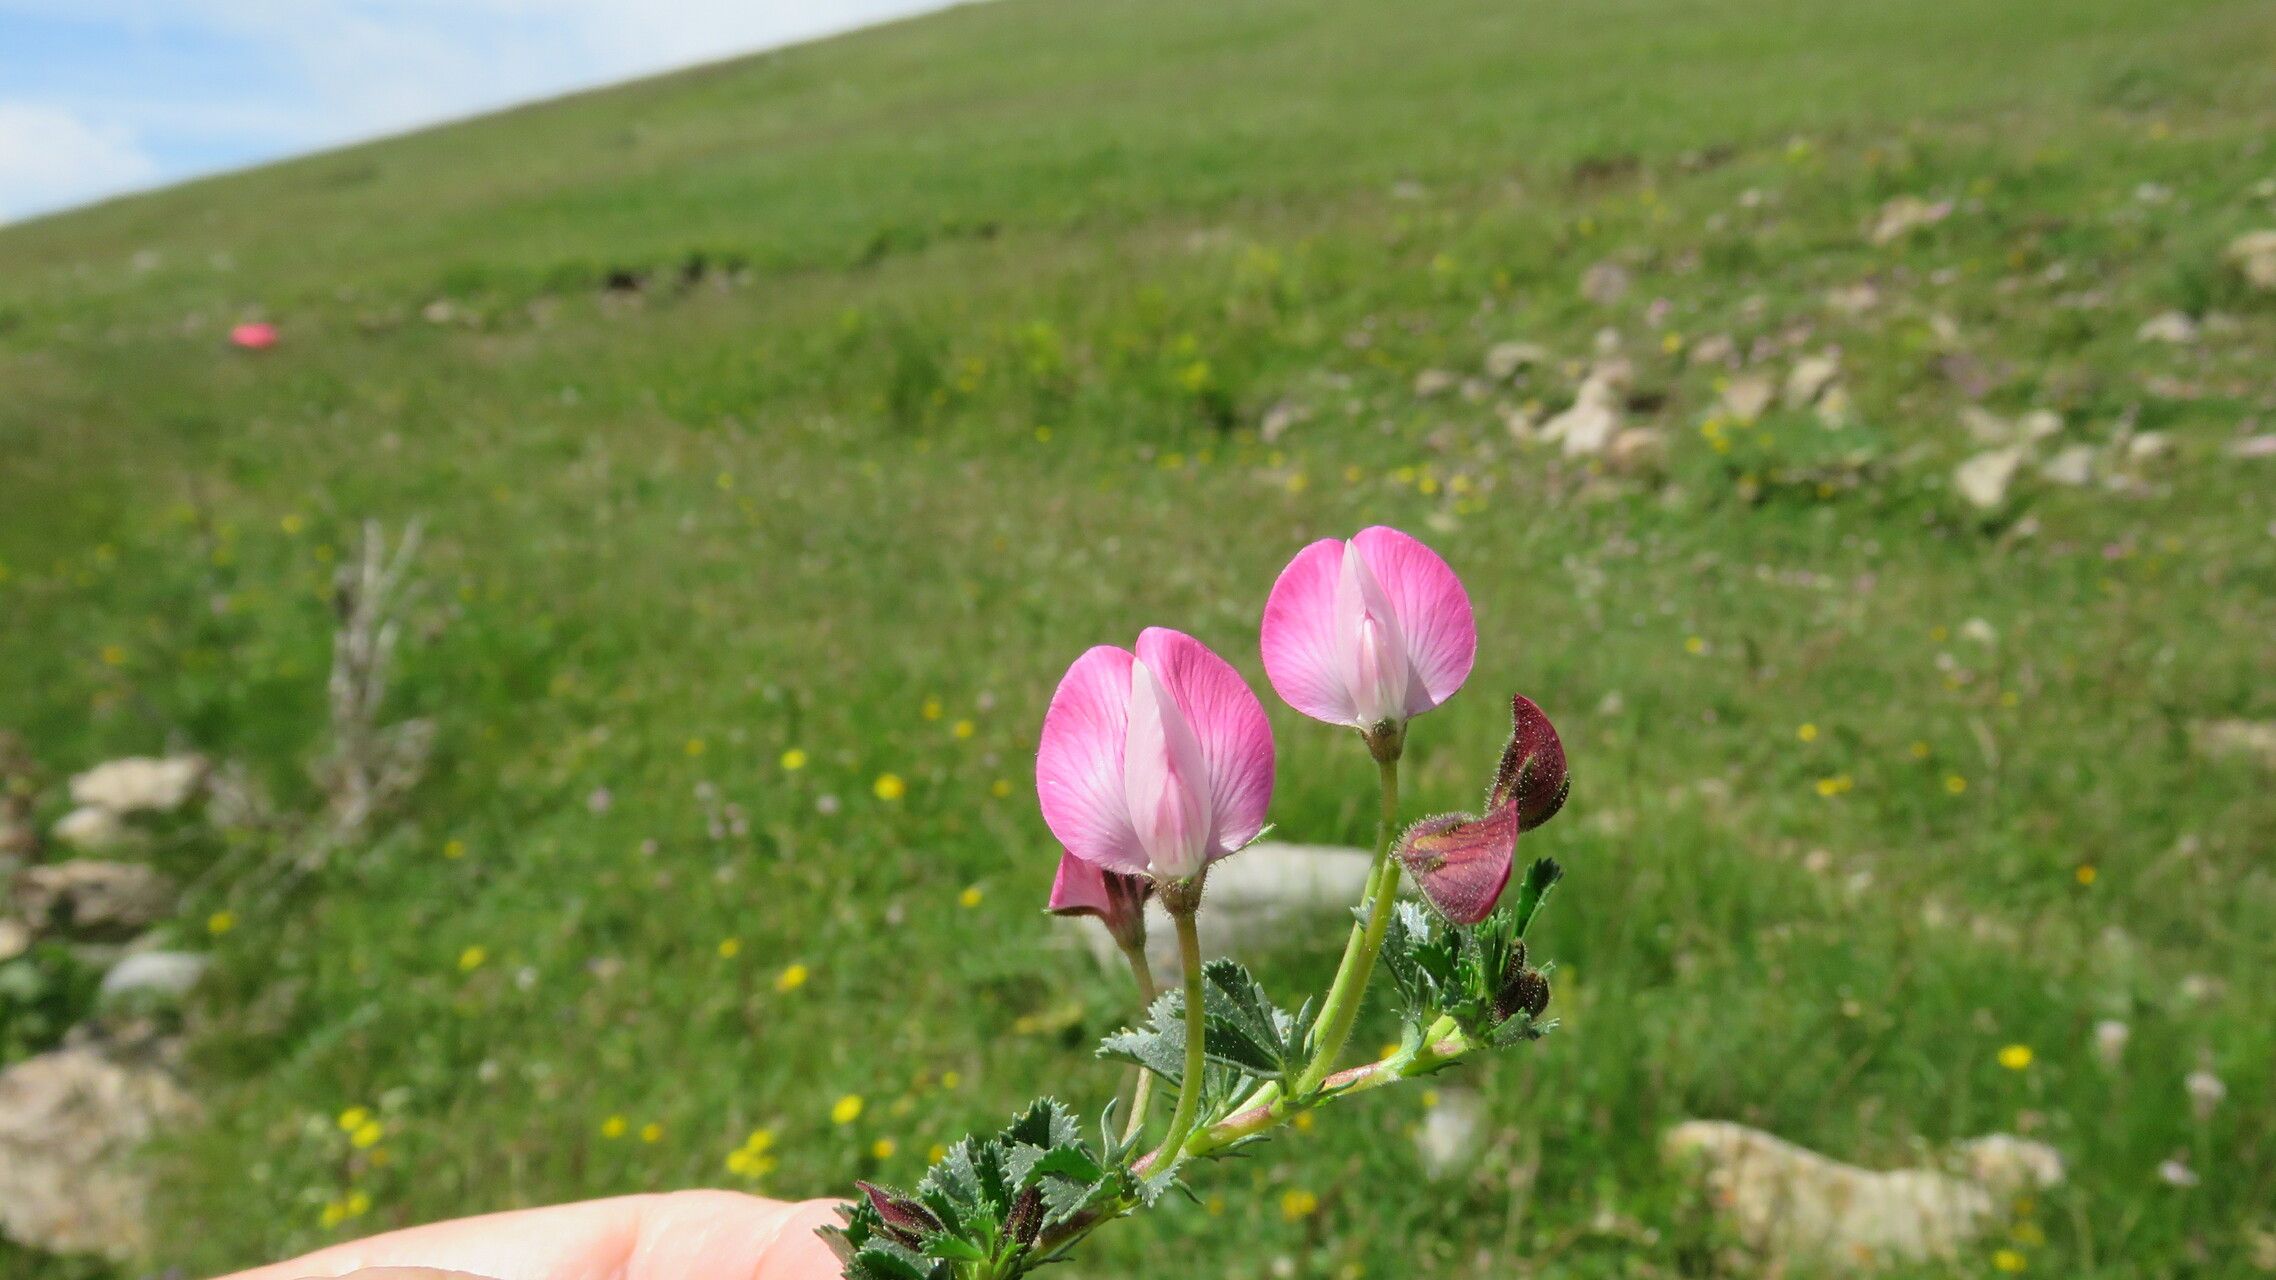
Oh, hello there! So, you’ve fallen for the charms of Ononis cristata, haven’t you? I don’t blame you one bit. That lovely, often rosy-pink bloom and its cheerful, sprawling habit can really brighten up any garden corner. And the best part? Growing more of these beauties yourself is a wonderfully satisfying endeavor.
While Ononis cristata isn’t necessarily a “stick it in the ground and forget it” kind of plant for propagation, it’s certainly not an expert-only affair. With a little patience and a few key steps, you’ll be rewarded with a little army of your own delightful little buggers.
The Best Time to Start
Generally, late spring to early summer is your golden window for propagating Ononis cristata. This is when the plant is actively growing and has plenty of energy. You want to work with stems that are semi-hardwood – meaning they’re not brand new and flimsy, but not old and woody either. Think of a pencil that’s just starting to firm up.
Supplies You’ll Need
Here’s what I keep handy when I’m getting ready to propagate:
- Sharp pruning shears or a clean knife: For making crisp, clean cuts.
- Rooting hormone: A little bit goes a long way, and it really encourages root development.
- A well-draining potting mix: I like to use a blend of perlite, peat moss, and a bit of coarse sand. You can also buy specialized propagation mixes.
- Small pots or seedling trays: Clean ones are a must to prevent disease.
- Plastic bags or a propagator: To create a humid environment.
- Dibber or pencil: For making planting holes.
- Watering can with a fine rose: Gentle watering is key!
- Labels: So you remember what you’ve planted where!
Propagation Methods
For Ononis cristata, my go-to method of choice is stem cuttings. It’s reliable and gives you the best chance of success.
- Take Your Cuttings: On a mild day in late spring or early summer, select healthy, non-flowering stems. Using your sharp pruning shears, take cuttings about 4-6 inches long. Make a clean cut just below a leaf node (where a leaf attaches to the stem). Remove the lower leaves, leaving just a few at the top.
- Prepare the Cuttings: Dip the cut end of each cutting into your rooting hormone. Tap off any excess.
- Pot Them Up: Fill your clean pots or trays with your well-draining potting mix. Use your dibber or pencil to make a small hole in the soil. Gently insert the cut end of the prepared cutting into the hole, ensuring it goes down at least an inch or two. Firm the soil gently around the base.
- Create Humidity: Water the cuttings gently. Then, place the pots inside a plastic bag or propagator, making sure the leaves don’t touch the sides of the bag. This creates a humid microclimate, which is crucial for cuttings to root.
- Find a Good Spot: Place the pots in a bright location but out of direct sunlight. A greenhouse, a windowsill out of harsh sun, or even a shaded spot outdoors can work.
The “Secret Sauce” (Pro Tips)
Here are a couple of things I’ve learned over the years that can really give you an edge:
- Bottom Heat is a Game Changer: If you can, invest in a small heating mat for your propagator or pots. Bottom warmth significantly speeds up root development and increases your success rate, especially if your ambient temperatures are a bit cooler.
- Don’t Peek Too Soon! I know it’s tempting, but resist the urge to disturb your cuttings constantly. They need time to establish those initial roots. You’ll typically see signs of new growth within 4-6 weeks. You can gently tug on a cutting – if there’s resistance, you’ve got roots!
Aftercare & Troubleshooting
Once your cuttings have developed a good root system (you’ll see roots emerging from the drainage holes or feel resistance when gently tugging), it’s time for them to become independent.
- Harden Off Gradually: This is important! If your cuttings have been in a propagator or plastic bag, you need to gradually acclimate them to normal conditions. Start by removing the plastic bag for a few hours each day, then remove it entirely. Slowly introduce them to more light.
- Potting On: Once they’ve hardened off, you can pot them into individual, slightly larger pots with your regular potting mix.
- Watch for Rot: The most common issue is rot, which usually happens due to overwatering or poor drainage. If a cutting turns mushy or black, unfortunately, it’s usually a goner. Ensure your soil is always slightly moist but never waterlogged. Good air circulation also helps prevent fungal diseases.
A Little More Patience, a Lot More Blooms!
There you have it – a simple guide to multiplying your Ononis cristata collection. It’s a process that requires a bit of tender loving care, but watching those tiny roots grow and seeing your new plants thrive is just about one of the most rewarding feelings in gardening. So grab your secateurs, get your hands dirty, and enjoy the journey! Happy propagating!
Resource:
https://identify.plantnet.org/k-world-flora/species/Ononis%20cristata%20Mill./data