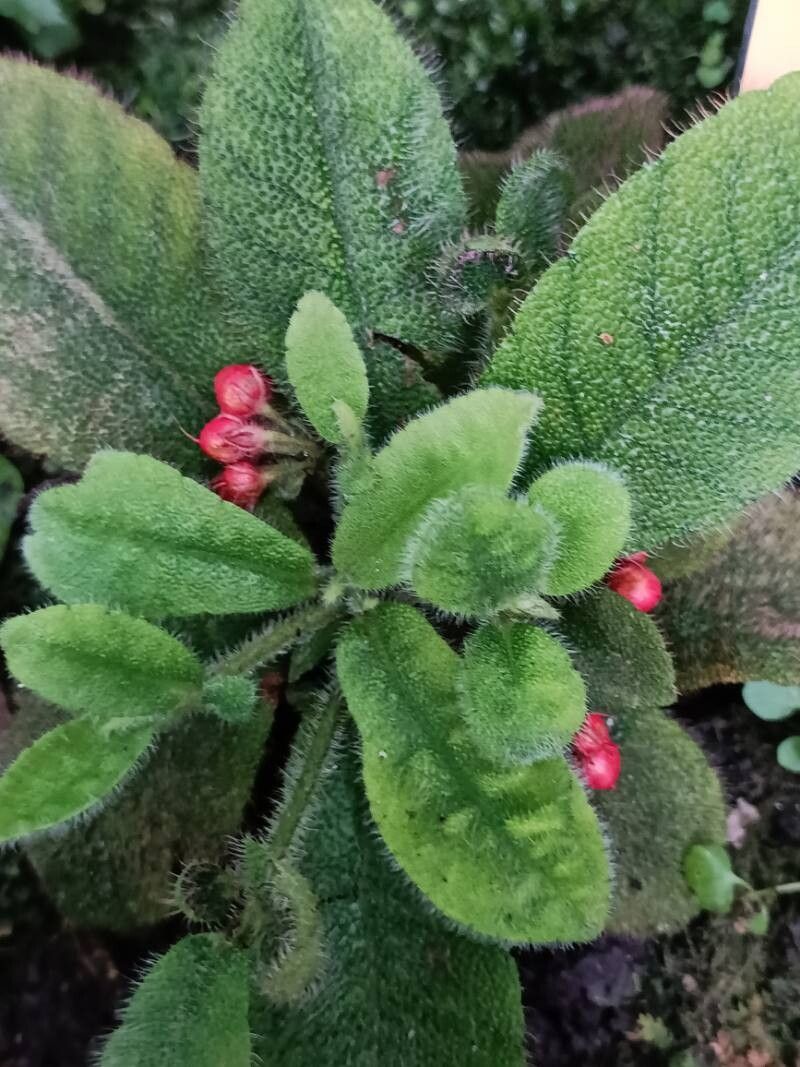
Hello there, fellow plant lovers! I’m so excited to chat with you today about a truly special plant: Ardisia mamillata. If you’ve ever admired its glossy, deep green leaves and the charming little pops of red berries it offers, you’re not alone. This plant brings a touch of elegance to any space, and the joy of creating more of these beauties from your existing one is simply unparalleled. Propagating Ardisia mamillata might sound a little daunting, but trust me, with a little guidance, it’s a wonderfully rewarding journey. It’s a good one for those willing to put in a bit of mindful effort.
The Best Time to Start
When it comes to timing, spring and early summer are your best friends for propagating Ardisia mamillata. This is when the plant is actively growing and has plenty of energy to put into developing new roots. Starting during this vibrant growth period means your cuttings are more likely to establish themselves quickly. Avoid trying to propagate when the plant is dormant in winter; you’ll likely have much less success.
Supplies You’ll Need
To give your Ardisia mamillata propagation the best chance, gather these essentials:
- Sharp, clean pruning shears or a sharp knife: For making clean cuts that heal better.
- Well-draining potting mix: A mix designed for houseplants or a blend of peat moss, perlite, and a bit of compost works beautifully. You can also find specialized seed-starting mixes.
- Small pots or trays: With drainage holes, of course!
- Rooting hormone (optional but recommended): This encourages faster root development. Look for a powder or gel form.
- Plastic bags or a propagator lid: To create a humid environment for your cuttings.
- Watering can or spray bottle: For gentle watering.
- Labels and a pen: To keep track of what you’ve planted and when.
Propagation Methods
There are a couple of tried-and-true ways to multiply your Ardisia mamillata. I usually stick to these two because they yield great results.
Stem Cuttings
This is my go-to method for Ardisia mamillata.
- Take the Cutting: Select a healthy stem that has at least two or three sets of leaves. Using your clean pruners, make a cut just below a leaf node (where a leaf attaches to the stem). Aim for cuttings that are about 4-6 inches long.
- Prepare the Cutting: Gently remove the lower leaves from the cutting, leaving just the top 1-2 sets of leaves. If any leaves are very large, you can carefully cut them in half horizontally to reduce water loss.
- Apply Rooting Hormone: Dip the cut end of the stem into your rooting hormone, ensuring it’s coated. Tap off any excess.
- Planting: Fill your small pots with your well-draining potting mix. Make a small hole in the center with your finger or a pencil. Insert the cutting into the hole, ensuring the base is well-supported. Gently firm the soil around the stem.
- Water and Cover: Water the soil thoroughly but gently, so it’s moist but not waterlogged. To create humidity, place the pot inside a clear plastic bag or cover it with a propagator lid. Make sure the leaves don’t touch the plastic if possible – poke sticks into the soil to hold the bag up if needed.
Water Propagation
This is a simpler, more visual method that many find very satisfying.
- Take and Prepare the Cutting: Follow steps 1 and 2 from the stem cutting method. You want a clean stem with a few healthy leaves at the top.
- Place in Water: Find a clean glass jar or bottle. Fill it with fresh, room-temperature water. Submerge the cut end of the stem in the water, making sure that no leaves are below the waterline. Any leaves submerged will likely rot.
- Find a Bright Spot: Place the jar in a bright, indirect light location. Avoid direct sun.
- Change Water Regularly: About once a week, refresh the water to keep it clean and oxygenated. You’ll start to see tiny white roots emerge from the cut end.
- Planting: Once the roots are about an inch or two long, you can carefully transplant them into well-draining potting mix, following steps similar to planting the cuttings.
The “Secret Sauce” (Pro Tips)
Here are a few little tricks I’ve learned over the years that can make a big difference:
- Use Bottom Heat: For stem cuttings, if you have one, placing your pots on a gentle heating mat can significantly speed up root formation. It mimics the warmth of spring soil, which these cuttings absolutely love when they’re trying to establish themselves.
- Mist Regularly, But Don’t Drench: While you want to maintain humidity, avoid overwatering at this early stage. A light misting of the leaves every couple of days, in addition to keeping the soil consistently moist, can provide that humid microclimate without risking rot.
- Be Patient with Leaf Drop: Sometimes, a cutting might drop a leaf or two. Don’t despair immediately! If the stem itself remains firm and green, it’s still trying to root. Focus on keeping the stem alive and the humidity up.
Aftercare & Troubleshooting
Once you start seeing roots develop – you might see them pushing out of the drainage holes or feel a gentle tug when you lightly try to move the cutting – it’s time for a new stage.
For cuttings rooted in soil, just continue to keep the soil consistently moist but not soggy. Gradually remove the plastic bag or propagator lid over a week or two to help the new plant acclimate to normal humidity levels.
For water-propagated plants, gently transplant them into their pots once the roots are a good size. Water them thoroughly and keep the soil moist for the first few weeks.
The most common issue you might face is rot. This usually happens from too much moisture and poor air circulation. If you see a cutting turning black and mushy, it’s usually a sign of overwatering or a too-closed environment. If you catch it early, you might be able to take a clean cutting from a healthier part of the stem.
A Little Encouragement
Watching a new plant emerge from a tiny cutting is one of the most magical aspects of gardening. Be patient with your Ardisia mamillata cuttings. Some might take longer than others, and that’s perfectly okay. Enjoy the process, learn from each attempt, and soon you’ll have a delightful collection of your own beautiful Ardisia mamillata to share or simply enjoy around your home. Happy propagating!
Resource:
https://identify.plantnet.org/k-world-flora/species/Ardisia%20mamillata%20Hance/data