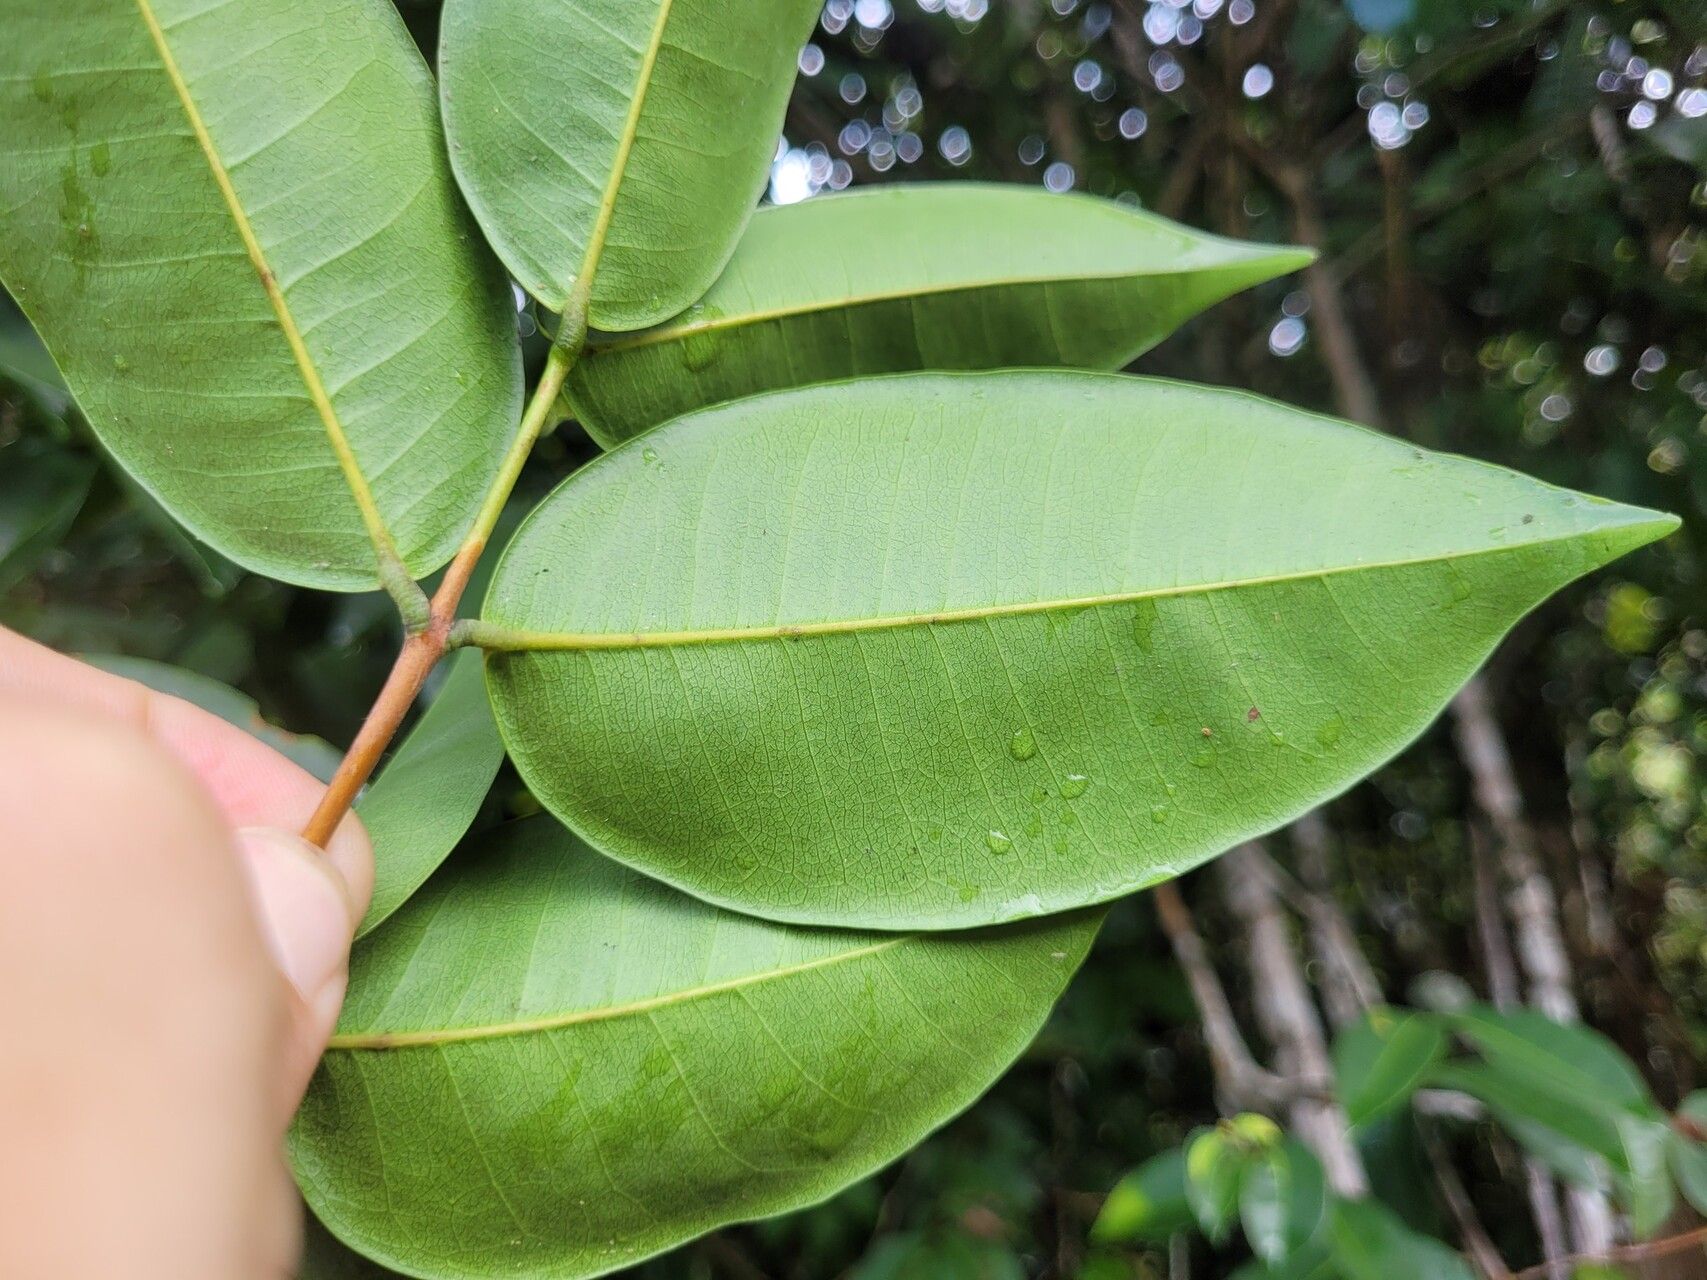
Oh, hello there! Come on in, grab a mug of something warm. I’m so excited to chat with you about Myrcia pyrifolia. Have you seen it lately? I just adore the glossy, deep green foliage and the delicate way its branches cascade. Plus, who can resist those tiny, fragrant white flowers and the subsequent berries? It’s a real gem, and honestly, propagating it yourself is one of the most satisfying little gardening projects you can undertake. And for us beginners? Don’t worry, it’s surprisingly manageable. You’ll be sharing little leafy babies with friends before you know it.
The Best Time to Start
My absolute favorite time to get my hands dirty with Myrcia pyrifolia propagation is when the plant is actively growing but not stressed. Think late spring through early summer. You want to catch it in that vigorous growth spurt. The stems will be flexible enough to take cuttings from, and they’ll have plenty of energy to heal and root. Trying to do it in the dead of winter, when everything’s a bit sleepy, will just lead to frustration.
Supplies You’ll Need
Before we dive in, let’s make sure you have everything ready. A little prep goes a long way!
- Sharp pruning shears or a clean, sharp knife: For taking clean cuts.
- Rooting hormone powder or gel: This isn’t strictly required, but it really gives your cuttings a boost.
- A well-draining potting mix: I like to use a blend of equal parts peat moss (or coco coir) and perlite. Some people swear by equal parts peat and sand, too. The key is aeration!
- Small pots or trays: Clean ones are a must to prevent disease.
- A plastic bag or propagator lid: To create a humid microclimate.
- Watering can with a fine rose: For gentle watering.
- Optional: Heat mat: For a little nudge in rooting.
Propagation Methods
Now for the fun part! We’ll focus on the most reliable method for Myrcia pyrifolia: stem cuttings.
Stem Cuttings:
- Select Your Stems: Look for healthy, vigorous stems that are semi-hardwood. This means they’re not brand new and green, but also not woody and old. They should have a bit of flexibility. You’re aiming for cuttings about 4-6 inches long.
- Make the Cut: Using your clean shears or knife, make a clean cut just below a leaf node. A leaf node is where a leaf joins the stem. This is where the magic happens for root formation.
- Prepare the Cutting: Gently remove the lower leaves from the cutting. You want to leave just a few leaves at the top to photosynthesize. If the remaining leaves are very large, you can even cut them in half horizontally to reduce water loss.
- Apply Rooting Hormone: Dip the cut end of the stem into your rooting hormone powder or gel, tapping off any excess.
- Plant Your Cuttings: Fill your clean pots or trays with your prepared potting mix. Make a small hole with your finger or a pencil, and carefully insert the cut end of the stem. Gently firm the soil around it.
- Water Gently: Water thoroughly but gently until the soil is evenly moist.
- Create Humidity: Cover the pots with a clear plastic bag or a propagator lid. Make sure the leaves don’t touch the plastic. You can prop up the plastic with small stakes if needed. This dome of humidity is crucial for keeping the cuttings from drying out before they form roots.
- Find the Right Spot: Place your pots in a bright spot, but avoid direct, intense sunlight. An east-facing window is usually perfect.
The “Secret Sauce” (Pro Tips)
Here are a few little tricks I’ve picked up over the years that I think can really help boost your success rate:
- Don’t Drown Your Dreams: While humidity is key, you don’t want soggy soil. The mix should be consistently moist, not waterlogged. Check the soil moisture regularly by poking your finger in. If it feels dry, give it a gentle watering.
- The Warm Hug of Bottom Heat: This is a game-changer! If you can, place your pots on a heat mat designed for propagation. A gentle warmth from below encourages root development much faster than just ambient room temperature. It’s like giving your little cuttings a warm hug to get them growing.
- Patience is a Virtue (and a Necessity): Seriously, don’t be tempted to pull up your cuttings to “check” for roots too soon. It can take anywhere from 4 to 8 weeks, sometimes longer, for Myrcia pyrifolia cuttings to root. Resist the urge!
Aftercare & Troubleshooting
Once you start to see new growth emerging from your cuttings – tiny leaves unfurling – that’s a very good sign that roots have formed!
- Acclimatize Slowly: Before you remove the plastic cover permanently, gradually begin to air out the propagator. Open the lid for a few hours each day for a week. This helps your new little plants adjust to lower humidity.
- Continue Gentle Care: Keep the soil consistently moist and the light bright but indirect.
- Watch for Signs of Trouble: The most common issue is rot. If your cutting looks mushy or black at the soil line, or if the leaves turn yellow and fall off without any new growth appearing, it’s likely a sign of too much moisture or a fungal issue. If you spot rot early, you might be able to salvage it by removing the affected part and trying to let the remaining healthy part root in a drier medium, but often, it’s a lost cause. Prevention (good drainage, not overwatering) is key here!
And there you have it! A little venture into propagating your own beautiful Myrcia pyrifolia. It’s a process that rewards patience and a gentle touch. Don’t get discouraged if your first attempts aren’t perfect – every gardener has had their share of casualties! Just enjoy the process of nurturing these little green lives, and be absolutely delighted when you see those tiny roots begin to take hold. Happy propagating!
Resource:
https://identify.plantnet.org/k-world-flora/species/Myrcia%20pyrifolia%20(Desv.)%20Nied./data