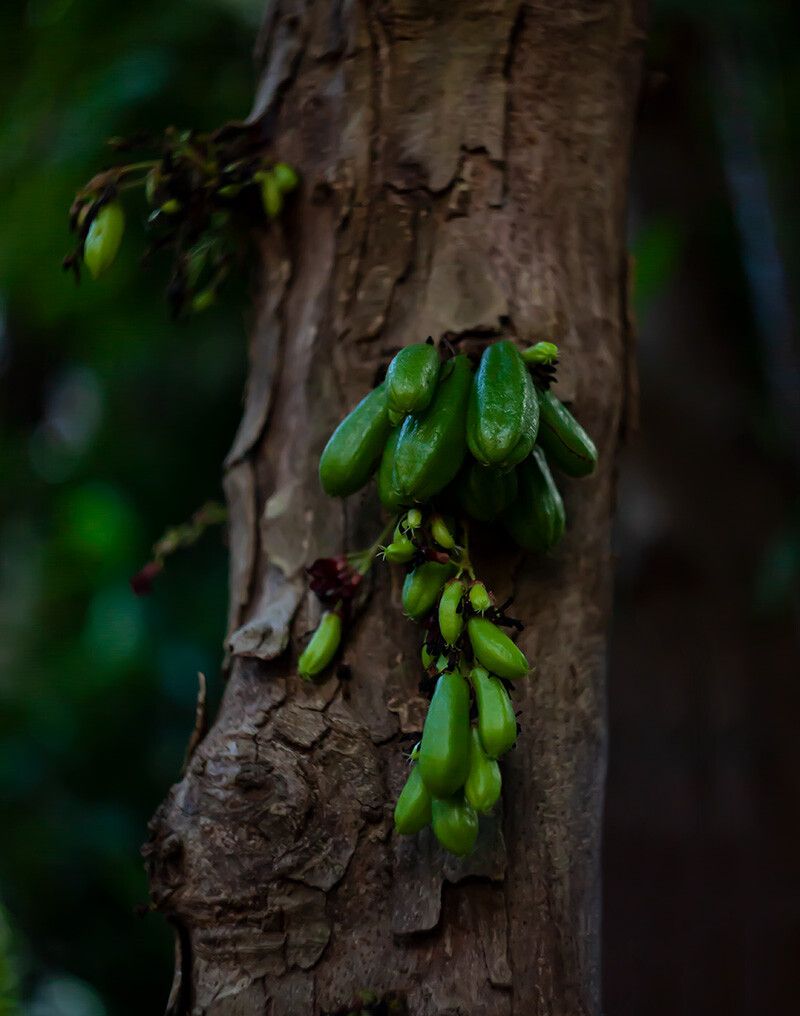
Hello fellow garden enthusiasts! It’s so lovely to have you here. Today, we’re diving into the wonderful world of Averrhoa bilimbi, often called the cucumber tree or bilimbi. This little gem offers not just a bounty of tart, refreshing fruit – perfect for relishes and drinks – but also a delightful challenge for any gardener looking to expand their collection. If you’re a beginner, don’t be shy! While it takes a bit of care, propagating bilimbi is absolutely achievable, and the reward of nurturing your own little tree from scratch is truly special.
The Best Time to Start
When it comes to coaxing new life from your bilimbi, late spring or early summer is your golden window. This is when the plant is in its most vigorous growth phase, meaning it has plenty of energy to dedicate to rooting. Look for stems that are semi-hardwood – not brand new and floppy, but not completely woody either. You want that satisfying snap when you bend them.
Supplies You’ll Need
Gathering your tools beforehand makes the whole process so much smoother. Here’s what I like to have on hand:
- Sharp pruning shears or a clean, sharp knife: For making clean cuts on the stem.
- Rooting hormone (optional but recommended): A powder or gel can significantly boost your success rate, especially for trickier cuttings.
- Well-draining potting mix: I swear by a blend of equal parts perlite, coco coir, and a bit of compost. You want good aeration!
- Small pots or propagation trays: Ensure they have drainage holes.
- A plastic bag or clear propagation dome: To create a humid environment.
- Watering can with a fine rose: For gentle watering.
- Stick or skewer: To make planting holes.
Propagation Methods: Stem Cuttings Take the Lead
For bilimbi, stem cuttings are by far the most reliable and widely used method. It’s straightforward and gives you a great chance of success.
- Select Your Cuttings: Head out to your tree and find those semi-hardwood stems. Aim for pieces that are about 6-8 inches long.
- Make the Cut: Using your sharp shears or knife, make a clean cut just below a leaf node (where a leaf attaches to the stem). These nodes are packed with growth hormones.
- Prepare the Cutting: Gently remove the leaves from the bottom two-thirds of the cutting. If the remaining leaves are very large, you can even snip them in half to reduce water loss.
- Apply Rooting Hormone (if using): Dip the cut end into your rooting hormone, tapping off any excess.
- Plant Your Cuttings: Fill your pots with your well-draining mix. Use a stick or skewer to create a hole in the center, then carefully insert the cutting. Firm the soil gently around it.
- Water Gently: Water thoroughly until you see water draining from the bottom of the pot.
- Create a Humid Environment: Pop the pot into a plastic bag, tenting it over the cutting without letting the leaves touch the sides, or place it under a propagation dome. This traps moisture and humidity, which is crucial for cuttings to root.
The “Secret Sauce” (Pro Tips)
Here are a couple of things I’ve learned over the years that make a real difference with Averrhoa bilimbi:
- Think “Warm Feet, Cool Heads”: Bilimbi cuttings love warmth at their base, which encourages root development. Placing your pots on a heat mat designed for propagation is a game-changer. However, you want the foliage to stay relatively cool to prevent wilting. The humidity dome helps with this, but avoid direct, scorching sun.
- Patience is Key with Water: While some plants root beautifully in water, bilimbi can be a bit finicky. If you do try water propagation, never let the leaves touch the water. They’ll rot and take your cutting with them. Keep only the bottom few inches of the stem submerged. I personally find soil propagation more successful for this species.
Aftercare & Troubleshooting
Once your cuttings are planted, place them in a bright spot with indirect light. Avoid direct sun, which can scorch the delicate new growth. Keep the soil consistently moist but never waterlogged. You’ll know roots are developing when you see new leaf growth. Give the cutting a very gentle tug; if there’s resistance, it’s rooted! This usually takes anywhere from 4 to 8 weeks, sometimes longer.
The most common sign of failure is rot. If your cutting turns black and mushy, it’s likely rotted. This is often due to overwatering or poor drainage. If you see this, unfortunately, it’s best to discard the cutting and start again. Another less common issue is wilting, which can be due to too much dry air or not enough moisture in the soil.
Keep Growing!
And there you have it! Propagating Averrhoa bilimbi might seem a little daunting at first, but with a little care and these tips, you’ll be well on your way to a whole new crop of these delightful trees. Remember, gardening is a journey of learning and patience. Don’t get discouraged if your first attempt isn’t perfect. Enjoy the process, celebrate the successes, and keep that green thumb busy! Happy planting!
Resource:
https://identify.plantnet.org/k-world-flora/species/Averrhoa%20bilimbi%20L./data