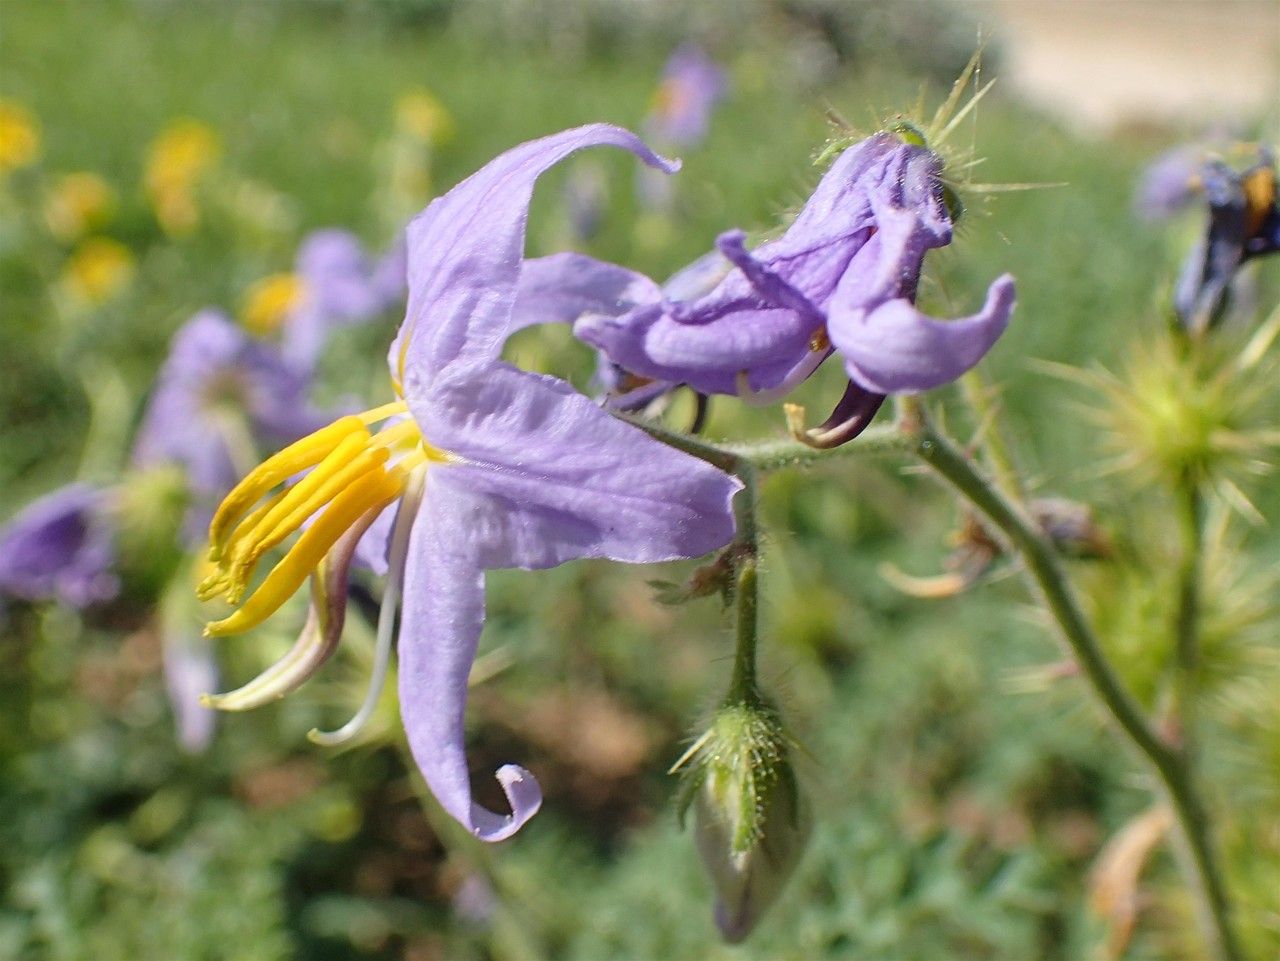
Oh, hello there! Come grab a seat. I’m so glad you’re interested in Solanum citrullifolium. This little stunner, with its starry blue flowers and fuzzy leaves, is such a joy to have in the garden, or even on a sunny windowsill. If you’ve ever looked at yours and thought, “I wish I had more of these!” then you’re in the right place. Propagating it is a fantastic way to expand your collection, share with friends, or just experience the thrill of coaxing new life from an existing plant. And the good news? We’re going to tackle this together, and I think you’ll find it quite satisfying.
The Best Time to Start
For Solanum citrullifolium, like many of my favorite plants, the absolute sweet spot for propagation is late spring to early summer. This is when the plant is actively growing, putting out fresh, vigorous stems. Starting around May or June, when things are really warming up and the days are getting longer, gives your cuttings the best chance to root happily.
Supplies You’ll Need
You don’t need a whole fancy lab for this! Just a few trusty tools will do:
- Sharp pruning shears or a clean knife: For taking cuttings. Make sure they’re clean to avoid introducing any nasties.
- Small pots or seed trays: With good drainage holes.
- A good potting mix: I like a blend of equal parts seed-starting mix and perlite. This ensures excellent drainage, which is crucial for preventing rot.
- Rooting hormone (optional but recommended): A powder or liquid can give your cuttings a helpful boost, but it’s not strictly essential, especially if you’re taking healthy cuttings at the right time.
- A clear plastic bag or dome: To create a humid microclimate over your cuttings.
- A spray bottle filled with water: For misting.
- A label and marker: To keep track of what you’ve planted and when.
Propagation Methods
Let’s get our hands dirty! We’ll focus on the most reliable method for this lovely plant: stem cuttings.
- Select Your Cuttings: Head over to your happy, healthy Solanum citrullifolium. Look for non-flowering stems that are about 4-6 inches long. The stems should be flexible and green, not woody. I usually go for the new, upright growth.
- Make the Cut: Using your clean pruning shears or knife, make a clean cut just below a leaf node. A leaf node is that little bump where a leaf attaches to the stem. This is where the magic – the root development – will happen.
- Prepare the Cutting: Gently remove the lower leaves from the cutting, leaving just a few leaves at the top. This helps the plant conserve energy and prevents leaves from rotting in the soil or water. If your remaining leaves are quite large, you can even cut them in half to reduce water loss through transpiration.
- Apply Rooting Hormone (Optional): If you’re using rooting hormone, dip the cut end of the stem into it, tapping off any excess.
- Plant Your Cuttings: Fill your small pots with your prepared potting mix. Make a small hole in the center of the soil with your finger or a pencil. Gently insert the cut end of your Solanum citrullifolium cutting into the hole and firm the soil around it.
- Water Gently: Water the soil thoroughly but gently, ensuring it’s moist but not waterlogged.
The “Secret Sauce” (Pro Tips)
Now, for a couple of things I’ve learned over the years that really make a difference:
- Don’t let the leaves touch the water (if water propagating): While stem cuttings can be rooted in water, I find them much more prone to rot with this particular plant. If you do try water, make sure only the stem is submerged, and change the water every couple of days. For Solanum citrullifolium, soil is definitely my preferred route.
- Bottom heat is your friend: If you have a seedling heat mat, placing your pots of cuttings on it can significantly speed up rooting. This gentle warmth from below mimics the soil temperature when the plant is actively growing and encourages root formation much faster.
Aftercare & Troubleshooting
Once your cuttings are planted, it’s time for some TLC.
- Create a Humid Environment: Place a clear plastic bag loosely over the pot and cuttings, or use a propagation dome. This traps moisture and creates a humid environment, which is essential for cuttings before they develop roots. Ventilate the bag daily for about 15 minutes to allow for air circulation and prevent fungal issues.
- Provide Bright, Indirect Light: Place your pots in a bright location but out of direct, harsh sunlight. A spot on an east-facing windowsill or a few feet back from a south-facing window is usually perfect.
- Keep the Soil Consistently Moist: Feel the soil regularly. It should be consistently moist but never soggy. If the top layer starts to feel dry, give it a light misting or a gentle watering.
- Watch for Rooting: This can take anywhere from 3 to 6 weeks, sometimes longer. You’ll know your cuttings have rooted when you see new leaf growth or feel a slight tug when you gently test the cutting.
- Troubleshooting: The most common issue is rot. If your cutting turns mushy and black, it’s likely rotted. This is usually due to too much moisture and poor air circulation. Don’t be discouraged – just try again! If you see wilting that doesn’t improve with watering, it could mean the cutting hasn’t rooted yet and is drying out. Increase humidity and ensure consistent moisture.
A Little Patience Goes a Long Way
And there you have it! Propagating Solanum citrullifolium is a rewarding journey. Don’t be afraid to experiment a little, and remember that even experienced gardeners have less-than-perfect results sometimes. The most important thing is to enjoy the process of nurturing new life. Happy propagating!
Resource:
https://identify.plantnet.org/k-world-flora/species/Solanum%20citrullifolium%20A.Braun/data