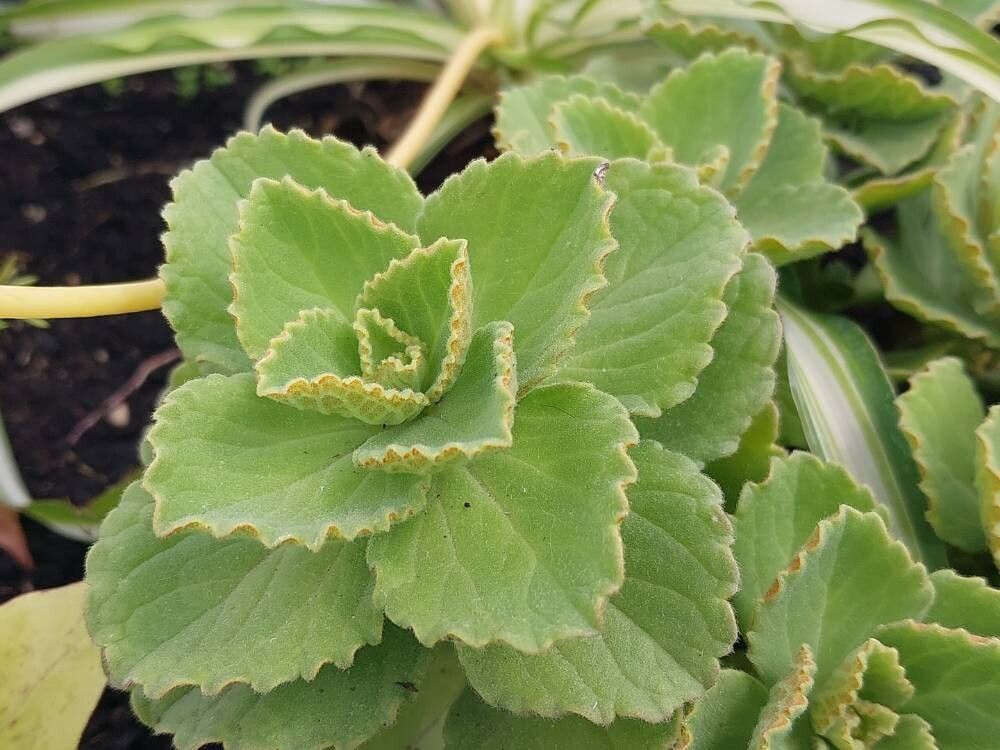
Ah, Coleus caninus! You know, the one that smells surprisingly like a dog when you brush against it? It’s got this fantastic, almost velvety foliage, and it’s a really cheerful addition to any garden or pot. Propagating it is just one of those deeply satisfying things you can do as a gardener. You take a little piece of something you love and turn it into more of something you love. It’s wonderfully simple too, which is always a bonus! Don’t worry if you’re new to this; Coleus caninus is quite forgiving.
The Best Time to Start
For the absolute best success, I always recommend starting your Coleus caninus propagation in late spring or early summer. This is when the plant is in its prime growing season. The days are getting longer, the temperatures are warming up, and the plant has plenty of energy to put into developing those new roots. You can certainly try it at other times, but you’ll likely see quicker and more robust results during this peak growth period.
Supplies You’ll Need
Here’s what you’ll want to have on hand before you get started:
- Sharp, clean pruning shears or a sharp knife: Essential for making clean cuts.
- Small pots or seedling trays: Whatever you have that’s clean and has drainage holes.
- Well-draining potting mix: A peat-based mix is good, or you can use a blend of potting soil and perlite. I often use a mix that’s about 50/50 potting soil and perlite for excellent aeration.
- Rooting hormone (optional but recommended for speed): This isn’t strictly necessary for Coleus caninus as it roots readily, but it can give you a nice boost.
- A watering can with a fine rose or a spray bottle: For gentle watering.
- Clear plastic bags or a propagator: To create a humid environment.
Propagation Methods
There are a couple of really straightforward ways to get new Coleus caninus plants. I usually go for stem cuttings, but water propagation is also very effective.
Stem Cuttings
This is my go-to method. It’s quick, and you get a good number of new plants from a single parent.
- First, find a healthy, vigorous stem on your mature Coleus caninus. You want a stem that isn’t flowering if possible, and one that’s actively growing.
- Using your clean shears or knife, take a cutting that’s about 4-6 inches long. Try to make your cut just below a leaf node (where a leaf attaches to the stem).
- Remove the lower leaves from the cutting, leaving just a few at the very top. This is important to prevent them from rotting in the soil.
- If you’re using rooting hormone, dip the cut end of the stem into the powder, tapping off any excess.
- Now, insert the cut end into your prepared potting mix. Make a little hole with your finger or a pencil first so you don’t rub off all that precious rooting hormone. Gently firm the soil around the stem.
- Water gently to settle the soil.
- Cover the pot with a clear plastic bag or place it inside a propagator. This will keep the humidity high, which cuttings love. You can prop the bag up with a couple of sticks so it doesn’t touch the leaves.
- Place the pot in a bright spot, but out of direct sunlight. A windowsill that gets morning sun is usually perfect.
Water Propagation
This is almost as simple as it sounds and can be quite rewarding to watch the roots form!
- Follow steps 1-3 for stem cuttings above.
- Instead of planting the cutting in soil, place the cut end into a clean jar or glass of water.
- Make sure no leaves are submerged in the water. Any leaves below the waterline will rot and can contaminate the water, hindering root development.
- Place the jar in a bright location, out of direct sun.
- Change the water every few days to keep it fresh. You’ll start to see tiny white roots emerge from the leaf nodes within a couple of weeks.
- Once the roots are about an inch long, you can transplant them into potting mix following steps 5-8 for stem cuttings.
The “Secret Sauce” (Pro Tips)
- Here’s a little trick: Don’t be afraid to take cuttings from near the top of a leggy plant. This encourages the parent plant to branch out and become bushier, giving you a healthier specimen overall.
- When using rooting hormone, make sure the powder is still active and fine. If it’s clumpy and looks old, it might not be as effective. Give it a good shake before you use it.
- For an extra boost, especially if you’re finding things a bit slow, consider using bottom heat. A simple seedling heat mat placed under your pots can significantly speed up root formation by keeping the soil temperature a little warmer.
Aftercare & Troubleshooting
Once you see new growth emerging from your cuttings (usually within 2-4 weeks), that’s a good sign roots are developing.
- Gradually acclimatize your new plants. Start by opening the plastic bag or propagator for a few hours each day. They need to get used to lower humidity.
- Keep the soil consistently moist but not waterlogged. That’s the key.
- The most common issue you’ll see is rot. If a cutting turns black and mushy, it’s probably succumbed to rot. This usually happens because the soil is too wet, or leaves are sitting in water. Don’t be discouraged; just pull out the bad cutting and try again. Another sign of trouble is wilting that doesn’t perk up after watering – this can also indicate root rot or simply that the cutting hasn’t rooted yet.
A Encouraging Closing
Propagating plants is a journey, and with Coleus caninus, it’s a wonderfully accessible one. Be patient with yourself and your little green babies. Enjoy the process, celebrate the success of those first tiny roots, and marvel at how a simple stem can become a whole new plant. Happy propagating!
Resource: