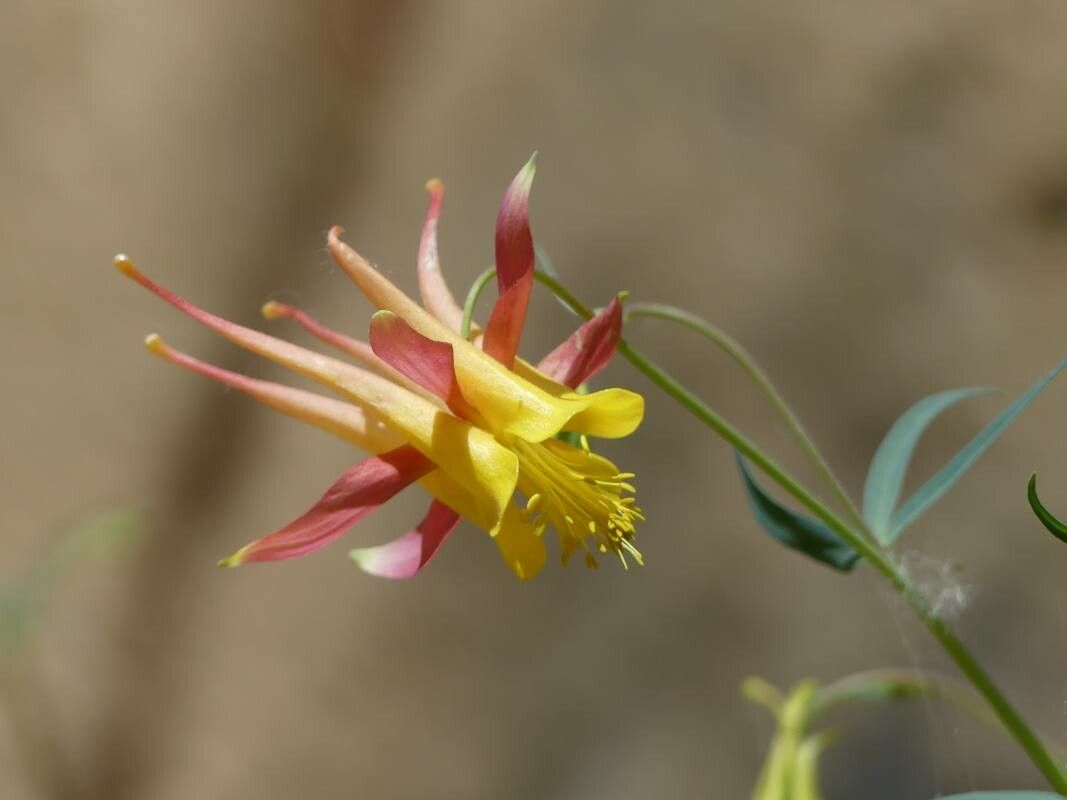
Hello, fellow garden enthusiasts! I’m so excited to chat with you today about one of my absolute favorites: Aquilegia desertorum, the Desert Columbine. Isn’t she a beauty? With her delicate, nodding flowers in shades of coral and yellow, she brings a unique splash of desert charm to any garden. Propagating her is a wonderful way to share her loveliness with friends, fill in bare spots, or simply experience the joy of creating something new from an existing plant. Now, I’ve heard some whisper that Aquilegia can be a bit finicky, but honestly, with a little know-how, Aquilegia desertorum is quite doable, even for those of you just starting your green journey.
The Best Time to Start
For the highest success rate with Aquilegia desertorum, I always recommend working with plants in their active growing season, which typically means late spring or early summer. This is when the plant has plenty of energy reserves to put into developing new roots. You’ll see the most vigorous growth then, making your propagation efforts more likely to pay off.
Supplies You’ll Need
Before we get our hands dirty, let’s gather our tools. Having everything ready makes the process so much smoother.
- Sterile potting mix: A well-draining mix is key here. I like to use a blend of equal parts peat moss, perlite, and a bit of compost.
- Small pots or seed trays: Clean, of course!
- Pruning shears or a sharp knife: Make sure they are sterilized with rubbing alcohol to prevent disease.
- Rooting hormone (optional, but recommended): A little boost can really help.
- Plastic bags or a propagation dome: To create a humid environment.
- Watering can with a fine rose: For gentle watering.
- Labels and a permanent marker: Don’t forget to label your cuttings!
Propagation Methods
Aquilegia desertorum can be propagated through a couple of reliable methods. I find division to be the most straightforward, but stem cuttings can also work well if done at the right time.
Division (My Go-To Method)
This is how I usually multiply my columbines, and I find it yields the best results for Aquilegia desertorum.
- Dig carefully: In late spring or early summer, when the plant is actively growing, dig up your mature Aquilegia desertorum plant. Do this gently, trying to disturb the root ball as little as possible.
- Clean the roots: Gently shake off excess soil. You want to be able to see the individual crowns (where the stems emerge from the roots).
- Separate the divisions: Using your sterilized pruning shears or a sharp knife, carefully divide the root ball into sections. Each division should have at least one healthy crown and a good portion of roots. Don’t be afraid to separate them; they’re surprisingly resilient.
- Replant immediately: Pot each division into its own small container filled with your prepared potting mix. Make sure the crown is just at the soil surface.
- Water gently: Water thoroughly but gently.
Stem Cuttings (A Bit More Advanced)
If you want to try cuttings, here’s how I approach it.
- Select healthy stems: Choose non-flowering, leafy stems that are about 4-6 inches long. These are usually the most vigorous.
- Make the cut: Using your sterilized shears, make a clean cut just below a leaf node. This is where roots are most likely to form.
- Prepare the cutting: Remove the lower leaves, leaving just the top few. This reduces water loss.
- Apply rooting hormone: Dip the cut end into rooting hormone, if you’re using it.
- Plant the cutting: Insert the cutting about 1-2 inches deep into your prepared potting mix in a small pot.
- Create humidity: Water gently, then cover the pot with a plastic bag or place it under a propagation dome. Ensure the leaves do not touch the plastic.
The “Secret Sauce” (Pro Tips)
Now, for a couple of tricks I’ve learned over the years. These little things can make a big difference for your Aquilegia desertorum propagation.
- Don’t let the leaves touch the water when propagating cuttings! This is a big one. If the leaves sit in water, they’ll rot before they have a chance to root. Make sure there’s good air circulation, and that the leaves are held above any excess moisture.
- Bottom heat is your friend for cuttings. If you’re having trouble with cuttings rooting, try placing your pots on a heated propagation mat. It provides just the right amount of warmth to encourage root development, especially if your houseplants are inside and the ambient temperature isn’t as high.
Aftercare & Troubleshooting
Once your Aquilegia desertorum divisions or cuttings are planted, patience becomes your best friend.
For divisions, keep the soil consistently moist but not waterlogged. Place them in a location that gets dappled shade for the first few weeks. You should see new growth emerging within a month.
For cuttings, maintain high humidity under your plastic or dome. Mist them lightly every couple of days. You’ll know they’ve rooted when you see new leaves starting to sprout and feel a gentle tug when you lightly pull on the cutting. This can take 4-8 weeks.
The most common problem you might encounter is rot, especially with cuttings. This is usually a sign of too much moisture and not enough air circulation. If you see mushy stems or leaves turning yellow and wilting despite being watered, it’s likely rot. Discard any affected cuttings and try to improve ventilation for the remaining ones.
A Encouraging Closing
Gardening is a journey, and propagating plants is one of its most rewarding aspects. Don’t be discouraged if everything doesn’t work perfectly the first time. Each attempt teaches you something new. Be patient, enjoy the process of nurturing these new life forms, and soon you’ll be surrounded by even more of these delightful Desert Columbines. Happy propagating!
Resource: