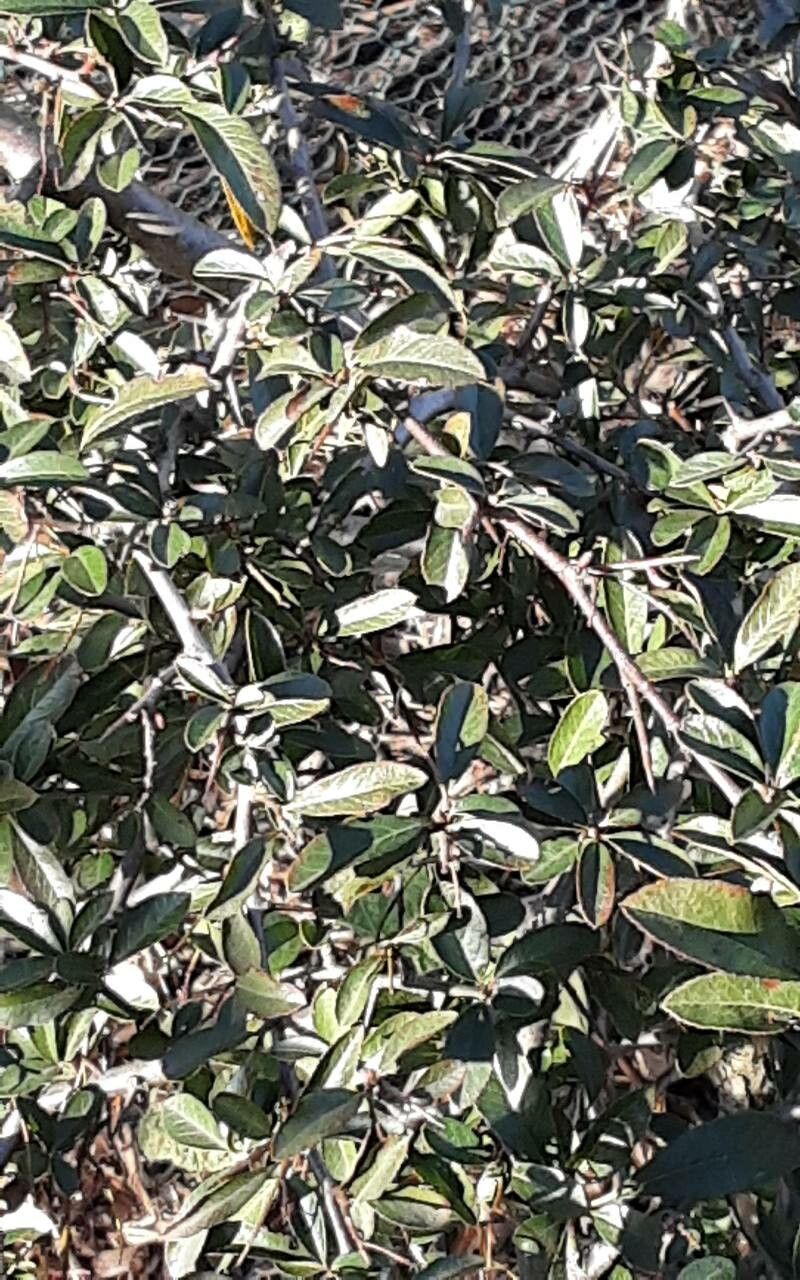
Oh, hello there! Pull up a chair and let’s chat about a truly special plant: Sideroxylon lanuginosum, also known as Chittamwood or Woolly Buckthorn. I’ve spent years admiring its beautiful, silvery-gray foliage and its knack for thriving in challenging conditions. If you’re looking to expand your garden with something a little different, or simply want to share the joy of this plant with others, propagating Chittamwood is a wonderfully rewarding endeavor.
Now, for beginners, I’d say Chittamwood is moderately easy to propagate. It’s not as fussy as some delicate tropicals, but it does appreciate a bit of attention to detail. Getting it right the first time around is always a lovely boost to your gardening confidence, isn’t it?
The Best Time to Start
For the highest chance of success, I’ve found that propagating Chittamwood from softwood or semi-hardwood cuttings is best done in late spring to early summer. This is when the plant is actively growing and has plenty of healthy, pliable stems. The energy of new growth really helps them establish roots quickly.
Supplies You’ll Need
Before we get our hands dirty, let’s gather our trusty tools:
- Sharp Pruning Shears or a Knife: Clean cuts are crucial for preventing disease.
- Rooting Hormone: A powdered or liquid hormone will significantly increase your success rate. I prefer the powder myself; it’s just so tactile!
- Well-Draining Potting Mix: A blend of peat moss, perlite, and coarse sand (about 1:1:1 ratio) is ideal. You can also use a good quality starter mix with added perlite.
- Small Pots or Seedling Trays: Clean, small containers are perfect for starting your cuttings.
- Plastic Bags or a Propagator: This will help keep humidity levels high, which is essential for cuttings.
- Watering Can or Spray Bottle: For gentle watering.
- Labels: To mark what you’ve planted and when!
Propagation Methods: Stem Cuttings
This is my go-to method for Sideroxylon lanuginosum, and it’s quite effective:
- Select Your Cuttings: Look for healthy, non-flowering shoots that are about 4-6 inches long. Gently snap or cut a stem. You want it to be flexible but not floppy – that’s your cue for semi-hardwood.
- Prepare the Cuttings: Remove the leaves from the bottom two-thirds of the cutting. This prevents them from rotting in the soil and encourages root development elsewhere. You can leave a couple of leaves at the top to help with photosynthesis, but trim them in half if they’re large.
- Dip in Rooting Hormone: Moisten the cut end of each stem slightly (water will make the powder clump), then dip it into the rooting hormone, ensuring the bottom inch or so is well-coated. Tap off any excess.
- Plant Your Cuttings: Make a hole in your prepared potting mix with a pencil or your finger. Gently insert the cutting, ensuring the hormone-coated part is well within the soil. Firm the soil gently around the base.
- Water Gently: Give your cuttings a light watering. You want the soil to be moist but not soggy.
- Create a Humid Environment: Cover the pots with a plastic bag (propped up so it doesn’t touch the leaves) or place them in a propagator. This traps moisture and creates the humid microclimate these little guys crave.
The “Secret Sauce” (Pro Tips)
Here are a few little tricks I’ve picked up along the way:
- Don’t Let the Leaves Touch the Water: If you choose to propagate in water, which can work, make sure no leaves are submerged. They’ll just rot and drag down the whole process. Honestly, though, I find soil propagation a little more reliable for Chittamwood.
- Bottom Heat is Your Friend: If you have the setup, placing your pots on a gentle heat mat can dramatically speed up root development. It mimics the warmth of spring soil and really gives your cuttings a boost.
- Cleanliness is Key: I can’t stress this enough. Always use sterilized tools and pots. A quick wipe with rubbing alcohol or a bleach solution (followed by a good rinse) will save you a world of heartache from fungal infections.
Aftercare & Troubleshooting
Once your cuttings are potted, find them a spot with bright, indirect light. Avoid direct sun, which can scorch those tender new stems. Keep the soil consistently moist but not waterlogged.
You’ll know roots are forming when you see new leaf growth or feel a slight resistance when you gently tug on the cutting. This usually takes 4-8 weeks, but patience is key!
The main troubleshooting issue you might encounter is rot. If you see mushy stems or blackening, it’s usually a sign of too much moisture and poor air circulation. Unfortunately, rotted cuttings are usually a loss, so it’s best to discard them and start again, perhaps with slightly less watering or better drainage.
A Encouraging Closing
Propagating plants is a journey, and each success (and even the occasional oops!) teaches us something new. Don’t be discouraged if your first batch isn’t perfect. Keep observing, keep experimenting gently, and most importantly, enjoy the process of coaxing new life from your beloved Chittamwood. Happy propagating!
Resource:
https://identify.plantnet.org/k-world-flora/species/Sideroxylon%20lanuginosum%20Michx./data