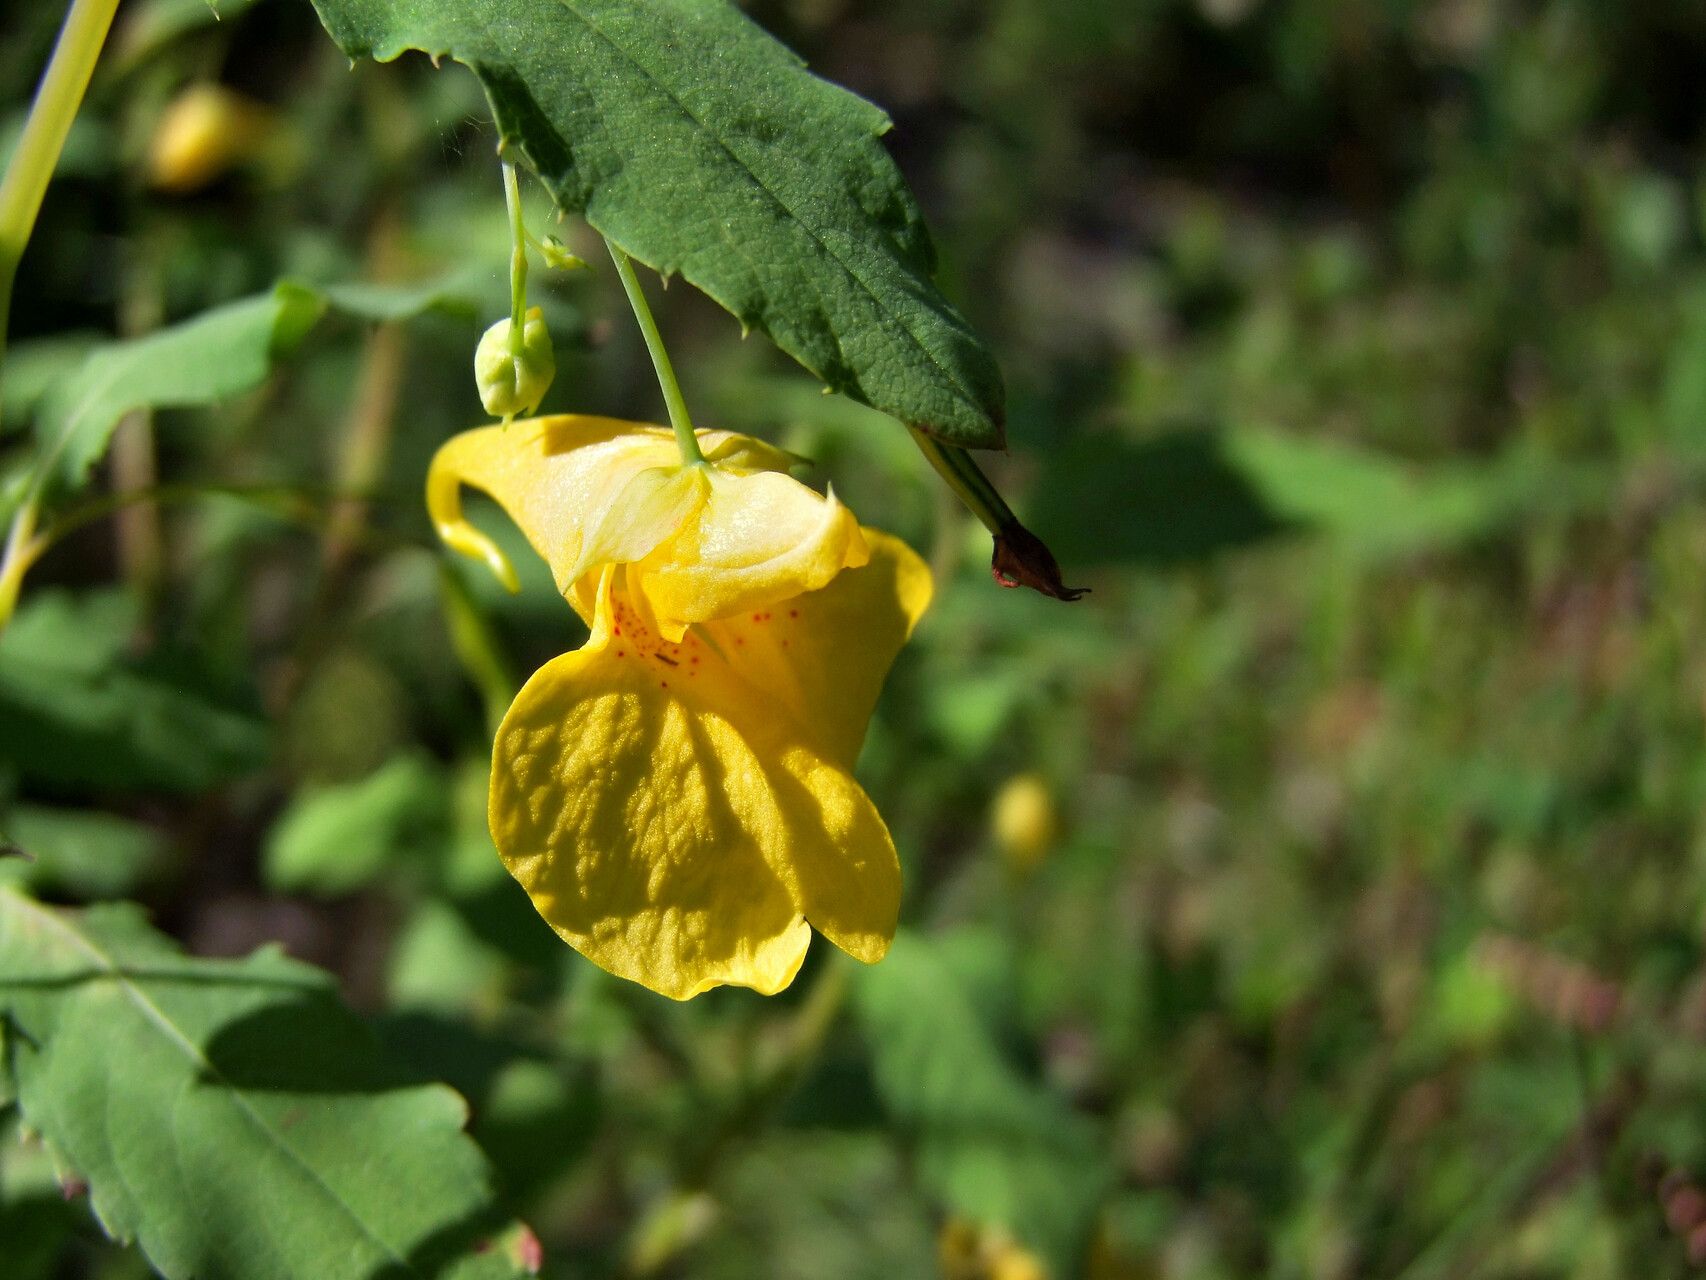
Oh, hello there! Come on in, grab yourself a mug. Let’s chat about some Impatiens noli-tangere. I’ve spent years in the garden, and let me tell you, this one is a real charmer. Its bright flowers just pop, adding such lovely color to shadier spots. And the best part? It’s incredibly rewarding to grow these beauties from just a little bit of material. For beginners, I’d say Impatiens noli-tangere is a fantastic choice. You’re going to have a great time with this one.
When’s the Magic Moment to Begin?
Timing is everything in the garden, and with Impatiens noli-tangere, the sweet spot is late spring or early summer. This is when the plant is actively growing, full of vigor, and ready to put that energy into forming new roots. You’re looking for healthy, non-flowering stems. Think of it as tapping into the plant’s youthful exuberance!
Gathering Your Garden Arsenal
You don’t need a whole lot of fancy gear to get started. Here’s what I always keep handy:
- Clean, sharp pruning shears or a sharp knife: For clean cuts, which is crucial!
- Small pots or seed trays: With good drainage holes, of course.
- A quality potting mix: I like a light, airy mix. Something with peat moss or coco coir and perlite works wonders. Avoid anything too heavy.
- Rooting hormone (optional but helpful): A powdered or liquid form can give your cuttings a boost.
- A mister or spray bottle: To keep things nice and humid.
- Plastic bags or a propagator: For creating a mini greenhouse effect.
Growing New Life: Let’s Get Our Hands Dirty!
There are a couple of really effective ways to propagate Impatiens noli-tangere. I usually lean towards stem cuttings because they’re so straightforward and reliable.
Method 1: Stem Cuttings – My Go-To
- Find Your Material: Look for healthy, upright stems on your existing Impatiens. You want stems that are about 3-6 inches long.
- Make the Cut: Using your clean shears, make a clean cut just below a leaf node. This is the little bump on the stem where a leaf grows out from. This is where roots are most likely to form. Remove any flowers or flower buds – they steal energy!
- Prepare the Cutting: Strip off the lower leaves, leaving just two or three at the top. This reduces water loss and prevents leaves from rotting in the soil.
- Dip and Plant: If you’re using rooting hormone, dip the cut end into the powder or liquid. Then, firmly insert the cut end into your prepared potting mix. Make sure the little bump where the leaves were removed is buried.
- Water Gently: Water the soil thoroughly, but don’t drench it. You want it moist, not soggy.
Method 2: Water Propagation – The Visual Method
- Select and Cut: The process starts the same as stem cuttings – healthy stems, cut below a leaf node, with lower leaves removed.
- Place in Water: Put your cuttings in a clean jar or glass filled with fresh, room-temperature water.
- The “No-Touch” Rule: Crucially, make sure no leaves are submerged in the water. They’ll just rot and can kill the whole cutting. Keep the water level just below the lowest leaf.
- Find a Good Spot: Place the jar in a bright spot with indirect light. You’ll be able to see the roots start to form! Change the water every few days to keep it fresh.
The “Secret Sauce” – Little Tricks from the Trenches
Here are a few things I’ve learned over the years that can really give your cuttings that extra edge:
- Bottom Heat is Your Friend: If you can, place your pots on a seedling heat mat. This gentle warmth from below encourages root development much faster than ambient room temperature alone. It’s like a cozy little greenhouse for your roots!
- Humidity is Key: Those cuttings need a humid environment to thrive before they’ve got roots to support them. Once you plant your cuttings in pots, cover them with a plastic bag or pop them into a propagator lid. Poke a few small holes for air circulation, or just lift the lid daily for a few minutes to prevent mold.
- Don’t Rush the Roots: When propagating in water, I like to wait until the roots are at least an inch long before I transplant them into pots. This gives them a stronger start in soil.
Nurturing Your New Sprouts & What to Watch For
Once you see those lovely little roots peeking out (either from the drainage holes of your pot or in your water jar), it’s time for gentle care.
- For Potted Cuttings: Continue to keep the soil consistently moist, but not waterlogged. As they establish, you can gradually remove the plastic cover over a few days to acclimate them to normal humidity.
- For Water Cuttings: Once those roots are a good length, gently transplant them into pots filled with your potting mix. Treat them like new seedlings – keep the soil moist and give them bright, indirect light.
Troubleshooting: The most common sign of trouble is rot. If your cuttings look mushy, black, or smell bad, it’s usually a sign of too much moisture and not enough air circulation. Discard any rotten cuttings and check your watering habits. Yellowing leaves can sometimes mean too much direct sun or inconsistent watering. Don’t get discouraged if a few don’t make it; it’s part of the learning process.
Happy Growing, My Friend!
There you have it – a simple way to fill your garden with even more of those delightful Impatiens noli-tangere. Be patient with your new plants. Gardening is a journey, and watching something grow from a tiny cutting is one of life’s sweetest rewards. Enjoy the process, and I can’t wait to see your beautiful blooms!
Resource:
https://identify.plantnet.org/k-world-flora/species/Impatiens%20noli-tangere%20L./data