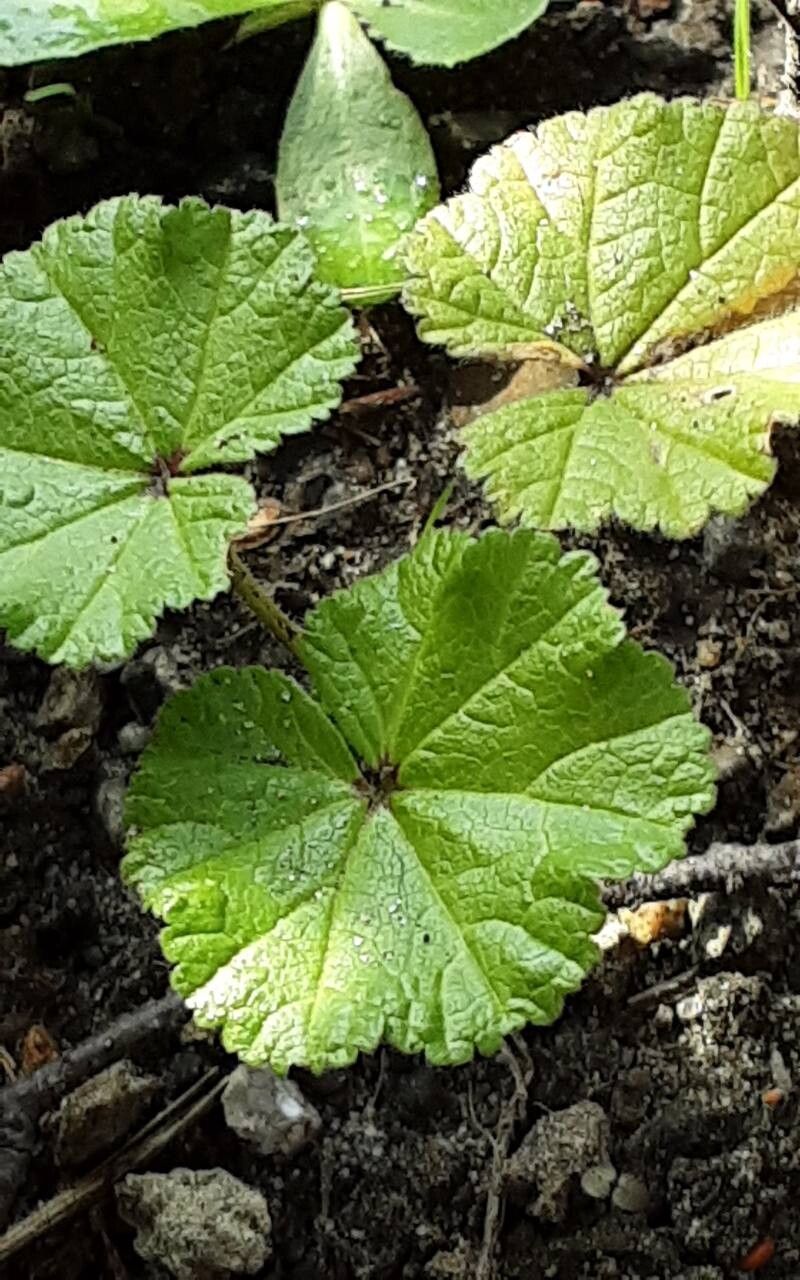
Oh, hello there! Grab a mug of your favorite brew. Today, we’re going to dive into the wonderful world of propagating Malva pusilla, or as it’s more commonly known, small-flowered mallow. If you’ve ever admired the delicate, charming blooms of this little gem in my garden, you’re in for a treat. Propagating Malva pusilla is wonderfully rewarding, and I’m happy to share how I do it. For beginners, I’d say it’s quite quite accessible – you’ll find it forgiving and generous with its new baby plants.
The Best Time to Start
The sweet spot for propagating Malva pusilla is typically in late spring or early summer. This is when the plant is actively growing and has plenty of energy to put into developing new roots. Waiting until after the main flush of spring growth, when the stems are still young and flexible, is your best bet. Avoid trying to propagate from old, woody stems; they’ll be much less cooperative.
Supplies You’ll Need
Here’s what you’ll want to have on hand before we get started:
- Sharp pruning shears or clean scissors
- Small pots or propagation trays with drainage holes
- A good quality potting mix – I prefer a blend that’s light and well-draining, like a mix of potting soil and perlite.
- A dibber or pencil for making planting holes
- Watering can with a fine rose
- Optional: Rooting hormone powder (I sometimes use it, especially for trickier cuttings, but Malva pusilla is usually pretty happy without it!)
- Optional: A clear plastic bag or propagation dome to create a humid environment
Propagation Methods
Malva pusilla is wonderfully amenable to propagation by stem cuttings. It’s my go-to method for increasing my stock, and it’s quite straightforward.
Taking Cuttings:
- Select your stem: Look for healthy, non-flowering stems that are about 4-6 inches long.
- Make the cut: Using your sharp pruners, make a clean cut just below a leaf node (where a leaf attaches to the stem). This is where roots are most likely to form.
- Prepare the cutting: Gently remove the lower leaves, leaving just a few at the top. This prevents them from rotting when buried in the soil and reduces moisture loss.
- Optional rooting hormone: If you’re using rooting hormone, dip the cut end of the stem into the powder, tapping off any excess.
- Planting: Fill your small pots with your prepared potting mix. Use your dibber or a pencil to make a hole deep enough to accommodate the leafless part of your cutting. Carefully insert the cutting into the hole, and gently firm the soil around it.
Water Propagation (An Alternative):
While I primarily use soil for Malva pusilla, water propagation can also work for the very enthusiastic beginner.
- Prepare cuttings: Follow steps 1-3 above.
- Place in water: Put the cuttings in a clean jar or glass filled with water.
- The key: Ensure that no leaves are submerged in the water. Only the stem should be in contact with the water.
- Change water: Change the water every few days to keep it fresh and prevent bacterial growth. You should see tiny white roots emerge within a couple of weeks.
- Transplant: Once the roots are about an inch long, carefully transplant them into small pots filled with potting mix.
The “Secret Sauce” (Pro Tips)
Here are a couple of little tricks I’ve picked up over the years that really boost success:
- Bottom Heat is Your Friend: If you have the option, placing your pots on a gentle heat mat can dramatically speed up root formation. It mimics the warmth of spring soil and gives those baby roots a real boost. Even a warm windowsill can make a difference!
- Don’t Drown Them: While cuttings need moisture, overwatering is the enemy. Let the surface of the soil just begin to dry out between waterings. Soggy soil leads to rot, and that’s one of the quickest ways to lose a cutting.
Aftercare & Troubleshooting
Once your cuttings have developed a good root system – you’ll know when you gently tug on them and feel resistance, or if you see roots poking out of the drainage holes – it’s time to treat them like tiny, precious plants. Water them regularly, but again, avoid waterlogged conditions. Gradually introduce them to more light if they’ve been in a shadier spot.
The most common sign of failure is wilting and browning. This can be due to underwatering, overwatering, or insufficient light. Rotting at the base is almost always a sign of too much moisture, especially if you’re not using a well-draining mix. If a cutting starts to look sad, assess your watering and light situation. Sometimes, a cutting can be revived, but if it’s gone mushy, it’s usually best to start again.
A Encouraging Closing
Propagating your own Malva pusilla is such a rewarding endeavor, offering a direct connection to the plant’s life cycle. Be patient with your new babies; they’re working hard to establish themselves. Enjoy the process, and soon you’ll have a delightful collection of small-flowered mallows to fill your garden with their charm. Happy growing!
Resource:
https://identify.plantnet.org/k-world-flora/species/Malva%20pusilla%20Sm./data