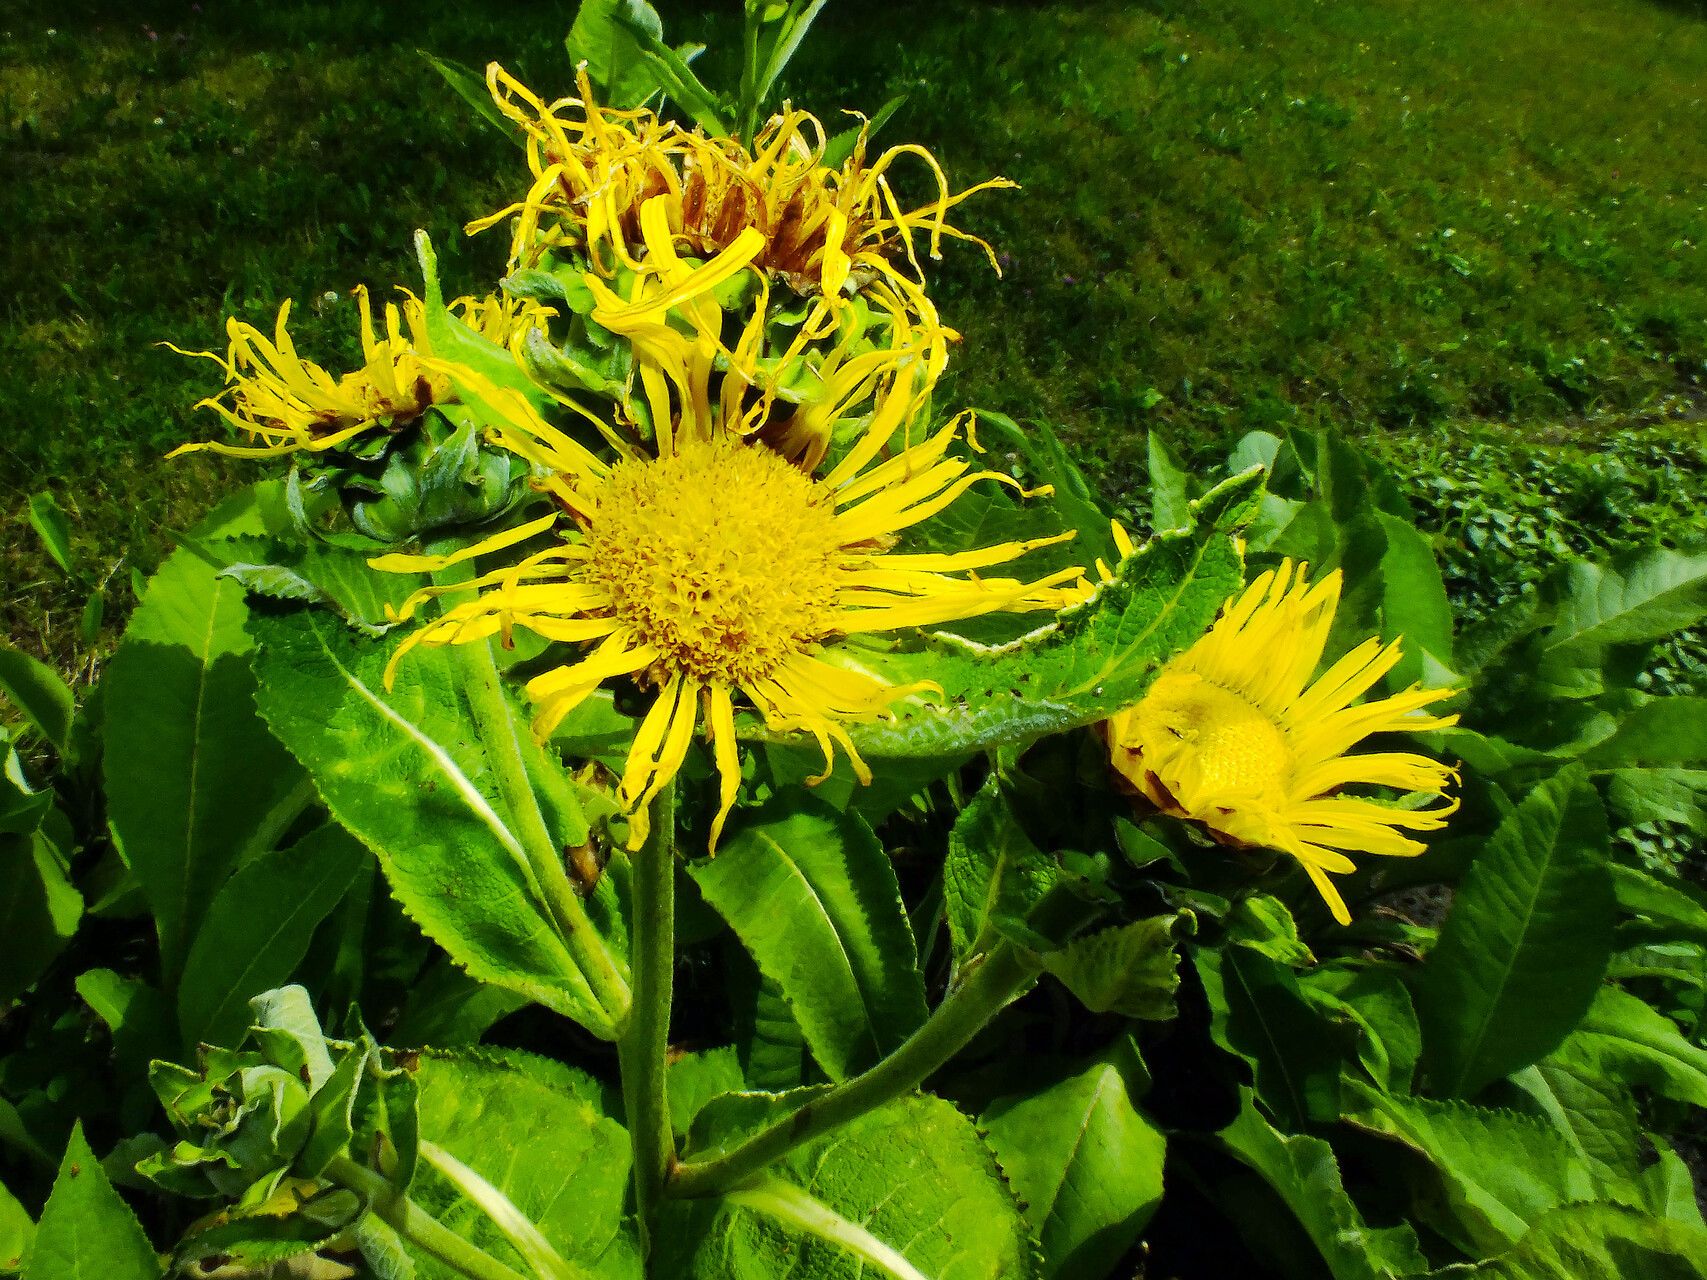
Hello fellow garden enthusiasts! Today, we’re going to dive into the wonderful world of Inula helenium, also known as Elecampane. This magnificent plant is a real showstopper with its big, cheerful, daisy-like yellow flowers that bloom late in the summer. It’s a hardy perennial that can add a touch of wild beauty to any garden, and honestly, propagating it yourself is incredibly rewarding. It’s a plant that’s quite forgiving, so don’t be intimidated if you’re new to the gardening game.
The Best Time to Start
For Elecampane, the absolute best time to propagate is early spring. As soon as the soil is workable and the threat of a hard frost has passed, it’s go time. This is when the plant is really waking up and has a lot of stored energy to push out those roots. You can also have success with divisions in the fall, but spring is generally easier and yields the most robust new plants.
Supplies You’ll Need
Before we get our hands dirty, let’s gather our tools:
- Sharp pruning shears or a clean knife: For making neat cuts.
- Potting mix: A well-draining mix is crucial. I like to use a blend of peat moss, perlite, and a bit of compost.
- Small pots or seed trays: Whatever you have available for starting your new plants. Make sure they have drainage holes!
- Watering can or spray bottle: To keep things moist but not soggy.
- Rooting hormone (optional but helpful): Especially for stem cuttings, this can give them a little boost.
- Labels: To remind yourself what you planted and when!
Propagation Methods
Elecampane is super easy to propagate through division, which is my favorite method for this particular plant.
Division:
- Dig it up: In early spring, carefully dig up your established Elecampane plant. You’ll want to get as much of the root ball as possible. I usually go about a foot out from the main stem.
- Clean the roots: Gently brush away excess soil from the roots so you can see the growth points.
- Divide the clump: Using your hands or a sharp spade, carefully divide the plant into sections. Each section should have at least one strong bud or eye and a good portion of healthy roots. If the roots are tangled, don’t be afraid to gently pull them apart.
- Replant: Immediately replant your divisions in their new homes or in temporary pots. Ensure they are planted at the same depth they were growing before. Water them in well.
While division is king for Elecampane, you can also try stem cuttings if you’re feeling adventurous.
Stem Cuttings:
- Take cuttings: In late spring or early summer, select healthy, non-flowering stems from your mature plant. Using your sharp shears, cut stems that are about 4-6 inches long. Make the cut just below a leaf node.
- Prepare the cuttings: Remove the lower leaves from the cutting, leaving just 2-3 leaves at the top. If using rooting hormone, dip the cut end into it.
- Pot them up: Fill your pots with your well-draining potting mix. Make a small hole in the center of the soil and insert the cutting, firming the soil around it.
- Water gently: Water thoroughly, but avoid waterlogging the soil.
- Provide humidity: Cover the pot with a clear plastic bag or place it in a propagator to create a humid environment. Ensure the leaves don’t touch the plastic.
The “Secret Sauce” (Pro Tips)
Here are a couple of little tricks I’ve learned over the years that make a big difference:
- Don’t be afraid of tough roots: Elecampane has substantial roots. Sometimes they can be a bit woody and tough to cut. Don’t shy away from using a clean, sharp spade to divide them if your hands aren’t strong enough. Just be sure to make clean cuts.
- Patience with divisions: When dividing, make sure each piece has some visible “eyes” or small buds near the crown. These are where new growth will emerge. If a piece looks bare, it might struggle.
Aftercare & Troubleshooting
Once your divisions or cuttings are planted, keep them consistently moist, but not waterlogged. For cuttings, that plastic bag will be your friend, helping to retain humidity.
As new growth appears – usually within a few weeks for divisions and a bit longer for cuttings – you can start to acclimate them to normal conditions. For cuttings, gradually remove the plastic bag over a week or so.
Watch out for rot! This is the most common issue, especially with cuttings if the soil stays too wet. If you see stems turning mushy and black, it’s a sign of too much moisture. If this happens, pull out the affected cutting, let the soil dry a bit, and ensure good drainage in the future. For divisions, if you see wilting and the
Resource:
https://identify.plantnet.org/k-world-flora/species/Inula%20helenium%20L./data